These easy salt dough ornaments are great way to add a homemade touch to your Christmas tree this year. They’re also more eco-friendly and sustainable option than buying plastic ornaments at the store, and a great craft project to do with kids with ingredients you likely already have in your kitchen!

Gearing up for Christmas, in a pandemic, in a year that has been one fiasco after another, is no joke, y’all.
Add to that it’s our first holidays at home. No travel, no family gatherings, just a Quarantine Christmas. I’ve managed to rustle up some Christmas spirit. (Pop over to Insta to see the 18 dozen Christmas cookies I accidentally made?.)
But that’s only been half the issue. Christmas is expensive. Not just on the gift-giving front. The price of fresh trees went up this year, as more people have been in need of some holiday cheer. And I have plans for this tree post-holidays…stay tuned for my 2021 garden plans.
Between the tree and lights, which were non-negotiables for us, I wanted to find a way to decorate without breaking the bank on mass-produced petroleum-based crap I’d decide I didn’t like in a few years when the trends changed. (Sidebar: I’m still thinking about this column by Anne Helen Petersen on America’s hollow middle class and the performance of middle-class-ness.)
If you’re still rustling up your own holiday cheer and looking for a last-minute, easy, inexpensive project to get the tree trimmed,
Enter: Scented Salt Dough Ornaments. Or, how my grandmother entertained my sister and I as children.
She described salt dough to me once as the Great Depression version of play dough – except you can bake and it will harden like clay! My sister and I spent many afternoons as children, me with my pink hunk of dough and her with her purple, molding and rolling and molding again. Only to then sit side-by-side in front of the oven door waiting for our creations to be done firing.
What I love about this tutorial is it’s totally customizable. I went for warming spices and essential oils to help with the Christmas ~vibes~, but you could easily dye the dough with food coloring, paint the finished ornaments, make impressions with little conifer twigs or herbs like rosemary, etc. etc.
All it takes is basic pantry ingredients and some patience! The important thing here is the ratio of flour to salt – 2:1, then you basically just add enough water to bind, knead it into a smooth dough, roll, and cut! I made a pretty big batch as these salt dough ornaments and dried oranges are the main decorations on our tree this year, but feel free to scale. A smaller batch would be great for a garland!

What is salt dough?
Salt dough is a simple handmade dough that resembles play-dough or clay in its consistency and what you can do with it. Leave it raw as a play-dough alternative for kids, or roll it out and bake it as substitute for clay in crafts. It’s a great option for homemade Christmas ornaments as it uses ingredients that are likely already in your kitchen, it’s totally personalizable, and it’s low-waste/eco-friendly!
How do you make salt dough ornaments?
Start by making the dough: Combine a ratio of 2 parts flour to 1 part salt in a bowl and then add water until you have a smooth, workable dough. You can also add spices, essential oils, or food dye depending on what you want your ornaments to look like.
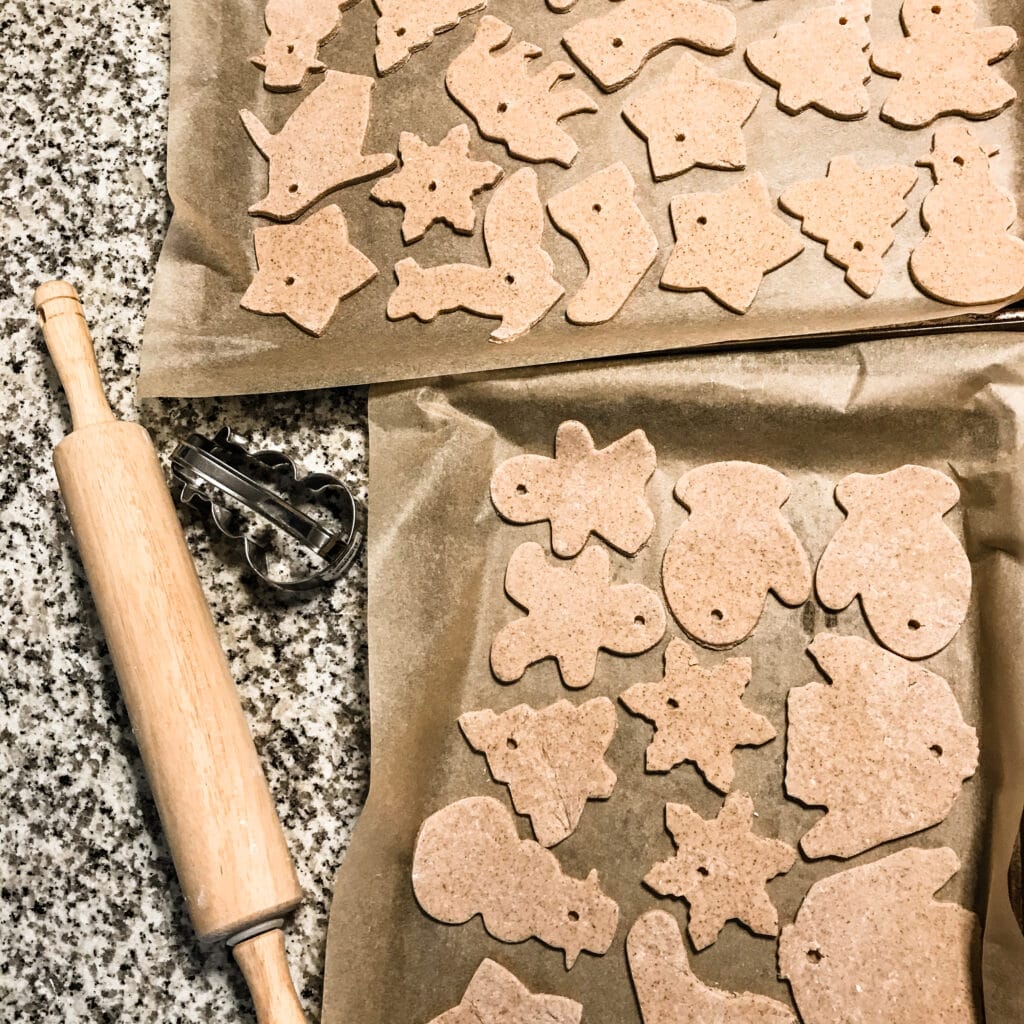
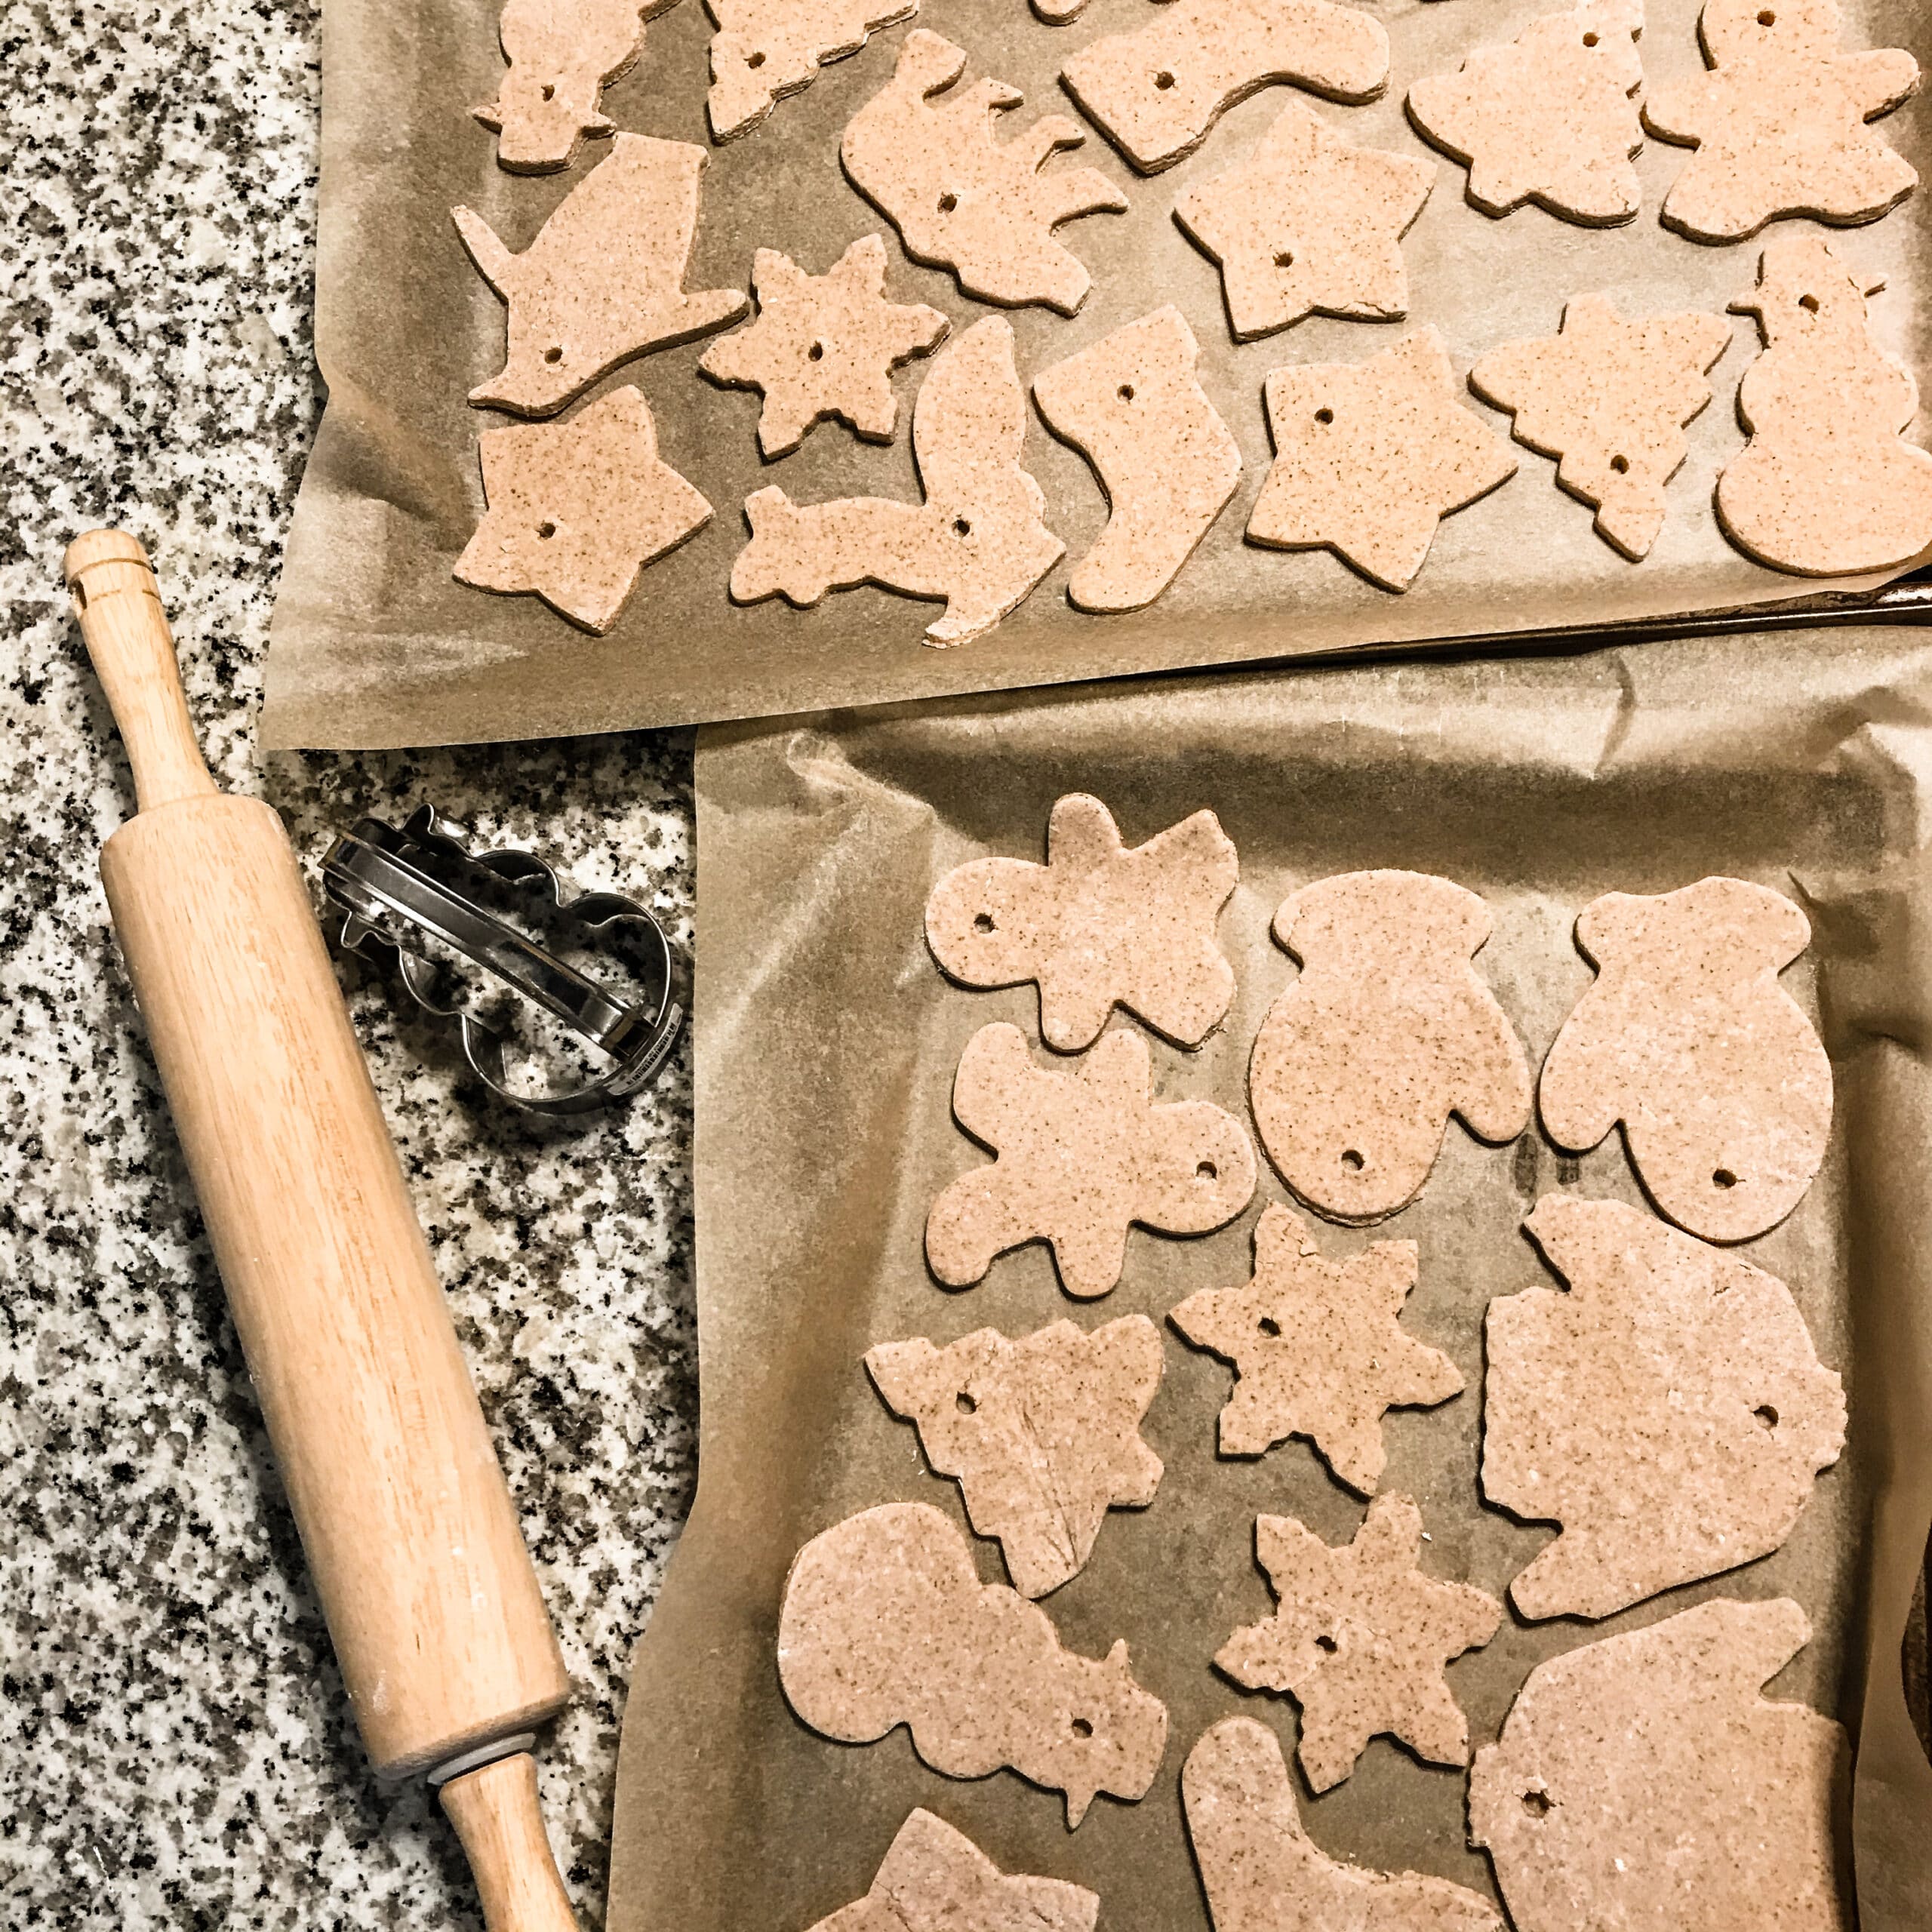
Then, you just roll out your dough, cut your ornaments with cookie cutters, and bake at a low heat until they’re completely dry!
When is salt dough done baking?
Salt dough is done baking when it’s completely dried out – it should snap like a cracker if you tried to break it. I find the best method is to bake it low and slow for a long time to ensure it thoroughly dehydrates.
Can salt dough air dry?
Yes, theoretically. Though, personally, that takes more patience than I have. You might also consider the circumstances of your life: Is your home humid or damp? Do you have pets or children running around who might upset trays of drying salt dough ornaments?
Is salt dough edible?
No! I mean, it probably wouldn’t kill you as it’s just flour, salt, and water, but it certainly won’t taste good. And if you added anything to it, or painted your finished ornaments, then it definitely definitely should not be ingested.

Will salt dough go moldy or spoil?
Not if you’ve dried it thoroughly enough. Honestly, probably not even if you didn’t because of the salt quantity. But properly dried and stored salt dough ornaments should last for years!
How do you decorate salt dough ornaments?
However you like! I left mine plain for a more minimalist, organic look. But feel free to paint, add flitter, glue on googly eyes – the sky is the limit! I had thought it would be really pretty to impress herbs or flowers onto the rolled outs ornaments before baking, so you’d see the outline in the finished ornament, but didn’t have any on hand when making these.
Can you hang salt dough ornaments outside?
Yes, though try to keep them out of the reach of hungry critters. Salt dough ornaments hung outside are also more likely not to last more than a year as they’re exposed to the elements, moisture, etc.
How do you store salt dough ornaments?
Really, the same as you’d store any other Christmas decorations. I just wrapped mine in tissue paper and layered them in a box. Keeping them in a plastic tub with a snap-on lid would probably be even better.
How to Make Scented Salt Dough Ornaments

Materials
- 2 cups flour (use the cheap stuff here)
- 1 cup salt (again, table salt or kosher salt are totally fine – save the sea salt!)
- approx. 1 cup water
- Optional: spices, essential oils, food dye (for these, I used ~1 tbsp. each of cinnamon, ginger, nutmeg, and cloves plus about 10 drops of frankincense and 10 drops of sweet orange essential oil)
Tools
- Large bowl
- Wooden spoon
- Rolling pin
- Cookie cutters
- Chopstick/straw/something to poke a hole with
- Sheet tray
- Parchment paper
Instructions
- Preheat oven to 170°, or as low as your oven will go.
- In a large bowl, combine flour, salt, and, if using, spices and essential oils.
- Slowly stream in water while stirring with a spoon – moving to using your hand as the dough begins to come together.
- Knead until dough has the consistency of play dough. If adding food dye, knead it in now.
- Using a rolling pin, roll out on a clean countertop – you can flour the countertop if your dough seems sticky, but it shouldn’t necessary. Cut desired shapes using cookie cutters (or your own stencil or freehand if that’s how you roll). Be sure to use a chopstick or straw to add a hole wide enough to string ribbon or twine through for hanging.
- Place on cookie sheet lined with parchment (but not greased) and bake for two hours, flipping ornaments over halfway through.
- Allow to cool. At this point, you can further personalize your ornaments with paint, or string them for use as ornaments, garland, or even gift wrap decoration!
Notes
Other homemade, low-waste holiday decoration ideas include-
- Dried citrus
- Popcorn and/or cranberry garlands
- Foraged pinecones
- (actually edible) Cookies like gingerbread
- Paper snowflakes or other origami
Find more eco-friendly holiday decor ideas in this post!
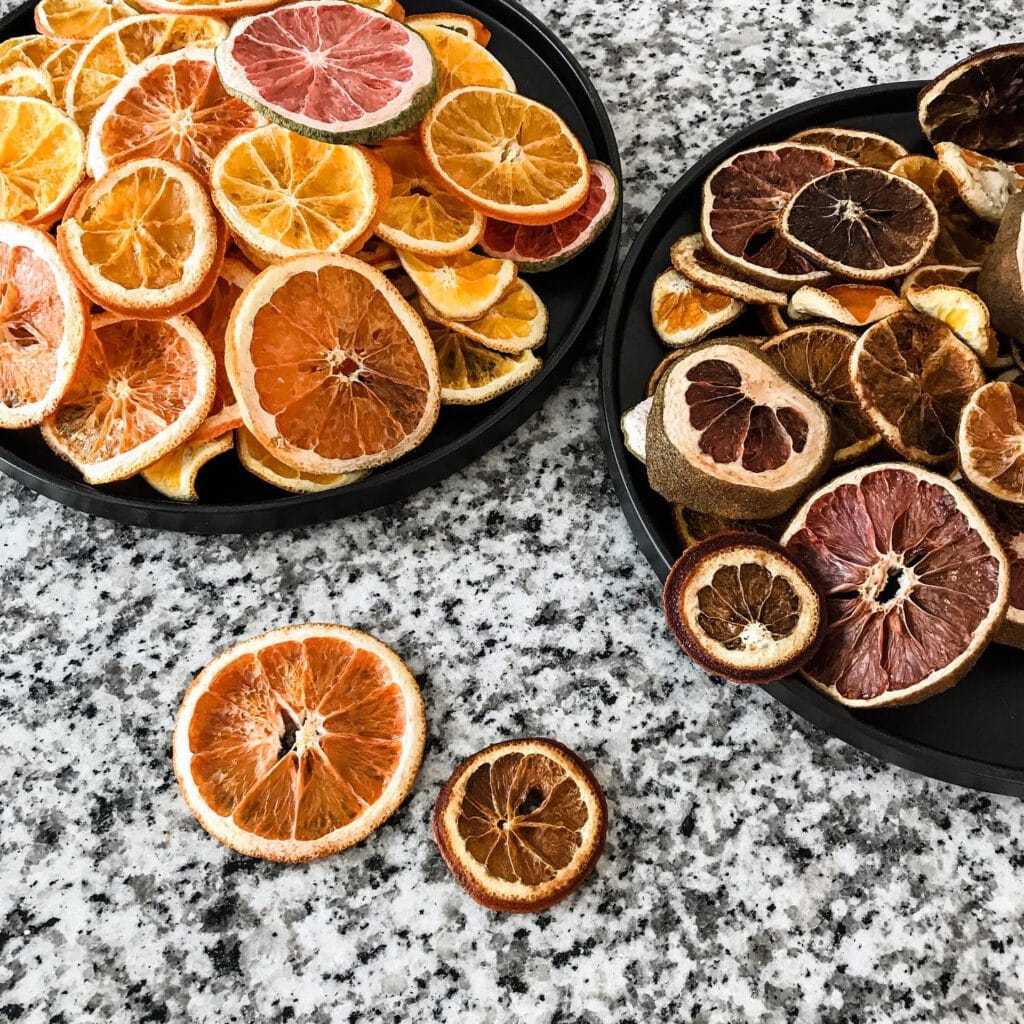
You can see I, and everyone else on Instagram this year, went the dried citrus route. FYI: If you have the option, the dehydrator definitely worked better than the oven at drying without discoloring. I’m hoping these will keep in the dark, cool basement for next year!


Pin it for later:


Leave a Reply