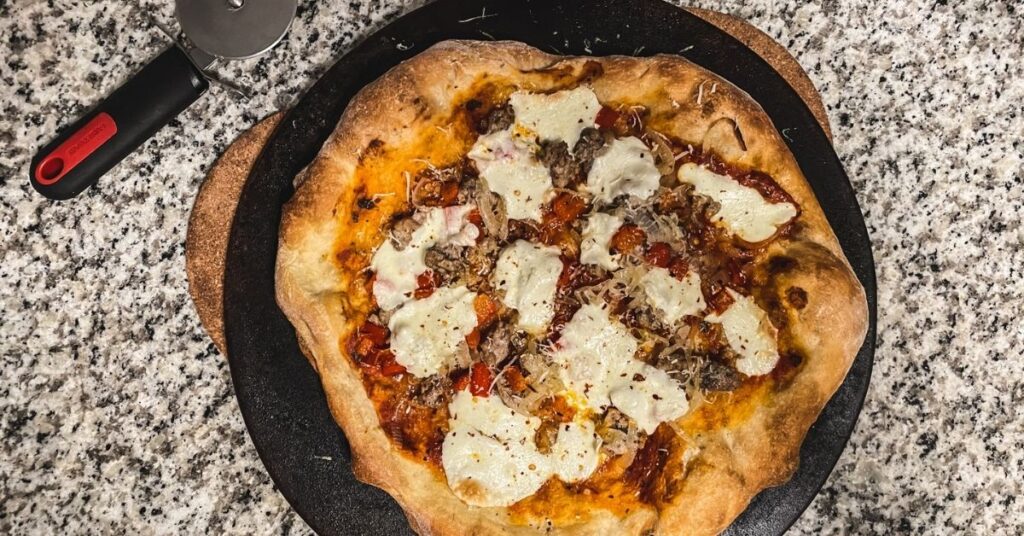
Saturday night sourdough pizza is a sacred tradition in my household (and always to be followed by Sunday sourdough pancakes). Once, I proposed getting takeout because I’d forgotten to make the dough the day before – not necessary, but definitely more delicious! – and my partner gave me the most heartbroken look, I immediately fetched the starter from the fridge.
This recipe takes some forethought as far as prepping the dough. But the actual work is minimal – you don’t even really have to knead! Plus, it takes the guilt out of eating pizza. I’m firmly in the camp that we shouldn’t feel guilty about nourishing ourselves. The diet industrial complex can eff right off, thank you. If I feel food guilt, it’s from poorly nourishing my body, not eating foods pop culture doesn’t see as “clean.” That said, slow-fermented foods like sourdough are definitely easier to digest and have a slew of health benefits. See more on that below.
I’ve been making this recipe for years, and I’m convinced it’s the tastiest, easiest sourdough pizza there is. It’s also totally personalizable as far as flavor and crust thickness/yield. It can make three personal size pizza crusts (freeze the extras!) or one extra-large one or in between! We usually use it to make one thicker crust 8-10 inch pizza for me and a large thin crust for my partner.
Keep in mind:
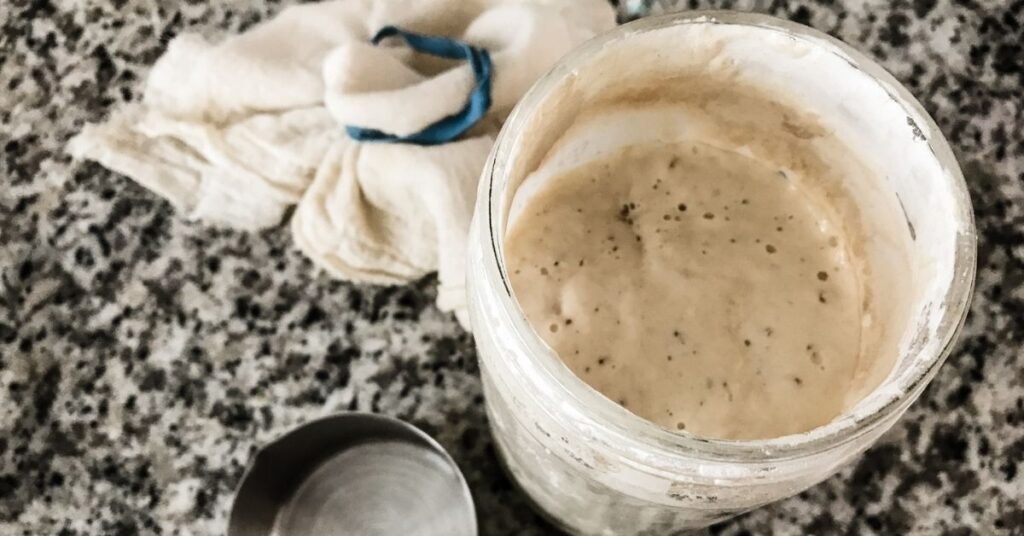
I have tried to make this recipe as simple as possible. In fact, it’s a part of the starter recipe kit I send to friends and family who want to get started with sourdough – usually with a jar of my own starter to get them off and running. But it does require an active sourdough starter. I walk through my weekly sourdough baking schedule below, but I recommend feeding your starter about four hours before you want to make your pizza dough. If you don’t have a starter, check with friends and family. Odds are at least one of them jumped on the sourdough bandwagon during spring quarantine. Otherwise, check back here soon for my tutorial on how to make your own by capturing wild yeast out of the air!
This recipe can be ready in two hours, which is faster than making pizza dough with commercial yeast. However, if you want the health (and taste) benefits of sourdough, I really recommend the full overnight ferment. That means planning ahead. The dough takes all of ten minutes to pull together, though. So remembering to pull the starter out of the fridge is literally the hardest part.
I recommend baking your pizza in a cast iron skillet or on a pizza stone. I’ve done it on a cookie sheet, but you’re not going to have the same crispy, chewy, perfect pizza crust results as in cast iron or on a stone.
If you have heavily mineralized water, you should use filtered water. Chlorine can mess with the activity of your starter. No filter? Measure out your water the night before and let it sit on the counter. Chlorine will evaporate! Full disclosure, for years I filtered my water. Then I ran a test and didn’t really see any difference for my starter, even though I know we have hard water. Now I don’t bother. That’s part of what makes this the easiest sourdough pizza.

Sourdough Health Benefits
The health benefits of sourdough are legion. Did you know many people with gluten sensitives can actually digest sourdough just fine? The slow ferment consumes the gluten and changes the protein structure of the finished bread, making it much easier to digest and the nutrients more bio-available to our bodies. Even if you don’t have a gluten sensitivity, you may find it easier to digest sourdough, especially if you’re prone to bloat or a post-lunch slump.
Sourdough is actually healthier than bread leavened with commercial yeast. In the latter, even if it’s a super hearty whole-grain bread, phytic acid limits the body’s ability to absorb minerals. The phytates bind to vitamins and minerals, and because your body has a hard time digesting phytates, it can’t get the vitamins and minerals either. The lactic acid in a sourdough starter reduces the bread’s pH, which degrades the phytates so fewer of them can bind to the minerals in the flour.
The combination of lactic acid and wild yeasts makes the bread rise; it just takes a lot longer than commercial, or baker’s yeast. Sourdough is how people have made bread for thousands of years – baker’s yeast didn’t become available until the late 19th century. That slow fermentation process also leads to healthier bread on another front – the slower the fermentation, the higher the soluble fiber. High-fiber foods keep you feeling fuller longer and have a lower glycemic index. So no sugar spike and ensuing crash!

My Weekly Sourdough Routine
- Thursday night: Before bed, I pull the starter out of the fridge and let it wake up on the counter overnight.
- Friday morning: Discard and feed starter.
- Friday lunchtime: Make my easiest sourdough pizza dough. Feed starter to replenish what went into the dough.
- Saturday morning: Discard and feed starter if it seems hungry. Often I skip this feeding.
- Saturday night: Feed starter again. Use discard to make sourdough pancake batter (recipe coming soon!)
If I’m planning to bake bread for the week, I do so on Sunday night. So in that case, I’d leave the starter out again and feed it Sunday afternoon to bake Sunday evening. If I don’t need the starter again til next week’s pizza dough, back into the fridge it goes! I use my starter every week, but you don’t actually have to. A healthy starter can live in the fridge a few weeks between feedings!

How to Make My Easiest Sourdough Pizza
- Time: Prep – 20-25 minutes active; 2-30 hours passive. Bake – 22-25 minutes.
- Yield: 3 personal 8-inch pizza crusts or 1 extra large pizza, depending on how thick you like your crust.
Ingredients:
- 1/2 c. active sourdough starter (feed ~four hours before use)
- 3/4 c. water (temperature doesn’t matter)
- 2 c. unbleached, all-purpose flour
- 1 tsp. sea salt
- 2 tsp. olive oil
- Any seasonings you want to add – I normally do about 1/2 tsp. each garlic powder, Italian seasoning, and chile flakes
Instructions:
The day before you want pizza-
1. In a large bowl, combine water and sourdough starter. Mix until starter is evenly distributed in your water.
2. Add flour, olive oil, salt, and other seasonings. if using. At first, use your spoon until the flour has absorbed all the liquid. Then, move to using your hand until all flour has been incorporated and dough holds together. It may be a little shaggy, but it should basically be a dough ball.
3. Cover and let sit at room temperature for two hours. Then wet your hand and, grabbing a portion of the dough, stretch it upward and fold over the center of the bowl. Turn the bowl a quarter turn and repeat (i.e., the stretch and fold technique). Continue until the dough is smooth and refuses to stretch more.
4. Recover the bowl and move to the fridge until tomorrow. If needed, you could bake at this point or freeze the dough, but the cold ferment really improves the flavor and health. If you’re going to freeze the dough, I still recommend refrigerating overnight first.
The day you want pizza-
- Remove dough from fridge two hours before you want to roll it out.
- As the dough comes to room temp, preheat oven (with cast iron skillet/pizza stone in it) to 450°F for half an hour to an hour. Note you can experiment with the oven at anywhere from 400° to 500° (or as hot as your oven goes) for pizza. I’ve found 450° to be the sweet spot for ours.
- After two hours, flour your counter generously and turn out your dough ball. If you’re making multiple small pizzas, now is the time to portion it up. Then, shape your dough. You can use a rolling pin, but I don’t recommend it. It’s likely to pop the air bubbles that will give your pizza such a great texture. I slowly stretch the dough with my hands and use the weight of gravity to help. If it feels like the dough is still too cold and will tear, let it rest for 10 minutes and try again. Ideally, dough should be about 62°F when you’re stretching it.
- Remove hot skillet/stone from oven. At this point, I do a cook blast of cooking spray, but that isn’t absolutly necessary. Then lay in stretched out dough. Drizzle on a little olive oil and brush to cover.
- Bake your pizza crust for 9-10 minutes. Meanwhile, prep sauce, cheese, and toppings (I precook toppings like sausage and onions while the dough is warming).
- Remove par-cooked crust, add sauce/cheese/toppings. Then bake ~12 minutes more depending on how brown you like your cheese.
- Move pizza from skillet to cutting board and let sit five minutes before cutting. Top with basil, parmesan, etc.
- Enjoy!

Pin it for later:


Leave a Reply