In this article, I’ll walk you through how a step-by-step tutorial for how we built our raised garden beds (and you can too!), as well as share some pros + cons and FAQ about raised bed gardening.
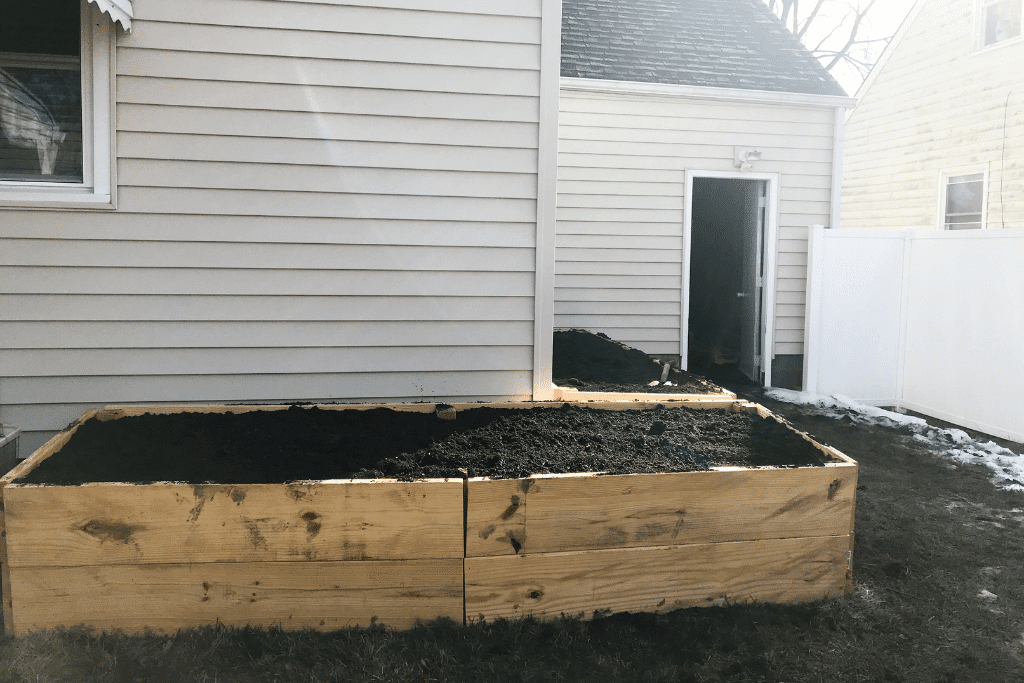
It’s February, which means in a couple weeks I get to sow my first seeds of the year! And in about a month, I get to start the seeds for the bulk of my garden. In fact, I currently plan to spend my birthday, in early March, starting seeds. I can’t think of a better birthday gift to myself! (To follow up on my Christmas gift of building these raised garden beds.)
It may not feel like it to those of us in Northern climes, but tipping into February means Spring, and full-blown gardening season, is right around the corner. At this point, some people are considering taking up gardening for the first time – I’m so excited for them. I’m excited for me and all of us – and, yes, maybe I’m getting a little bit winter stir crazy. But, y’all, I really just love growing things.

In this post, I’ll attempt to walk you through how we built our raised garden beds, tutorial-style.
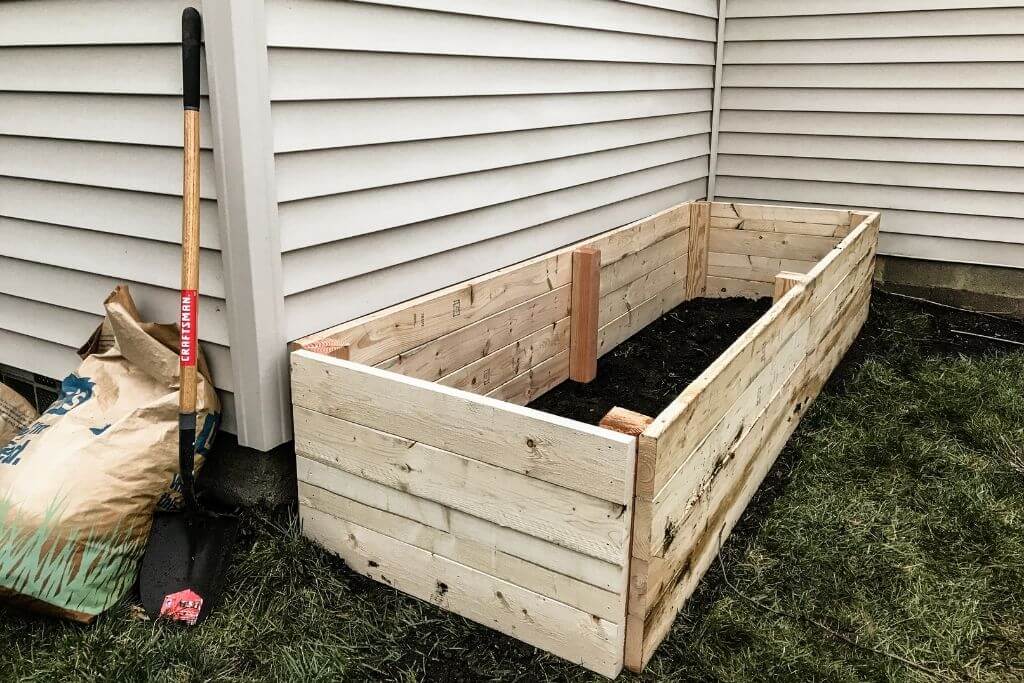
I make no bones about these being the best raised garden beds ever or anything like that. They were simple to put together and should last us as long as we’re in this house. Those were really my only criteria. You’ll see in the photos we built our two beds with two different sizes of dimensional lumber, 2x6s and 2x12s. I’m including the tutorial for, and we’d recommend using, the 2x6s. The 2x12s were just too big and cumbersome to move around, and were more warped than the 2x6s. I think they’re also harder to source, so in the vein of keeping it simple, 2x6s it is! This tutorial would also theoretically work with other dimensions – you just have to do the math based on the size of bed you want to build. More on that below!
I make a few other notes below about things we would change if we were doing this project again – or things we changed along the way. (the big one: buying a circular saw!)
But before we get to the actual tutorial, let’s talk about why you might want to grow in raised garden beds rather than in the ground.
Pros and cons of raised garden beds
Pros:
- The soil warms up faster in Spring (so you can plant earlier!)
- Drainage is better than in in-ground beds
- Easier to grow intensively, which means reduced weeds + pests, larger yields and less eroded/compacted soil
- More accessible and ergonomic for those with disabilities, bad backs, knees, etc.
- More efficient set up of season extenders like hoops and row cover, cold frames, etc.
- Soil amendments and compost are more easily incorporated – and can be targeted to specific plants
- Better control over soil quality in general. And better quality from the get-go, unlike in the Back to Eden method where you may have to wait a few years for soil quality to improve.
- Simpler crop rotation (just keep a garden journal!)
- Deeper soil for roots (especially if you make them almost 2 feet tall like ours!)
- You can put them anywhere!
- Aesthetically pleasing (well I think so, anyway)
Cons:
- Cost of materials/time/labor to build and fill (potentially also tools)
- Beds may need to be replaced after several years, depending on materials used
- Limits design options (straight lines and angles over curves; once you build your design is basically set; etc)
- While the quicker warming of the soil in raised garden beds in spring can help those of us in cool climates, the same properties may harm those in hot, dry climates. Raised garden beds warm up and dry out faster than in-ground beds. So those in a place with a scorching summer and little rain will find it hard to manage moisture levels in their beds without frying their plant babies to a crisp.
Why we chose them
As you can see, the pros outweigh the cons in my book, especially as I don’t live in a hot, dry place. If this were our forever property, I would be looking into Back-to-Eden-style beds. But we’ll likely only be here a couple years. And as we’ve learned in the six months we’ve been here, our yard is a mess.
I’ve lived in apartments for most of my twenties, so for the last several years I’ve only had container gardens. For this property and our needs, raised beds were really the only choice. Why?
Our soil is basically just clay.
I’m convinced the previous owner had some topsoil shipped into the backyard for her ornamental landscaping because that soil is significantly different than in the front yard. But still, it’s only the top few inches – and concentrated in the areas where she had beds. The center, grassy part of the lawn is muddy clay.
When it rains hard, our yard turns into a swamp (and my dog turns into a swamp creature).

Rain creates numerous standing water patches across the backyard, and the current landscaping doesn’t help. The ornamental trees and perennials that ring the yard are aesthetically pleasing and stylish, but very shallowly rooted. Permaculture 101: native plants roots more deeply. Deeply rooted plants draw water down into the soil, so it doesn’t puddle on top. The clay also works against us here – terrible drainage.
Basically, raised beds or bust.
If you’re in a similar place and ready to install your own raised garden beds, here are a few things to keep in mind:
- Wood beds will rot over time. Cedar is the gold standard with which to build raised garden beds. As a hardwood it resists rot, and it also repels garden pests. But it’s also $$$. We used pine, which should last 5-7 years – again, longer than we plan to be at this property.
- Make sure you get untreated wood. Pressure-treated wood undergoes a sealing process that uses chromium, copper, and arsenic, all of which can leach out as the wood rots. In our Lowe’s, the untreated and treated woods were in two different aisles so you couldn’t mix them up. They’re also totally different colors.
- Dimensional lumber lies to you. You’ll see we’ll instruct you to get 2x6s and 4x4s. These aren’t actually 2×6 inches or 4×4 inches. They’re 1.5×5.5 inches and 3.5×3.5 inches. Why? I don’t know. It means my beds which are 10 feet long, 3 feet wide, and 2 feet deep are actually only 22 inches deep. The length measurement of the boards is accurate, however.
How We Built Our Raised Garden Beds (+ you can too!)
Okay, now let’s walk through how we built these babies. I’m including enough detail that you should be able to use this as a tutorial, but just take this info with a grain of salt as we’re not experts in raised garden bed building or carpentry.
Supply list:
Tools and supplies:
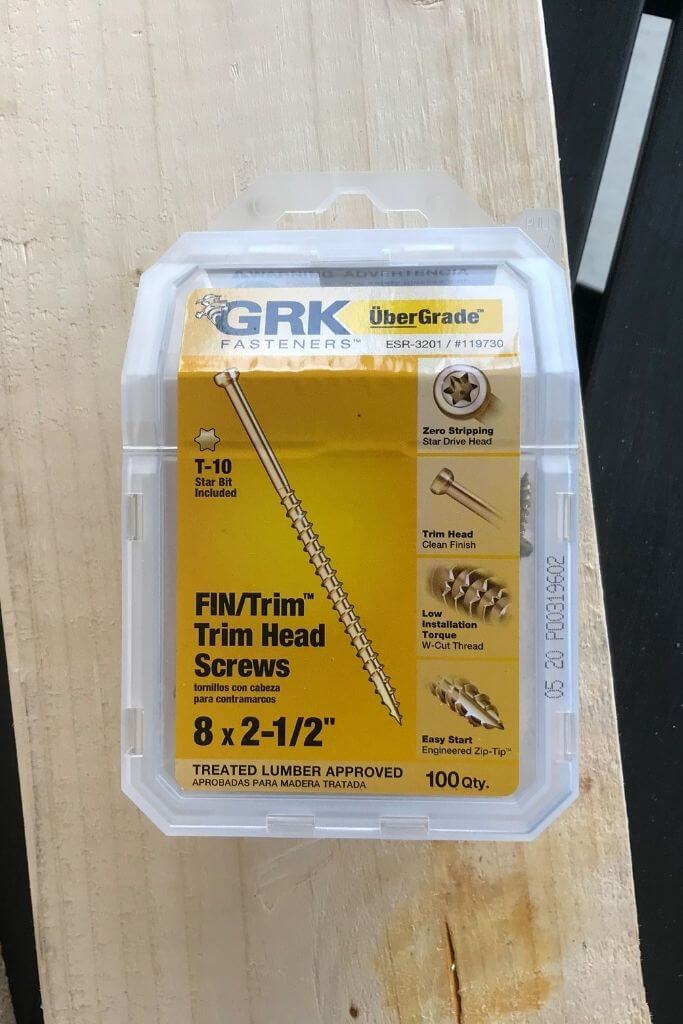
- Deck screws (you’ll see in the photo, ours are 8×2.5”. I wouldn’t recommend going much smaller.)
- Circular or Table saw
- Impact driver or power drill
- Safety glasses (yes, my partner isn’t wearing any in the photos. Yes, I nagged him about it, to no avail. Wear them. Protect your eyeballs.)
Wood:
- 4×4 dimensional lumber for corner posts and center supports
- 2×6 dimensional lumber for the sides
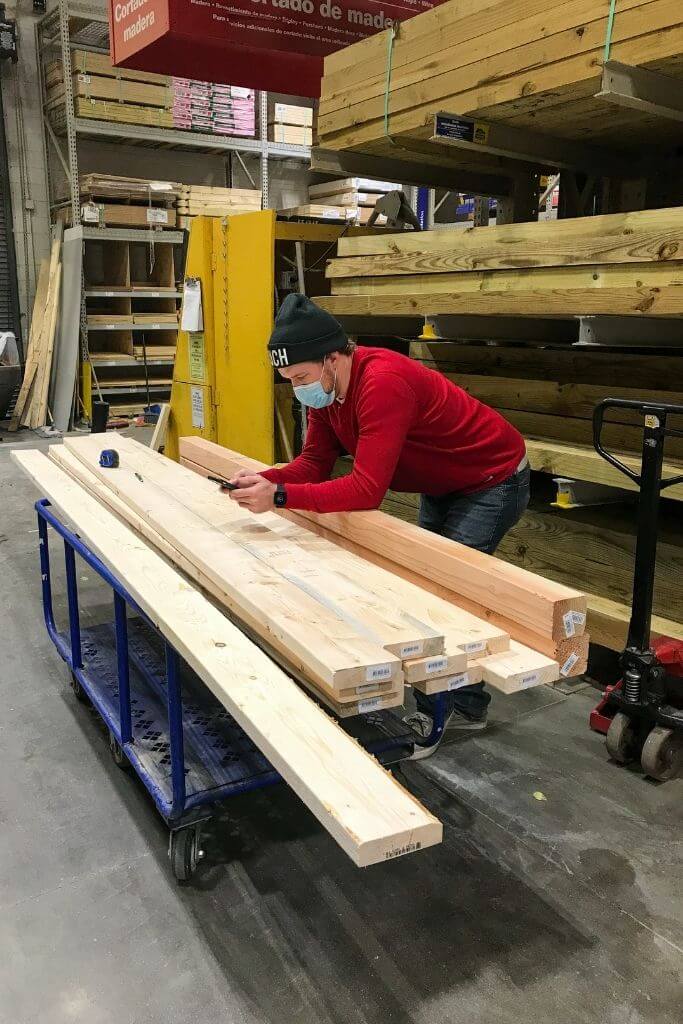
Lowe’s or another hardware store should be able to cut the wood for you (which would negate the need for the circular saw above. Ours cut our 2x6s but couldn’t do the 4x4s, so we wound up needing the saw anyway.)
For one of our 3x10x2ft beds, we used:
2- 4ft x 4ft x 8ft boards cut to 22 inch lengths (six in total)
8- 2ft x 6ft x 10ft boards cut to 5ft lengths (sixteen in total)
2- 2ft x 6ft x 12ft boards cut to 3ft lengths (eight in total)
To calculate how much wood you need, start with the size bed you want.
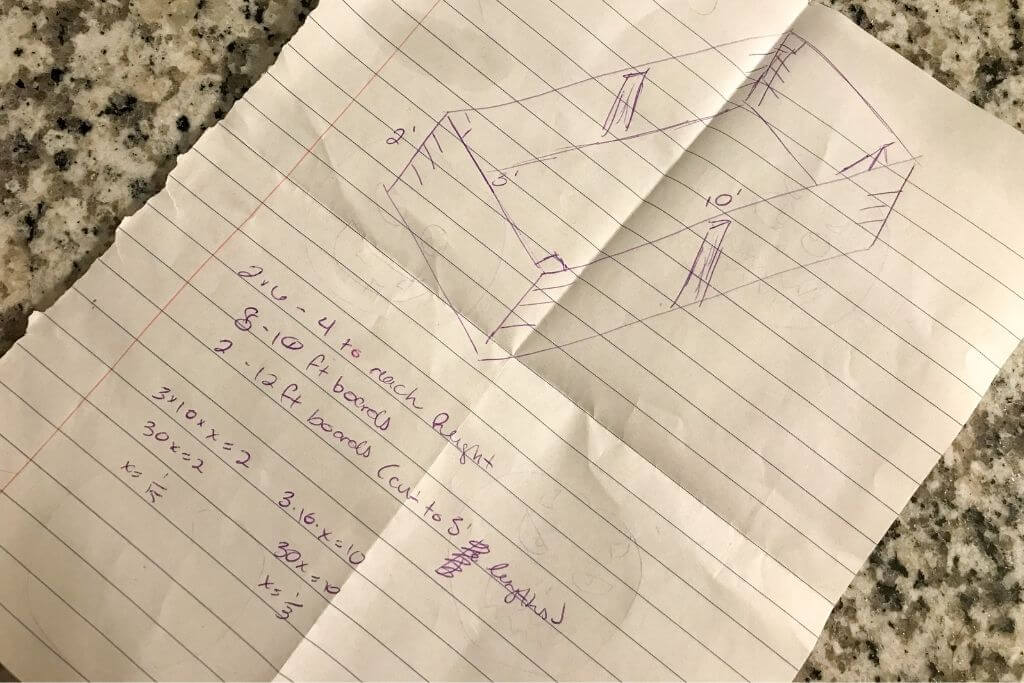
I suggest drawing it out (photo below), especially if you’re a visual learner. I knew I wanted my bed to be 2 feet deep (ahem, 22 inches, but we’ll round for ease), so I started there.
For the 4x4s, if your bed is >six feet long, I suggest center supports as well as corner posts to give the bed more stability. Honestly, we wish we’d put a crossbar across the center of the bed as well. So, knowing I wanted six 2-feet tall 4×4 posts, it was easy to calculate I needed 12 feet of 4x4s total. At my Lowe’s I could only get them in 8-foot lengths, so I bought two.
(Note: even if the hardware store cuts the wood for you and you don’t need the full length of the board, you still pay for it.)
Alright, so then knowing I wanted my bed two feet tall, I could calculate it would need to be four boards tall if using 2x6s. My bed is three feet wide, so 4 boards x 3 feet = 12 feet of 2x6s for one short side. Thus, I bought two 2x6x12s to cover both short ends – no extra!
And now for the long sides: Luckily, our Lowe’s also had 2x6s in 10-foot boards, which made my calculations super easy for my 10-foot long bed. I needed 8 2x6x10s, that I then had cut in half. So I wound up with sixteen 2x6x5s.
For a different size bed, you can follow this same method. Draw it out. Start with the 4x4s, then move to the short and finally the long sides.
Also, all of this cut wood, and the uncut 4x4x8s, fit in our sedan with me, my partner, and our dog. This project is totally doable without a truck!
Instructions:
- If at all possible, build your bed at its final site. We built ours in our covered patio and moved them, and it was not ideal. Your building site does need to be flat and stable, though.
- If not already cut, cut your wood to size based on the bed calculations you performed above.
- Arrange two of the cut 4×4 posts approximately 5 feet apart (or half the length of your bed). Lay your cut 2x6s across and align the corners so everything is straight and flush.
- Using your impact driver and two deck screws per board, screw one side of the 2x6s into the 4×4. We found we didn’t need pilot holes, but suggest you still test for yourself as this will vary based on wood and screws chosen. Make sure you leave a gap between the edge of the board and where you screw to prevent your board from splitting.
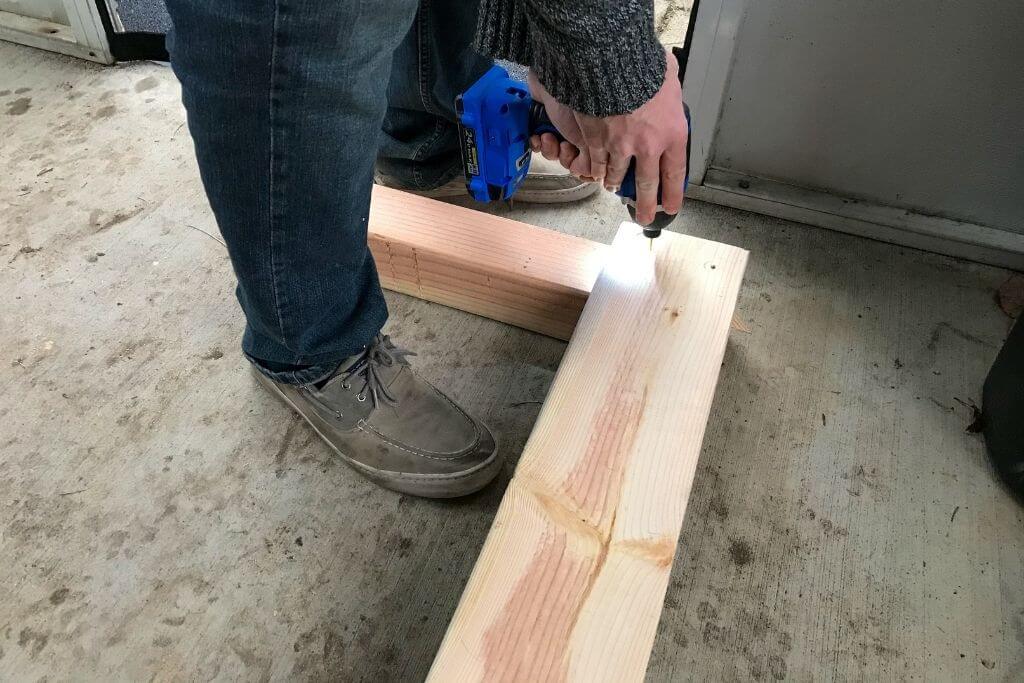
- Move to the other 4×4. Now, align the edges of the 2x6s so they come to the center of the 4×4. This is because you need to leave space to attach the second set of boards for the long side to this center 4×4.
- Once your boards are aligned straight down the center of the 4×4, again use two screws per board to screw them into the 4×4.
- Set up your next 4×4 five feet down (or ½ the length of your bed) from what you’ve already built. Lay your cut 2x6s across so they align down the center of the previous 4×4 and at the edge of the new one.
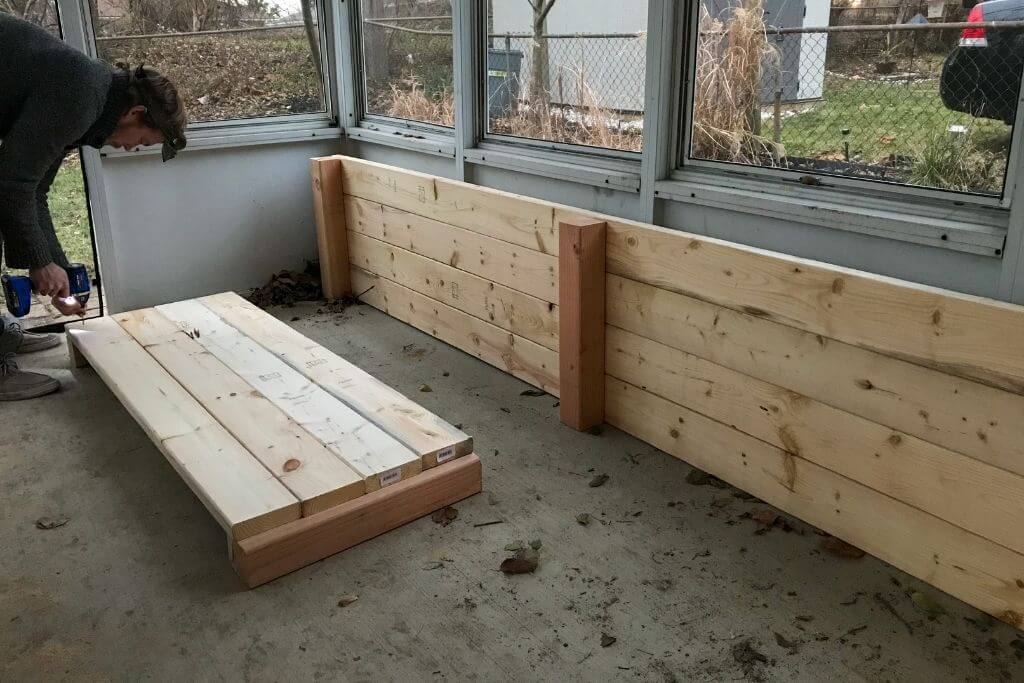
- Now starting with the center 4×4, use your impact driver and two deck screws per board to screw your 2x6s into the 4×4.
- At this point, you’ve built ¾ of a long side. Move to the final 4×4, re-square your edges, and screw in the 2x6s with two deck screws per board.
- Repeat the above to build your second long side.
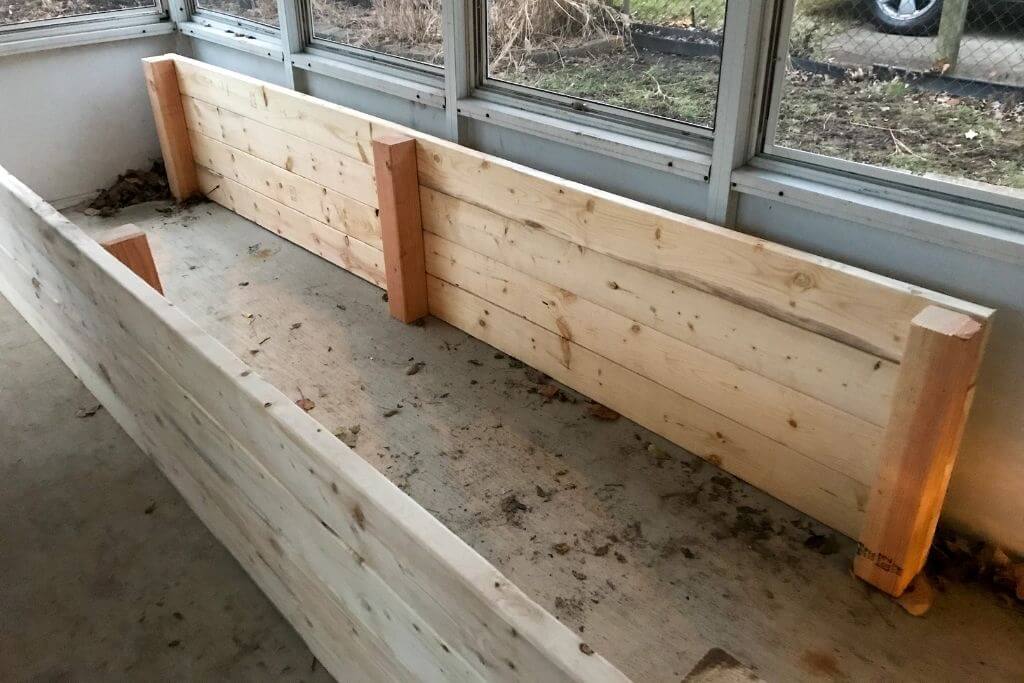
- Ideally, your long sides should be stable enough to stand on their own, but it’s helpful at this point to have a second person to brace as you screw in the short sides. Stand up the long sides the distance apart of your short boards (so, 3 feet for our beds).
- Taking one 2×6 at a time, align it with the corners of the 4×4 at one end of a long side. Using two deck screws, screw it into one 4×4. Then move to the other side of the short board and screw it into the end 4×4 of the other long side.
- Here, rather than doing all the boards on one side at once, we recommend going back and forth. So screw in one 2×6 completely, then add the next, etc. Once that bottom board is full screwed in, it’s much easier to keep all your corners aligned.
- Once the first board is fully screwed in, repeat with the remaining to finish your short side.
- Now you have three sides of the bed built and screwed together. Use your final 2x6s and repeat steps 12-14 on the other end of the long sides.
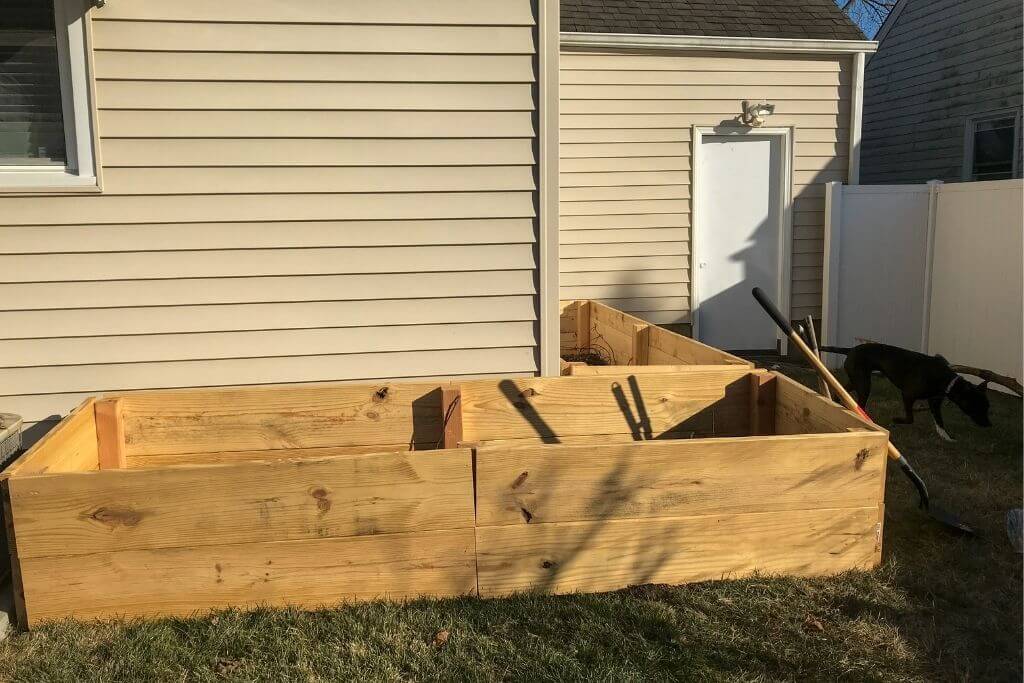
- Voila! You’ve built a raised garden bed!
I’m still figuring out how exactly I want to fill these beds. More on that later!
A few more FAQ on Raised Bed Gardening
Can raised garden beds be placed on grass/concrete/something other than exposed soil?
Yes, with some modifications. If you’re placing the bed on grass, you’ll usually want to either remove or smother the grass (with cardboard). In a bed deeper than 18 inches (as mine are), the weight of the soil should smother the grass enough that no weeds can poke through.
If you want to place your bed on a concrete patio or driveway, you’ll need to account for drainage. Your bed may need to be deeper as plant roots can’t extend into the ground below the bed, and it will need to be top quality soil. You want your bed to be able to drain, but not so much that soil leaches out the bottom. Some sort of hardware cloth with a perforated bottom may help here.
Can raised garden beds be moved after they’ve been built?
Yes, but with difficulty, and I’d avoid it if possible. As noted, we moved ours because our yard isn’t totally flat, so it felt safer to build on the concrete patio. It would be even harder to move the bed after the soil had been added, as you’d need to dig the soil out and then add it back in once the bed’s been moved. If you’re not sure where you want to place your beds, try mocking it out with spray paint.
How deep should a raised garden bed be?
Most raised beds are 6-12 inches tall. If you have poor ground soil quality, the deeper the bed, the more space and nutrients you give your plants’ roots (my reason). A deeper bed is also easier to work in, as you’re not bending down as far. Just keep in the mind the deeper the bed, the higher the cost of supplies and soil.
How should you fill a raised garden bed?
There are many disagreeing opinions on this. I’m not going to say any one is absolutely right and the others wrong. Do some experimenting and see what works for you. Some common methods are the lasagna bed and Mel’s Mix. Just make sure you’re not using straight topsoil or straight potting mix. Topsoil will be too dense and poorly draining, not to mention lacking in nutrients. On the other hand, potting soil will drain too quickly and not retain enough water. Make sure to incorporate a good quantity of compost and organic matter.
At the time of writing, I’m still sourcing how I’m going to fill mine. I’ve already filled the bottom quarter with organic material – decomposing leaves from last Fall and some tree branches (it’s a modified Hugelkultur method). My current plan is to mostly fill the beds with a super soil (blend of topsoil, compost, and sand) from a local organic composting facility, and then to lay a yard of compost on top as mulch.
How do I know how much soil I need?
You’ll want to calculate the volume of your bed in cubic yards or cubic feet (the former for buying soil in bulk, the latter for buying bags). Luckily, there are lots of calculators that will do the math for you and tell you how much you need.
Where should you place a raised garden bed?
As with other styles of gardening, your bed should be in a location that gets full sun (at least 6-8 hours a day). A south-facing area is best as it will get the most sun. One of my beds faces south and the other faces west, but both will get plenty of sunlight in the summertime.
If you’re not sure where will be the sunniest, as it is February, this YouTube video walks you through a sun mapping activity to estimate your sunniness. It’s best, though, if you’ve had a chance to observe your yard for sun, drainage, etc, before building.
Otherwise, keep in mind factors like drainage, what other plants/trees are nearby, and how protected the area may be from local wildlife. If you have a Black Walnut tree, try to keep your garden away from it. Dropped walnuts will leach juglone into the soil, which is toxic. If there are deer in your area, you may want to build a deer fence. In my previous apartment, I did not succeed in keeping the deer or squirrels out of my container garden. Here, we haven’t seen deer but we’ve seen some tracks, so we’ll see.
Can you place a raised garden bed on sloped land?
Yes, but you’ll want to account for that in your design. Your bed may need to be deeper on one side than another. I’d highly suggest building this bed in place so you can adjust as needed.
What else can you build raised garden beds out of besides wood?
Alternate options include cinder or concrete blocks, bricks, galvanized steel, wine barrels, logs that haven’t been milled, straw bales, and more that currently escape me. Google and Pinterest are your friends. Just make sure to research the pros and cons of each of these (especially concrete and cinder blocks)!

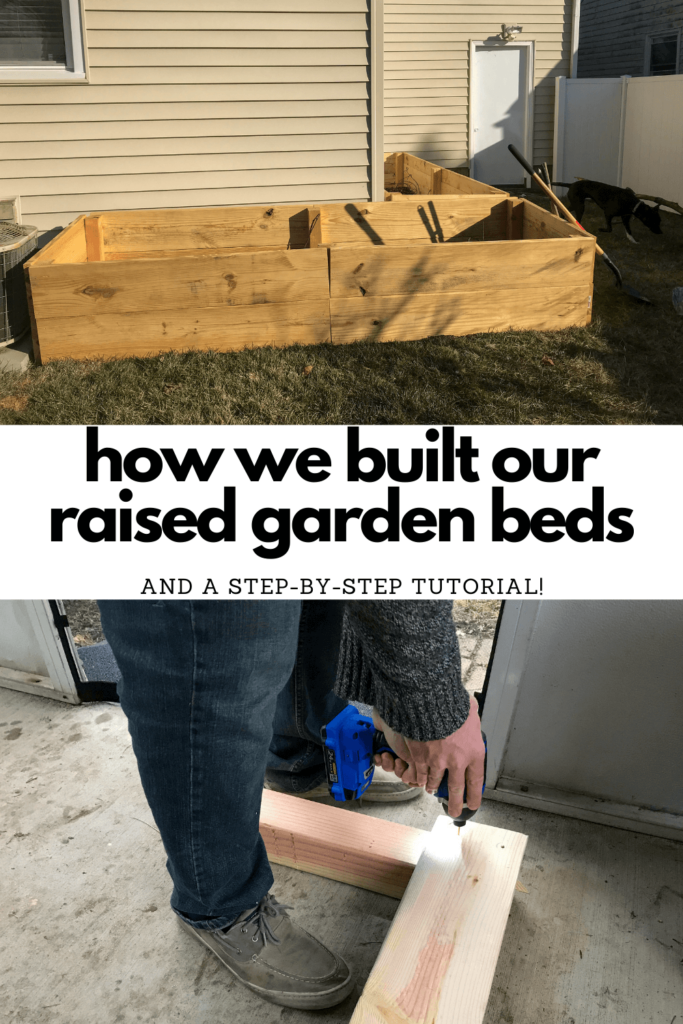
Pint it for later:


Leave a Reply