In today’s post, we’re walking through how to make my everyday sourdough pizza crust – literally the recipe I use once a week. It’s a simple intro to some standard sourdough techniques, good for your gut, and so, so delicious!

I don’t know about you, but pizza night is a pretty sacred weekly tradition in my family. So much so that I have not one, but two sourdough pizza crust recipes committed to memory. Everyone loves pizza, and there are endless variations on it so no one gets bored. And if you’re going eat something covered in cheese once a week, at least the sourdough is more gut-healthy than a yeasted crust.
I’ve previously shared my beginner’s sourdough pizza crust recipe. This recipe is a bit more complex in both ingredients and technique – but also in flavor and texture. It does require two kinds of flour, and I use technical terms like autolyse.
But I also walk you through some standard sourdough terms and techniques if you’re new to sourdough baking. If this seems like a bit much for now, check out my beginner’s no-knead easiest sourdough pizza crust recipe! I still love that one, and it’s definitely more beginner-friendly. But this week’s recipe is just a step above in terms of complexity of flavor and that ideal Italian pizzeria-style texture.
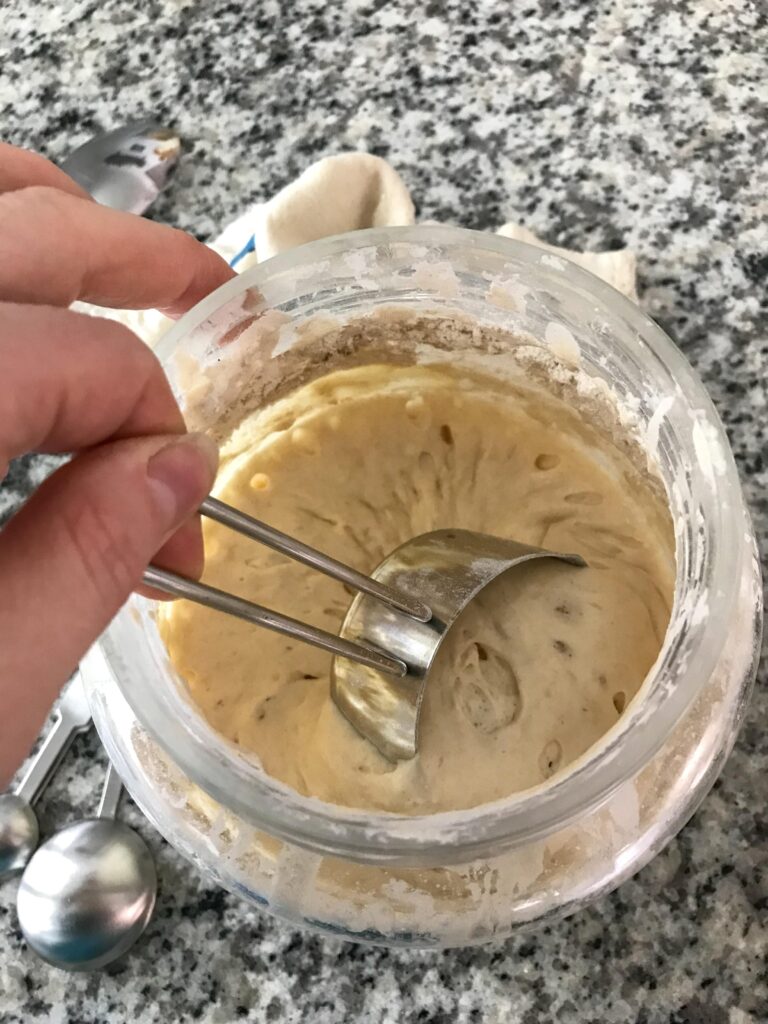
Why sourdough?
It seems like everyone got into sourdough at the beginning of the pandemic. But if it’s still new to you, here’s the rundown:
- Sourdough is much healthier and more gut-friendly than standard yeast breads. Did you know many people with gluten sensitivities (not celiac) can actually digest sourdough just fine? The slow ferment consumes the gluten and changes the protein structure of the finished bread, making it much easier to digest and the nutrients more bio-available to our bodies. Even if you don’t have a gluten sensitivity, you may find it easier to digest sourdough, especially if you’re prone to bloat or a post-lunch slump.
- In breads leavened with commercial yeast, even if it’s a super hearty whole-grain bread, phytic acid limits the body’s ability to absorb minerals. The phytates bind to vitamins and minerals, and because your body has a hard time digesting phytates, it can’t get the vitamins and minerals either. The lactic acid in a sourdough starter reduces the bread’s pH, which degrades the phytates so fewer of them can bind to the minerals in the flour.
- The combination of lactic acid and wild yeasts makes the bread rise; it just takes a lot longer than commercial, or baker’s yeast. Sourdough is how people have made bread for thousands of years – baker’s yeast didn’t become available until the late 19th century. That slow fermentation process also leads to healthier bread on another front – the slower the fermentation, the higher the soluble fiber. High-fiber foods keep you feeling fuller longer and have a lower glycemic index. So no sugar spike and ensuing crash!
Personally, I also just find sourdoughs much tastier and more interesting than “normal” breads. And as a baker, while they are time-consuming, I find sourdoughs more forgiving. Once you get the basics down, they’re pretty hard to mess up and support any number of fun variations. Check out these make-ahead sourdough cinnamon rolls I developed for my family’s Christmas brunch!
Is sourdough pizza good for you?
I’m not going to claim a meal that’s mostly bread and melted cheese is healthy. But I’d say it’s probably healthier than the commercial yeast alternative. And it’s definitely healthier than a frozen or takeout pizza. You have total control over the ingredients, and there’s no weird additives or preservatives. At the end of the day, yes you’re basically eating bread and cheese for dinner, but you can make it healthier with veggie toppings and lighter amounts of cheese, etc.
Is sourdough pizza crust sour?
Only if you want it to be! This is true for just about all sourdough baking – it’s only sour if your starter is hungry.
If you’ve ever gone a while without feeding it, you may have noticed a greyish liquid forming on top and a much more sour smell. This liquid is called hooch, and it’s just an alcohol byproduct that indicates your starter has used up all available food.
If you were to try to bake with your starter in this state, yes it would probably be sour. But a good established starter that’s fed regularly should not be. There might be a slight tanginess that’s not present in commercial breads, but I think that just adds to the complexity of the flavor!

How do I get a sourdough starter?
You can make one! It takes nothing more than flour, water, and wild yeasts you capture out of the air! I’m on my third starter in the last decade (I opted not to bring it with me on moves to and from the US for grad school).
I don’t have a sourdough starter from scratch guide on this site yet (hopefully coming Winter 2021) but there are any number a quick google away.
If you’re impatient, you can also buy some from local or online bakeries. I know King Arthur flour sells it! (This is just information not a recommendation, as I’ve never tried their starter myself. Big fan of the flour though!)
How long does sourdough pizza crust take to make?
Hands-on time is maybe half an hour, spread out across the bulk fermentation period. So you have to be home to do the stretch and folds (more on that below) over a period of about five hours, but the active time is simple and quick. Honestly, it’s easier than a yeast pizza crust recipe. After the dough was been stretched and rested, I like to refrigerate it overnight for best flavor, which adds another day to the total time but isn’t strictly necessary.
How long will sourdough pizza crust dough last?
In the fridge, I’d say you want to ferment it for a max of 36-48 hours. At that point, there’s no more flavor benefit and you’ll lose rise because the yeasts in your dough are out of food. I’ve found the sweet spot for our flavor preferences is to bake the day after making the dough.
Can I freeze sourdough pizza crust dough?
Sure, you can freeze it just like you do regular pizza dough. Doing so just puts the yeasts in your dough into a sort of hibernation. Now if you want to freeze your dough, I’d suggest doing it after the 24-hour fridge rest and shaping. It should last a few months in the freezer – like starter itself does – but at a certain point your yeasts will lose steam.
How do you shape sourdough pizza crust?
The big thing to know is do not use a rolling pin. Doing so will squish all the lovely yeast bubbles your dough has formed throughout its fermentation. In my opinion, the best pizza dough is stretched by hand. Ask you local nonna, and I bet they’ll agree with me.
I like to flour my countertop, both sides of my dough, and my hands, and then press it into a rough circle with my fingertips. From there, I pick it up and lay it over my fists and gently stretch it out, working my way around the circle. If there’s a particularly thick spot, I may hold it with one hand and stretch with the other. But basically, do what you need to stretch it into a round of relatively even thickness.
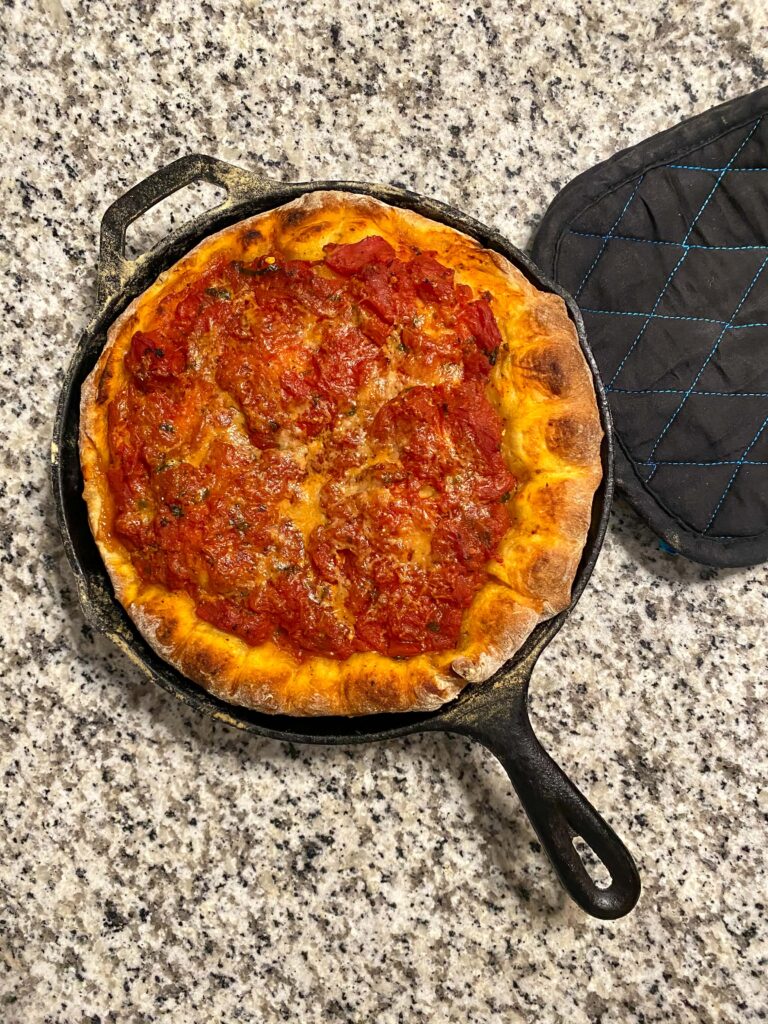
What cheese should I use for pizza?
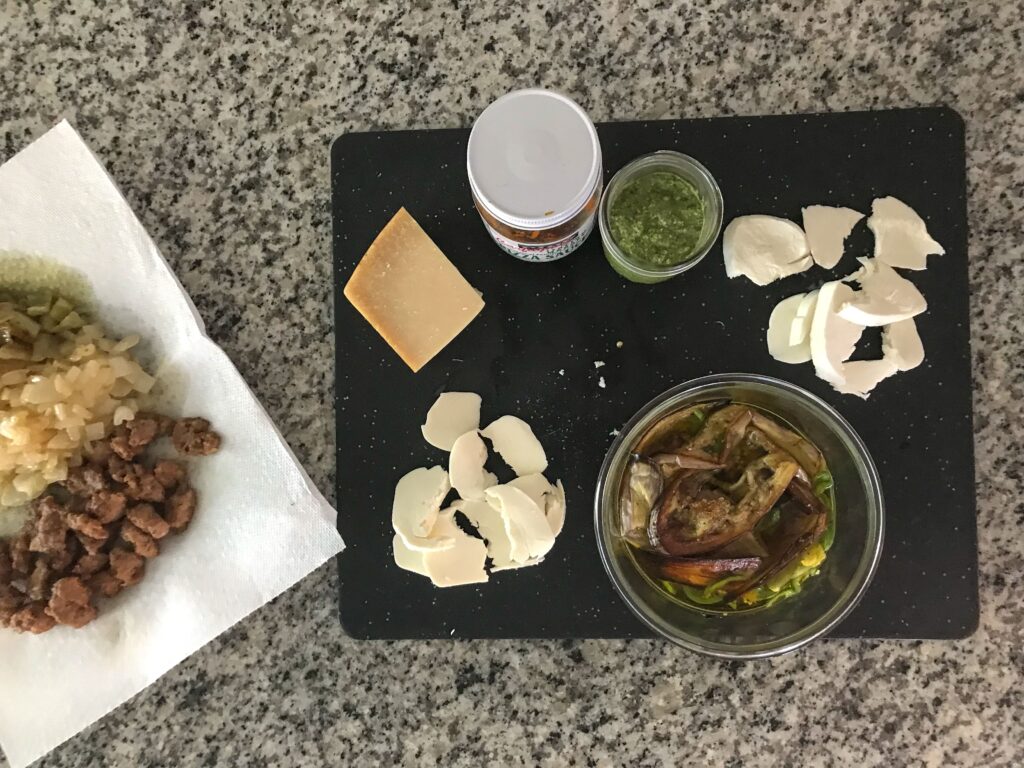
As with other pizzas, the sky is the limit. Obviously mozzarella is the classic, and it melts super well. I prefer to get fresh mozzarella and pull it into chunks for my pizza, whereas my partner prefers to partially freeze it and then grate for a more standard American style. I also love putting goat cheese and ricotta on my pizzas. But feel free to get wild!
What toppings can I put on my sourdough pizza?
Up to you! Two things to keep in mind when picking toppings: 1. Your pizza will only be in the oven for like 10 minutes, so you want to be sure whatever you add will adequately cook in that time or pre-cook it. Granted, the oven will be super hot. But you know, knowledge is power. And 2. Raw veggies can add a lot of excess moisture which may result in a watery or soggy pizza. I pre-cook our veggies just in case.
What’s the best kind of pan to bake sourdough pizza crust?
I’m partial to a pizza stone. If you don’t have one, or you’re making multiple pizzas, cast iron is a great second choice. Both of these will yield a good, crisp bottom crust. If neither are available, you can also use a cookie sheet or other pan, your crust just won’t be as crispy. If using a stone or cast iron, be sure to preheat it with the oven.
Basic sourdough techniques+terms:
Levain
Surprise, this is the french word for leaven, from the verb ‘to rise’ which is lever. Basically, it’s just the fancy term for your sourdough starter. Some recipes will call for a levain step in which you mix a small amount of starter with a small amount of flour and water. You could also just take that full weight amount from your fed starter jar if you have enough.
Discard
Because it’s a living thing, you do have to regularly feed your starter by adding flour and water. Now, unless you have some magic, infinitely expanding jar, at some point you’re going to run out of room. It may also not be advisable to keep so much on hand as you should be feeding it in proportion to its size. Honestly, you probably won’t need more than a cup at any point in time. So discard refers to the portion that you discard before feeding so your jar doesn’t overflow. When feeding, you should aim to replace what you removed. In all honestly, because I keep mine in a big jar, I don’t always discard.
Autolyse
The autolyse is usually one of the first (if not the first) steps in a sourdough recipe. It’s just mixing the flour(s) and water and then allowing it to rest for up to an hour.
You want to do this step because the water activates the enzymes in the flour which begin to break down protein bonds, relaxing the dough. A relaxed dough has higher extensibility, which is its ability to stretch without tearing – something necessary for a good rise. A good dough will have a balance of extensibility and elasticity, or the tendency to resist stretching. Together, they make it so your dough can expand while still trapping the gaseous byproducts of its fermentation, aka it rises without exploding.
Pincer method
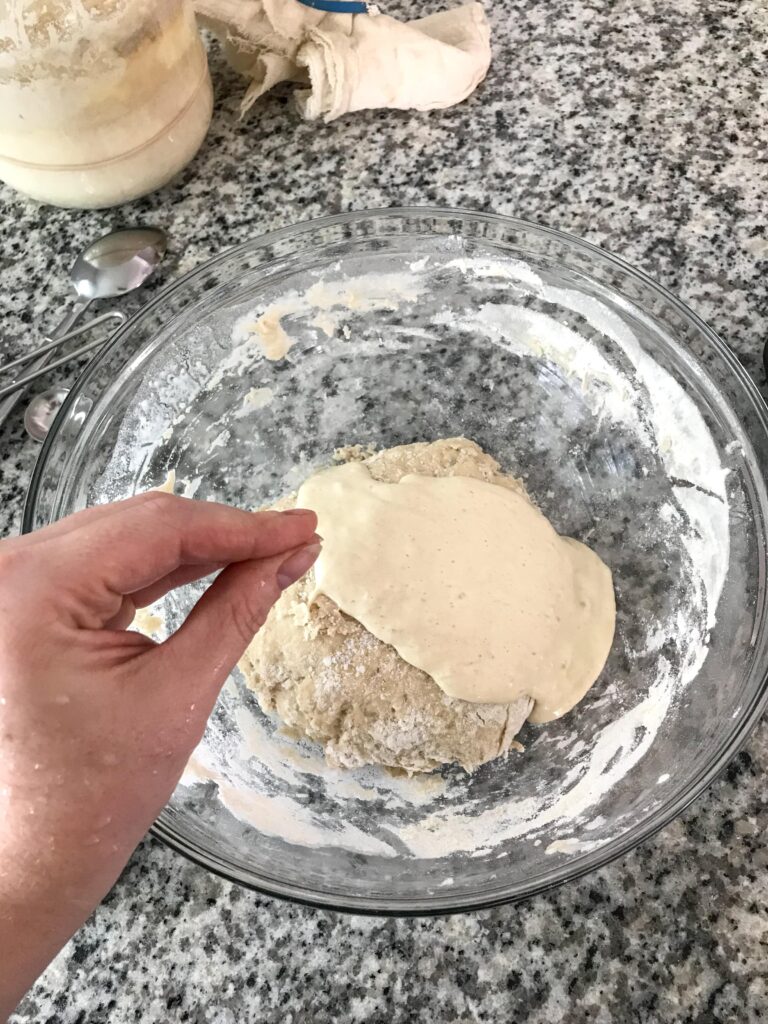
The first kneading technique this recipe calls for is the pincer method. In it, you use a pinching, or crab claw-like motion, to cut ingredients into the dough. Weirdly, it works better than mixing or stretching. It helps get wet ingredients like starter more evenly distributed.
Stretch and fold
This is the standard way to knead sourdough doughs – and is much easier and less work than how you need commercial yeast dough. Basically, using wet hands, get your hand under the dough, pull it up as far as you can without it tearing, and fold it over itself in the bowl. Rotate 45° and repeat until you’ve worked your way around the dough.
Bulk fermentation
Bulk fermentation is basically just the dough’s first rise – after you’ve added the starter but before you’ve shaped. This, surprise surprise, is when it ferments.
Proofing
In contrast, proofing is the second rise, after shaping and before baking. In this recipe, it happens on the day after you make the dough.

My weekly sourdough routine
Obviously, sourdough takes more time and forethought than commercially yeasted doughs. I tend to do the bulk of the week’s baking over the weekend, so here’s how I approach making sure my starter is ready to go whenever I want to bake:
- Thursday night: Before bed, I pull the starter out of the fridge and let it wake up on the counter overnight.
- Friday morning: Discard and feed starter.
- Friday lunchtime: Make my sourdough pizza crust dough. Feed starter to replenish what went into the dough.
- Saturday morning: Discard and feed starter if it seems hungry. Often I skip this feeding.
- Saturday night: Feed starter again. Use discard to make sourdough pancake batter (recipe coming soon!)
If I’m planning to bake bread for the week, I do so on Sunday night. So in that case, I’d leave the starter out again and feed it Sunday afternoon to bake Sunday evening. If I don’t need the starter again til next week’s pizza dough, back into the fridge it goes! I use my starter every week, but you don’t actually have to. A healthy starter can live in the fridge a few weeks between feedings!
How to make Sourdough Pizza:
(See specific measurements in the recipe card below.)
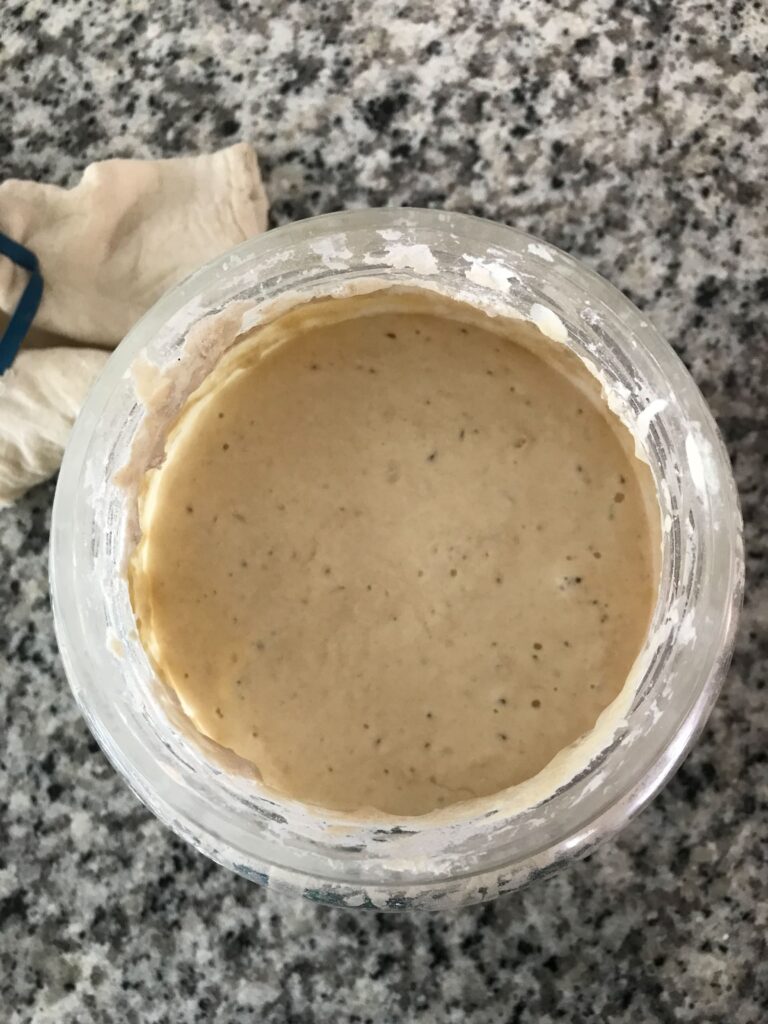
- (if necessary) Two days before you want pizza, remove your starter from the fridge.
2. The day before you want pizza, prepare the dough: Start by feeding your sourdough starter 4-6 hours before you plan to make the dough.
3. Three hours later (or one hour before your starter’s peak ripeness), make the autolyse (aka mix up the flours and water).
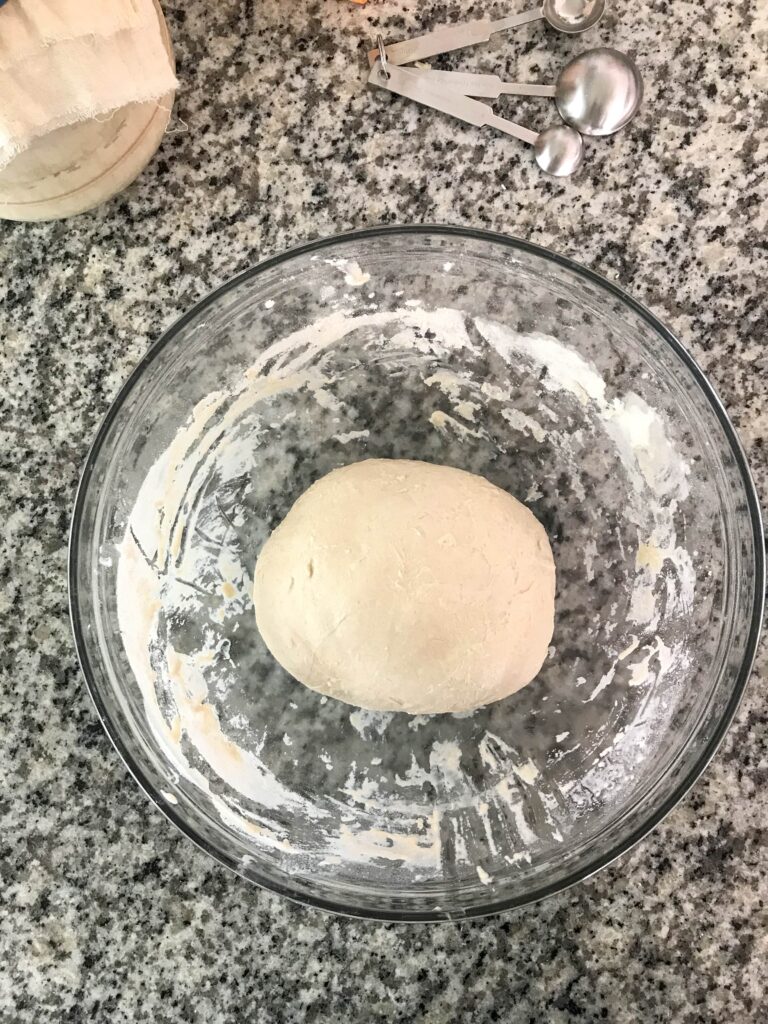
4. Add ripe starter and salt to the autolyse. Use the pincer method to combine everything as best you can and then cover. This begins bulk fermentation.
5. After thirty minutes, do a round of stretch and folds. Every thirty minutes, do another for a total of three rounds. You should quickly see the dough come together and become smooth and tacky. If your dough is too sticky, wet your hands before doing the stretch and folds.
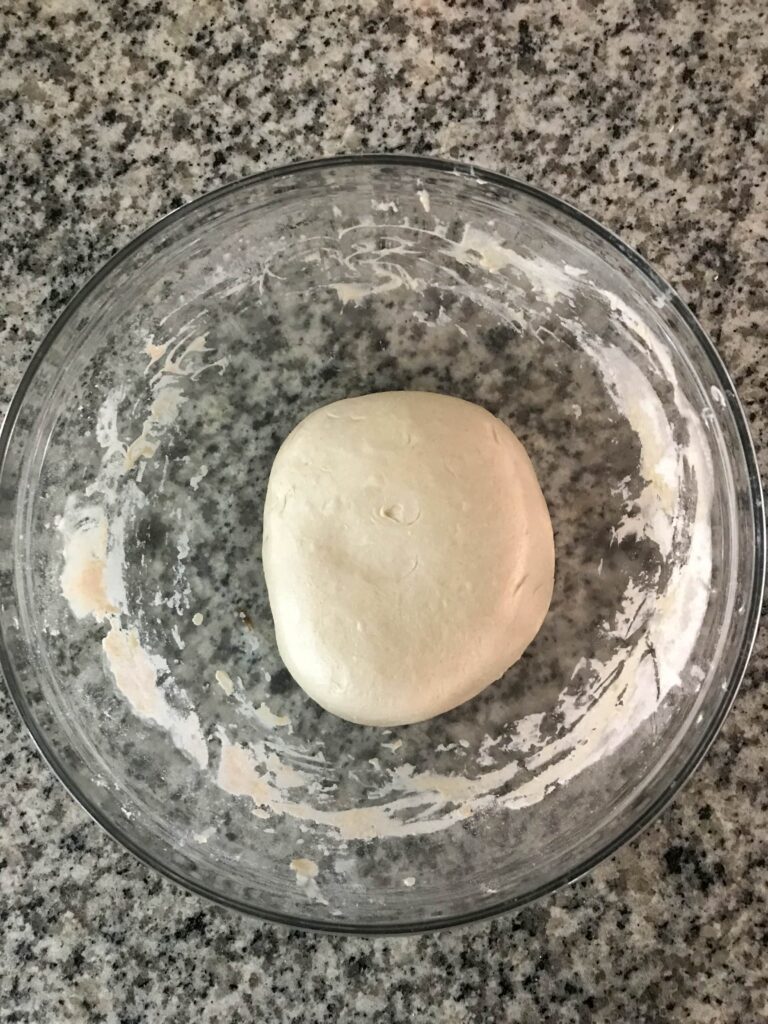
6. After the stretch and folds are complete, allow to bulk ferment on the counter for three hours.
7. Pop into the fridge (covered) to rest overnight.
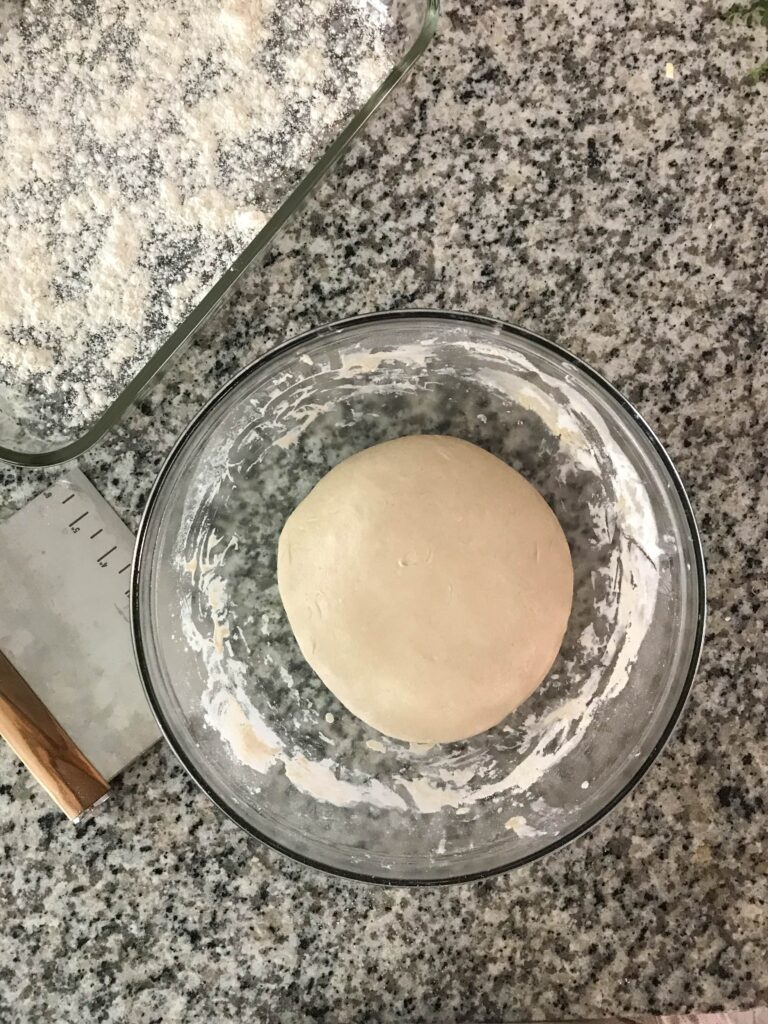
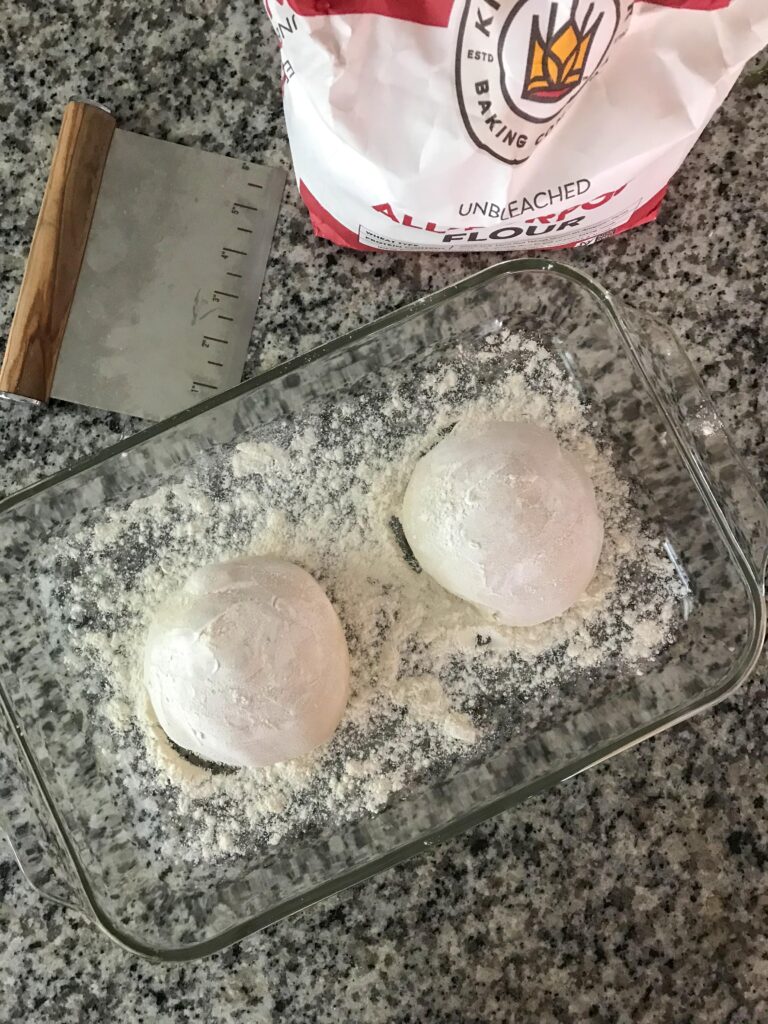
8. Four-six hours (depending on the temperature of your house) before you plan to bake, remove dough from the fridge and shape. I do this on a clean countertop that has not been floured. I find this helps with dough tension and that excess flour can keep the bottom from sealing. Place on a floured plate and cover again for proofing.
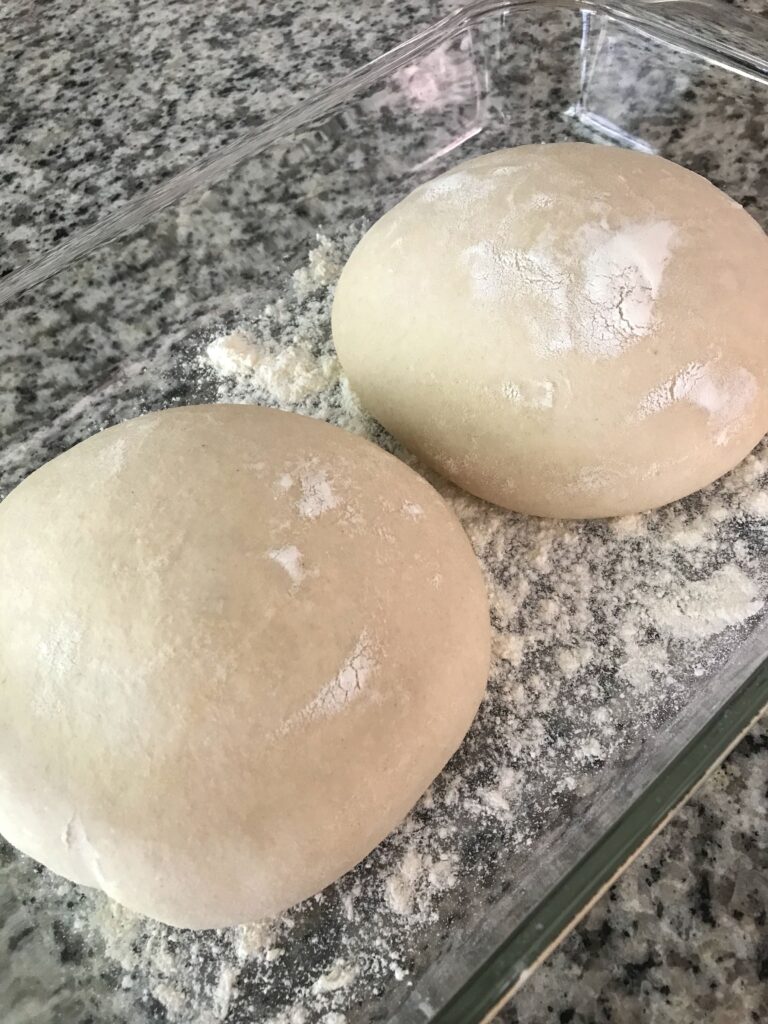
9. One hour before baking, preheat your oven to between 475-550°. Every oven is different, so experiment to find what works for you. We bake ours at 525° on a pizza stone. If using cast iron, be sure to preheat it with the oven. Prepare any toppings while the oven preheats.
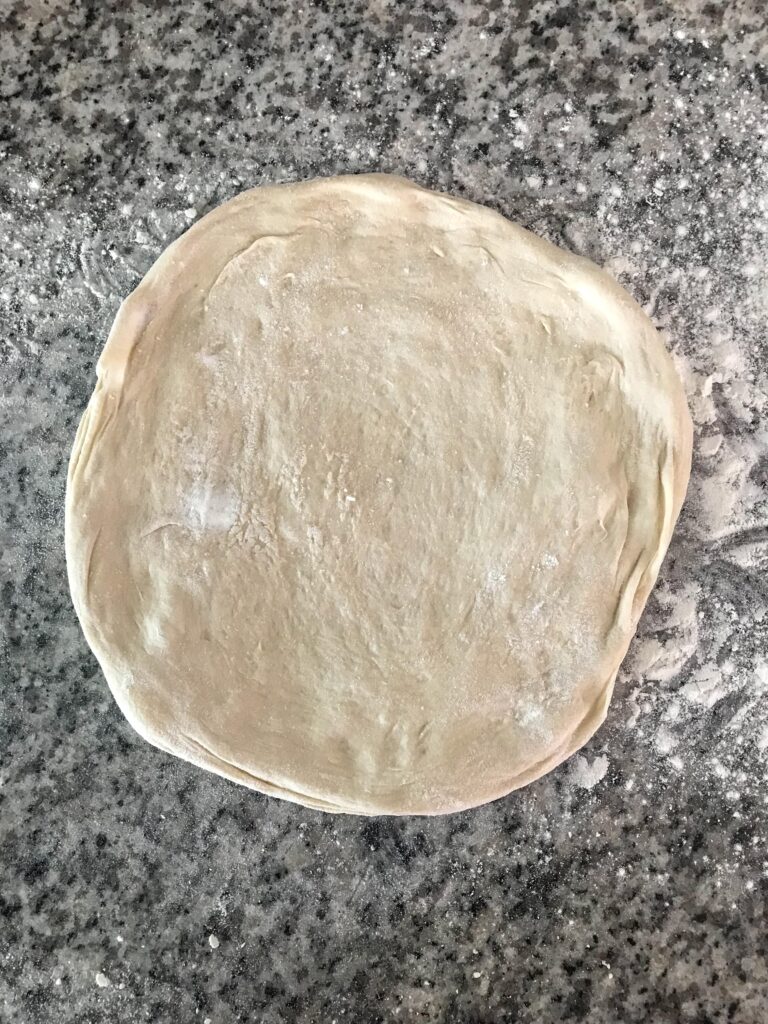
10. After proofing, stretch out your pizza crusts! Place on stone/in pan and cover with sauce, cheese, toppings.
11. Bake for 8-12 minutes until desired done-ness and the temperature of your oven. Allow to rest for 5 minutes before cutting.

12. Enjoy!
Everyday Sourdough Pizza Crust

This homemade sourdough pizza crust takes a little patience, but it's well worth the time and effort. Just about as close to Italian pizzeria pizza you can get at home!
Ingredients
- 60 g active, bubbly sourdough starter at 100% hydration
- 300 g bread flour
- 75 g whole wheat flour
- 225 g warm water (preferably unchlorinated)
- 1 tsp kosher salt
Instructions
- (if necessary) Two days before you want pizza, remove your starter from the fridge.
- The day before you want pizza, make the dough: Start by feeding your sourdough starter 4-6 hours before you plan to make the dough.
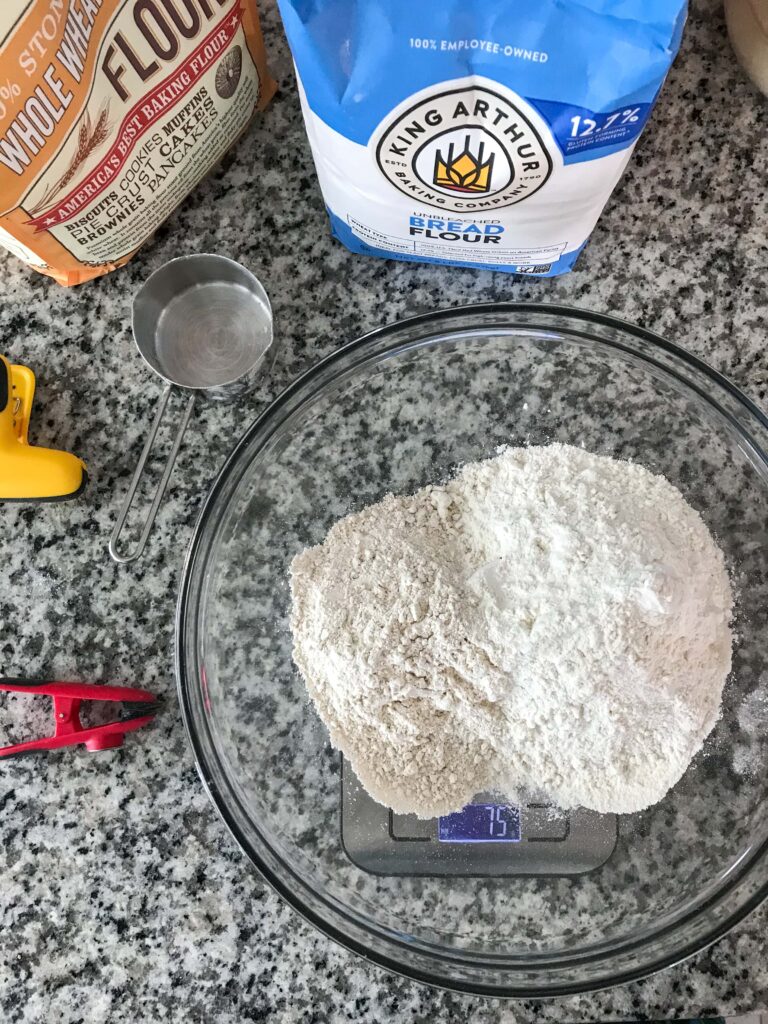
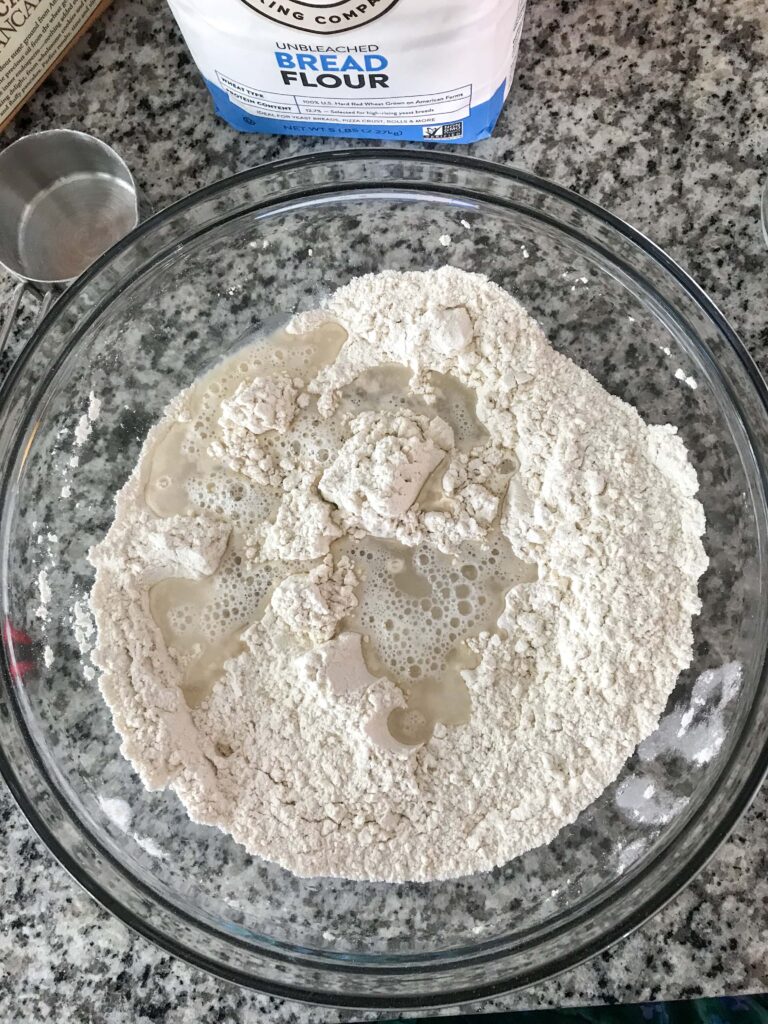
- Three hours later (or one hour before your starter’s peak ripeness), make the autolyse: combine 300 g bread flour and 75 g whole wheat flour in a large nonreactive bowl. Add 225 g of warm water and mix/knead with your hand until all the water is incorporated and no dry bits of flour remain. Cover and rest for one hour.
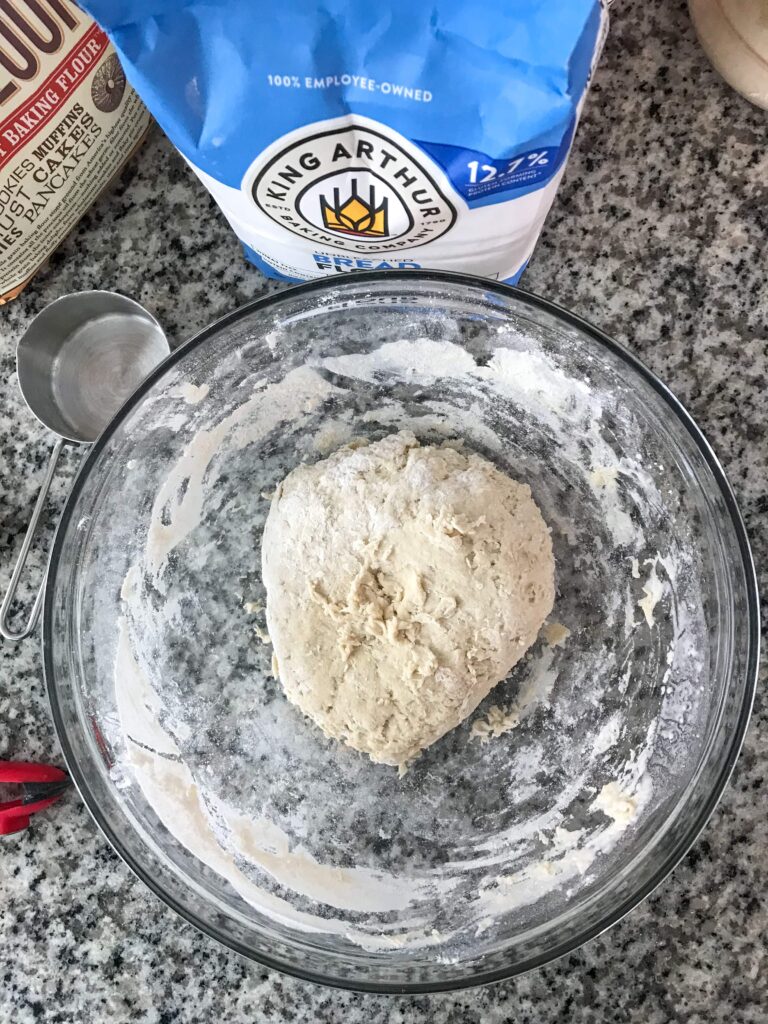
- After the autolyse has rested, add 60 g ripe starter and 1 tsp salt to the autolyse. Use the pincer method to combine everything as best you can and then cover. This begins bulk fermentation.
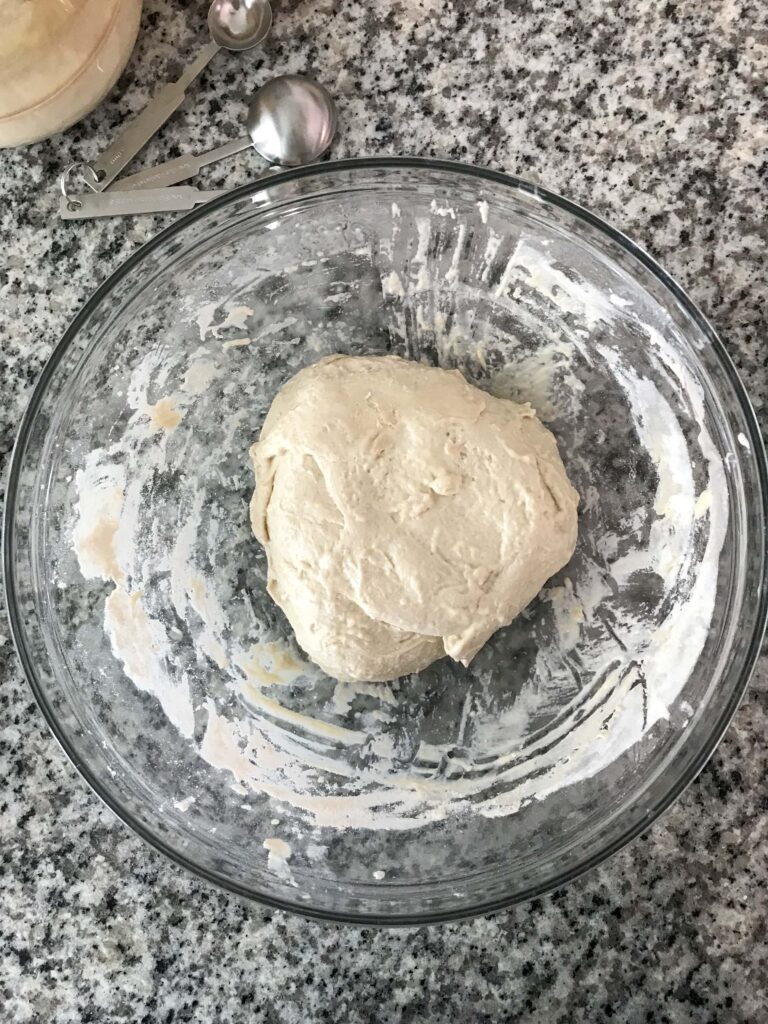
- After thirty minutes, do a round of stretch and folds. Every thirty minutes, do another for a total of three rounds. You should quickly see the dough come together and become smooth and tacky. If your dough is too sticky, wet your hands before doing the stretch and folds.
- After the stretch and folds are complete, allow to bulk ferment on the counter for three hours.
- Pop into the fridge (covered) to rest overnight.
- Four-six hours (depending on the temperature of your house) before you plan to bake, remove dough from the fridge, divide into two, and shape into balls. I do this on a clean countertop that has not been floured. I find this helps with dough tension and that excess flour can keep the bottom from sealing. Place on a floured plate and cover again for proofing.
- One hour before baking, preheat your oven to between 475-550°F. Every oven is different, so experiment to find what works for you. We bake ours at 525°F on a pizza stone. If using cast iron, be sure to preheat it with the oven. Prepare any toppings while the oven preheats.
- After proofing, stretch out your pizza crusts! Place on stone/in pan and cover with sauce, cheese, toppings.
- Bake for 8-12 minutes until desired done-ness and the temperature of your oven. Allow to rest for 5 minutes before cutting.
- Enjoy!

Pin it for later:



Leave a Reply