An herb garden is a great starting point for beginner gardeners. But going back to store-bought herbs when the cold rolls around can be so disheartening. Learn how to preserve fresh herbs from the garden ten different ways. Reap the bounty of your herb garden all year long!
Hands down, one of my favorite things about the summer garden is the ability to cook with fresh herbs every day, as much as I want. Fresh herbs are so expensive at the grocery store. And when you just want some for one meal, the excess can easily go bad. It’s the opposite of my attempts to be low-waste and eco-friendly: it’s literally throwing away food and money.
But during the summer – oh, the summer – every night’s dinner preparation begins with wandering out to the garden and snipping some fresh herbs. It is *chef’s kiss noise*
Unfortunately, summer garden season only lasts so long. By my calculation, my own only lasts about 80 more days. While some cold-hardy herbs like thyme and sage may last into the fall/winter, mostly I’m bereft of the brightness and complexity they add to almost everything.
I know, I know, I have a cabinet full of dried herbs and spices. But the volatile oils that flavor herbs degrade quickly, and who knows how long ago store-bought dried herbs were picked and processed?
If you’re growing a summer herb garden, there are tons of methods of how to preserve fresh herbs so you can enjoy them all winter long. Sure, still not as good as fresh. But definitely fresher than store-bought. And it saves you money and you! grew! it! Maybe someday the novelty and sheer joy of growing my own food will wear off, but not this day. And if I’m growing it, I want to preserve it so I can enjoy it as long as possible. Today, we’re continuing our series on using the harvest by learning how to preserve fresh herbs!
Why might you want to preserve your own herbs?
Beyond reaping the harvest of your garden for a longer period of the year, preserving your own herbs is both more cost-effective and more flavor-effective. Er…you know what I mean.
Herbs can be expensive, depending on how you cook. If you’re regularly spending a few bucks on those little plastics containers of fresh herbs, not only does that add up dollar-wise, it’s also a lot of unnecessary plastic. Even dried herbs, if you’re buying organic and sustainably-sourced, can stress the bank account.
Grocery store dried herbs will also likely be of lower quality than ones you produce from your own garden. You don’t know where they were grown or how they might have been treated. You also don’t know when they were grown and harvested. As with medicinal herbs, the flavor component of culinary herbs comes from essential oils, which easily degrade with exposure to heat and light. Check out this article from the journal Critical Reviews in Food Science and Nutrition if you’re interested in the science of it all.
What herbs can you preserve?
All of them! Some might lend themselves better to different preparations than others. And some might be more sensitive, and thus lose quality more quickly. But if humans have cultivated it for any length of time, I’m sure humans have found a way to preserve it. Today I’m focusing on how to preserve fresh herbs that are commonly used in cooking and tea, like basil, sage, rosemary, thyme, oregano, mint, chamomile, etc. But many of these methods also work for medicinal herbs!
When should I pick herbs I want to preserve?
As a common rule of thumb, most plants should be picked in the morning after the dew has dried but before the sun has hit them. (Nightshades like tomatoes are the exception here.) The heat and light of the sun will stress the plant and evaporate the oils.
If you’ve only recently planted it, wait to harvest until the plant has at least enough foliage to sustain itself. I’d suggest leaving at least ⅓ of the plant at any one harvesting. Be sure to also harvest before the plant flowers. This is both because its production will decline after flowering and because most often the taste changes, becoming bitter.
Luckily, for herbs, harvesting and pruning tend to be one and the same. And doing so delays flowering as you’re removing the top part of the plant that might attempt to flower. If you’re using the flower head of the herb, like for chamomile or lavender, harvest the first morning they bloom. This is when oil concentration and flavor will be strongest.
Harvest annual herbs right up until the first frost. If you live in a climate where herbs are perennial, stop harvesting about a month before your first frost date. Late pruning can encourage tender growth that won’t have time to harden-off before the cold weather comes.
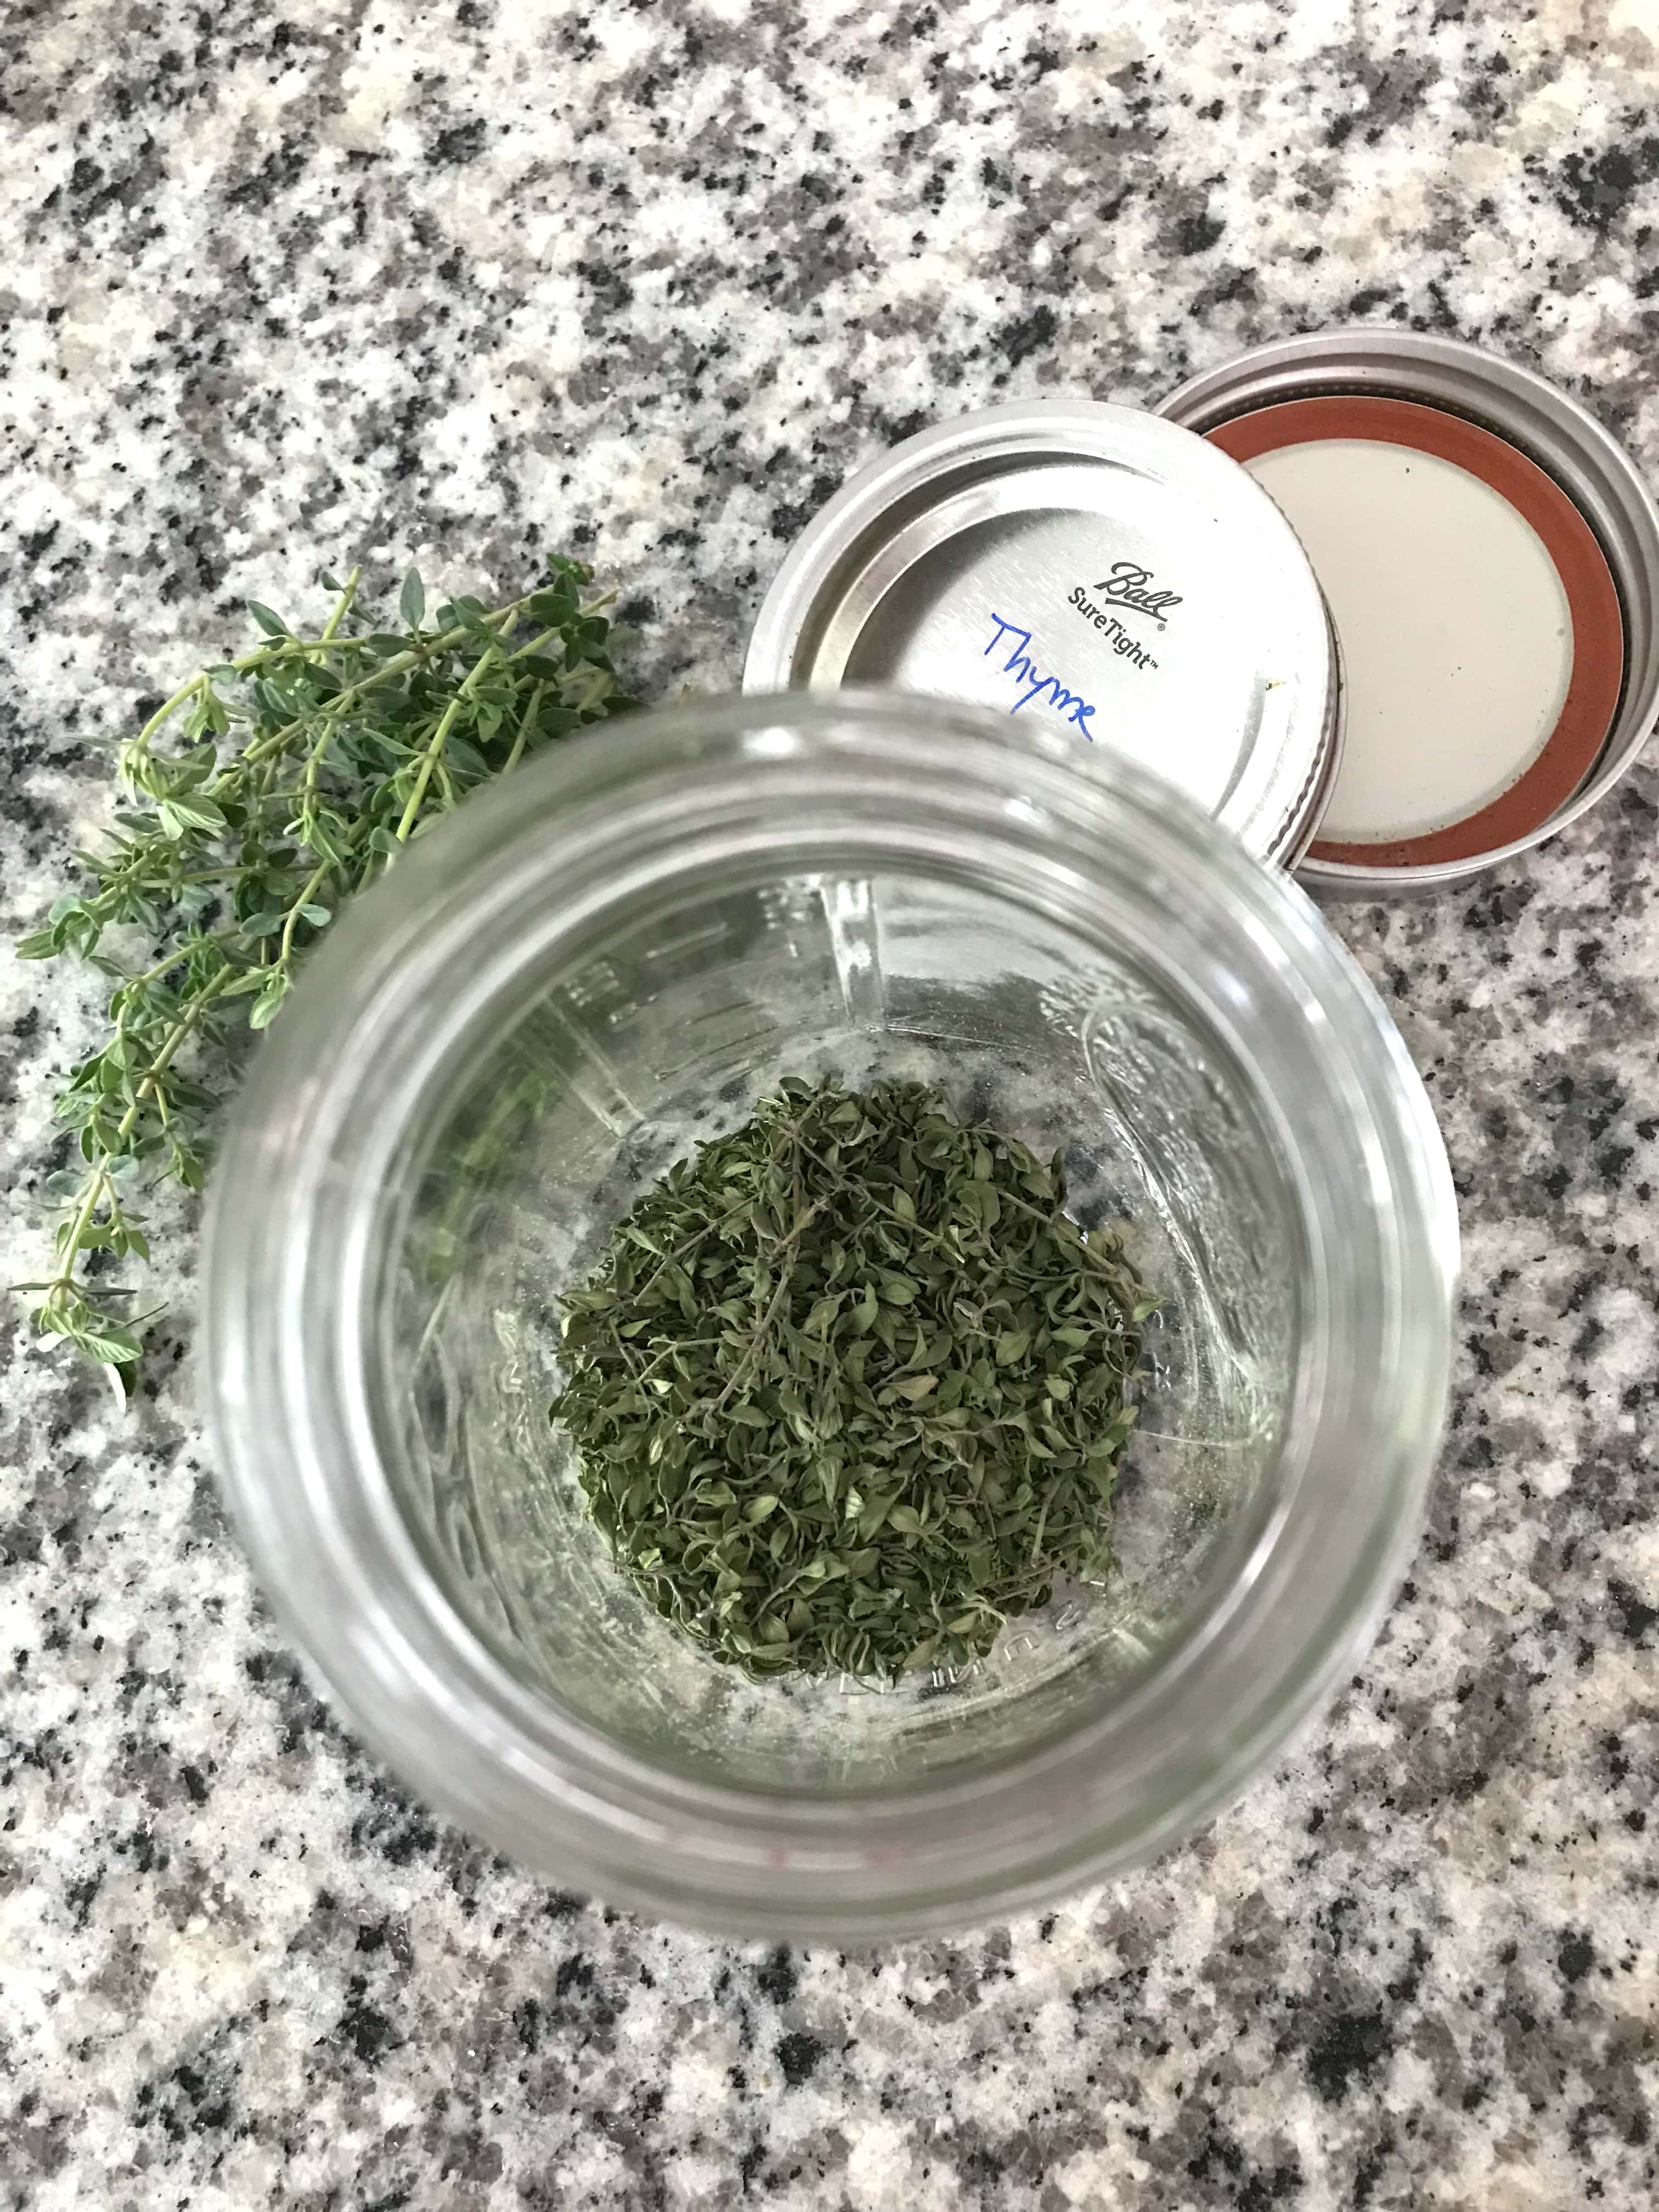
How do I prepare and preserve herbs once picked?
It will depend some on the specific herb and method of preservation. If your herbs look clean and you’re not using any synthetic or harmful chemicals in your garden, no need to wash. Doing so will invite decomposition and delay the whole preserving process. If you see dirt, bugs, or other undesirables, wash and then allow to thoroughly dry before moving on to preserving. Also remove any dead or damaged foliage.
If possible, preserve and then store your herbs whole. Crushing them releases the flavor, and the whole point of preserving them is to save that for future meals! Some of the methods below, though, do require chopping or grinding. Just follow the directions for the method on how to preserve fresh herbs you choose!
How to Preserve Fresh Herbs 10 different Ways:
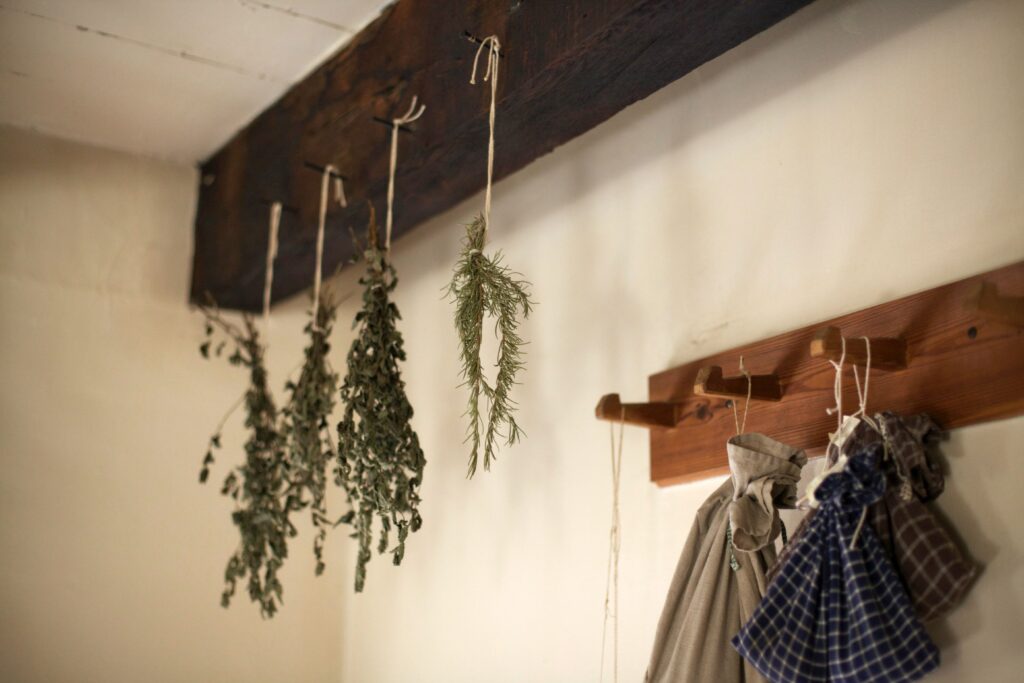
1. Air Dry Your Herbs
This is the simplest (and probably most traditional) method on this list. It’s also one of the best ways to preserve the quality of flavor of your herbs as it’s much gentler than the other drying options.
After you’ve picked through, and washed and dried if needed, tie herbs by their stems into small bundles with twine. Hang upside down in a warm, dry place with good air circulation – but out of the sun. If you’re worried about too much sunlight hitting them, tie in a paper lunch bag with holes punched out (this is also critical if you’re drying something with seeds, like dill). Be sure also that you’ve tied them loosely as this helps with air circulation.
If you don’t have a good place to hang them up, herbs can also be air dried by spreading them out on a window screen or dehydrator tray. Prop the screen up to ensure air can circulate around the bottom, and be sure to turn leaves often.
When dry, collect herbs and seeds and store in light-proof containers (or at least in a dark cabinet). Herbs are sufficiently dry when brittle – leaves should snap or crumble easily. Try to separate from their stems gently, without crushing them. Store in a cool, dry place away from light, moisture and heat.
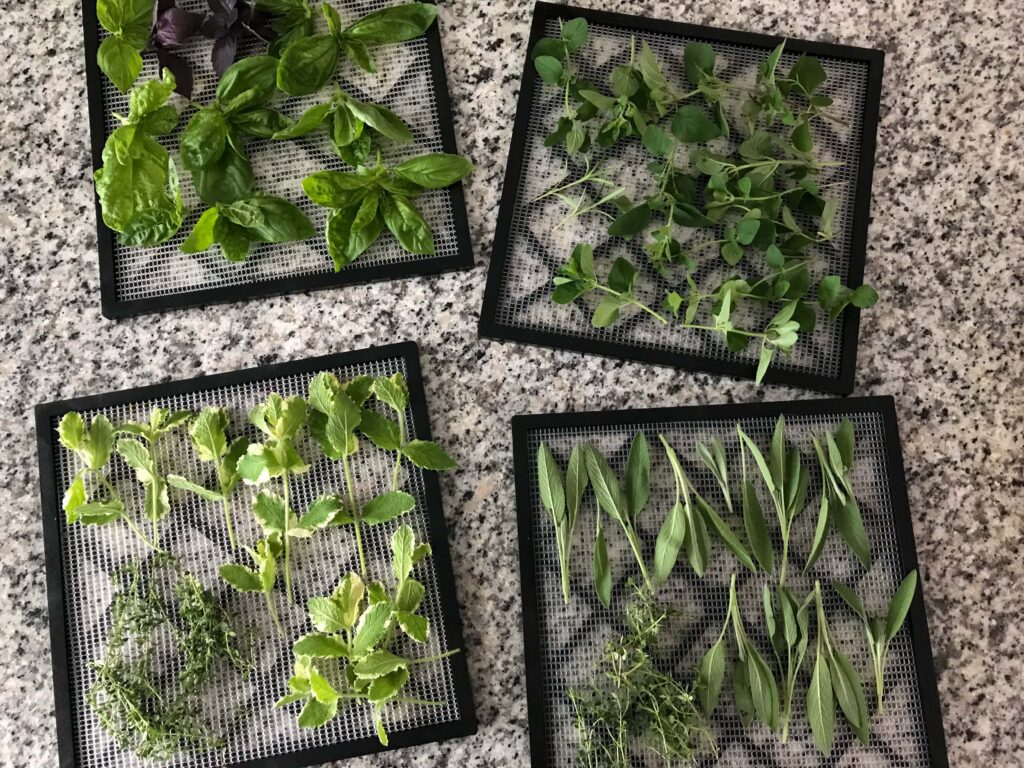
2. Dehydrate Your Herbs in a Dehydrator
If you’re feeling impatient or don’t have the right kind of space for air drying, a dehydrator is also an excellent option for how to preserve fresh herbs. Look over and wash and dry if necessary. Spread dry herbs out in a single layer on trays – you don’t want much overlapping as it will slow the process down.
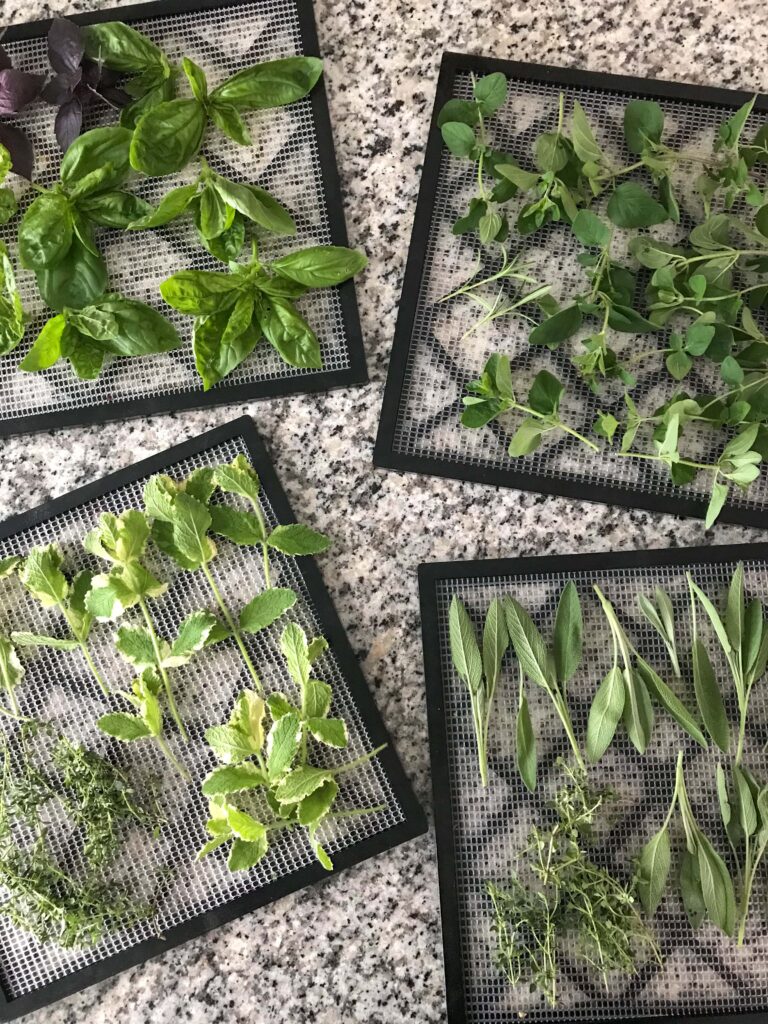
Set your dehydrator to a low setting – mine has a “living foods” setting for herbs (and yogurt, sourdough, etc) that’s 95°F (or 35°C). And then be patient while the dehydrator does its thing! You may want to rotate the trays every once in a while to ensure even drying. I just throw a bunch of different herbs in at once – whatever was ready to be picked that day. As some dry faster than others, I just pull those trays. I’ve found thyme to finish relatively quickly whereas sage takes a lot longer. Be sure after dehydrating that you let things cure for a few hours before putting in sealed containers.
As above: when dry, collect herbs and seeds and store in light-proof containers (or at least in the dark). Herbs are sufficiently dry when brittle – leaves should snap or crumble easily. Try to separate from their stems gently, without crushing them. Store in a cool, dry place away from light, moisture and heat.
3. Dehydrate Your Herbs in an Oven
You can also dry herbs in a standard oven, though it’s less desirable than air drying or dehydrating. Most ovens don’t go below 170°F (~76°C), which is hot enough for the quality of the herbs to decay. Though it will be much faster than the other methods!
Spread herbs in a single layer on cookie sheets and dry on the lowest temperature setting you can. Keep an eye on them as timing will vary.
As above: when dry, collect herbs and seeds and store in light-proof containers (or at least in the dark). Herbs are sufficiently dry when brittle – leaves should snap or crumble easily. Try to separate from their stems gently, without crushing them. Store in a cool, dry place away from light, moisture and heat.
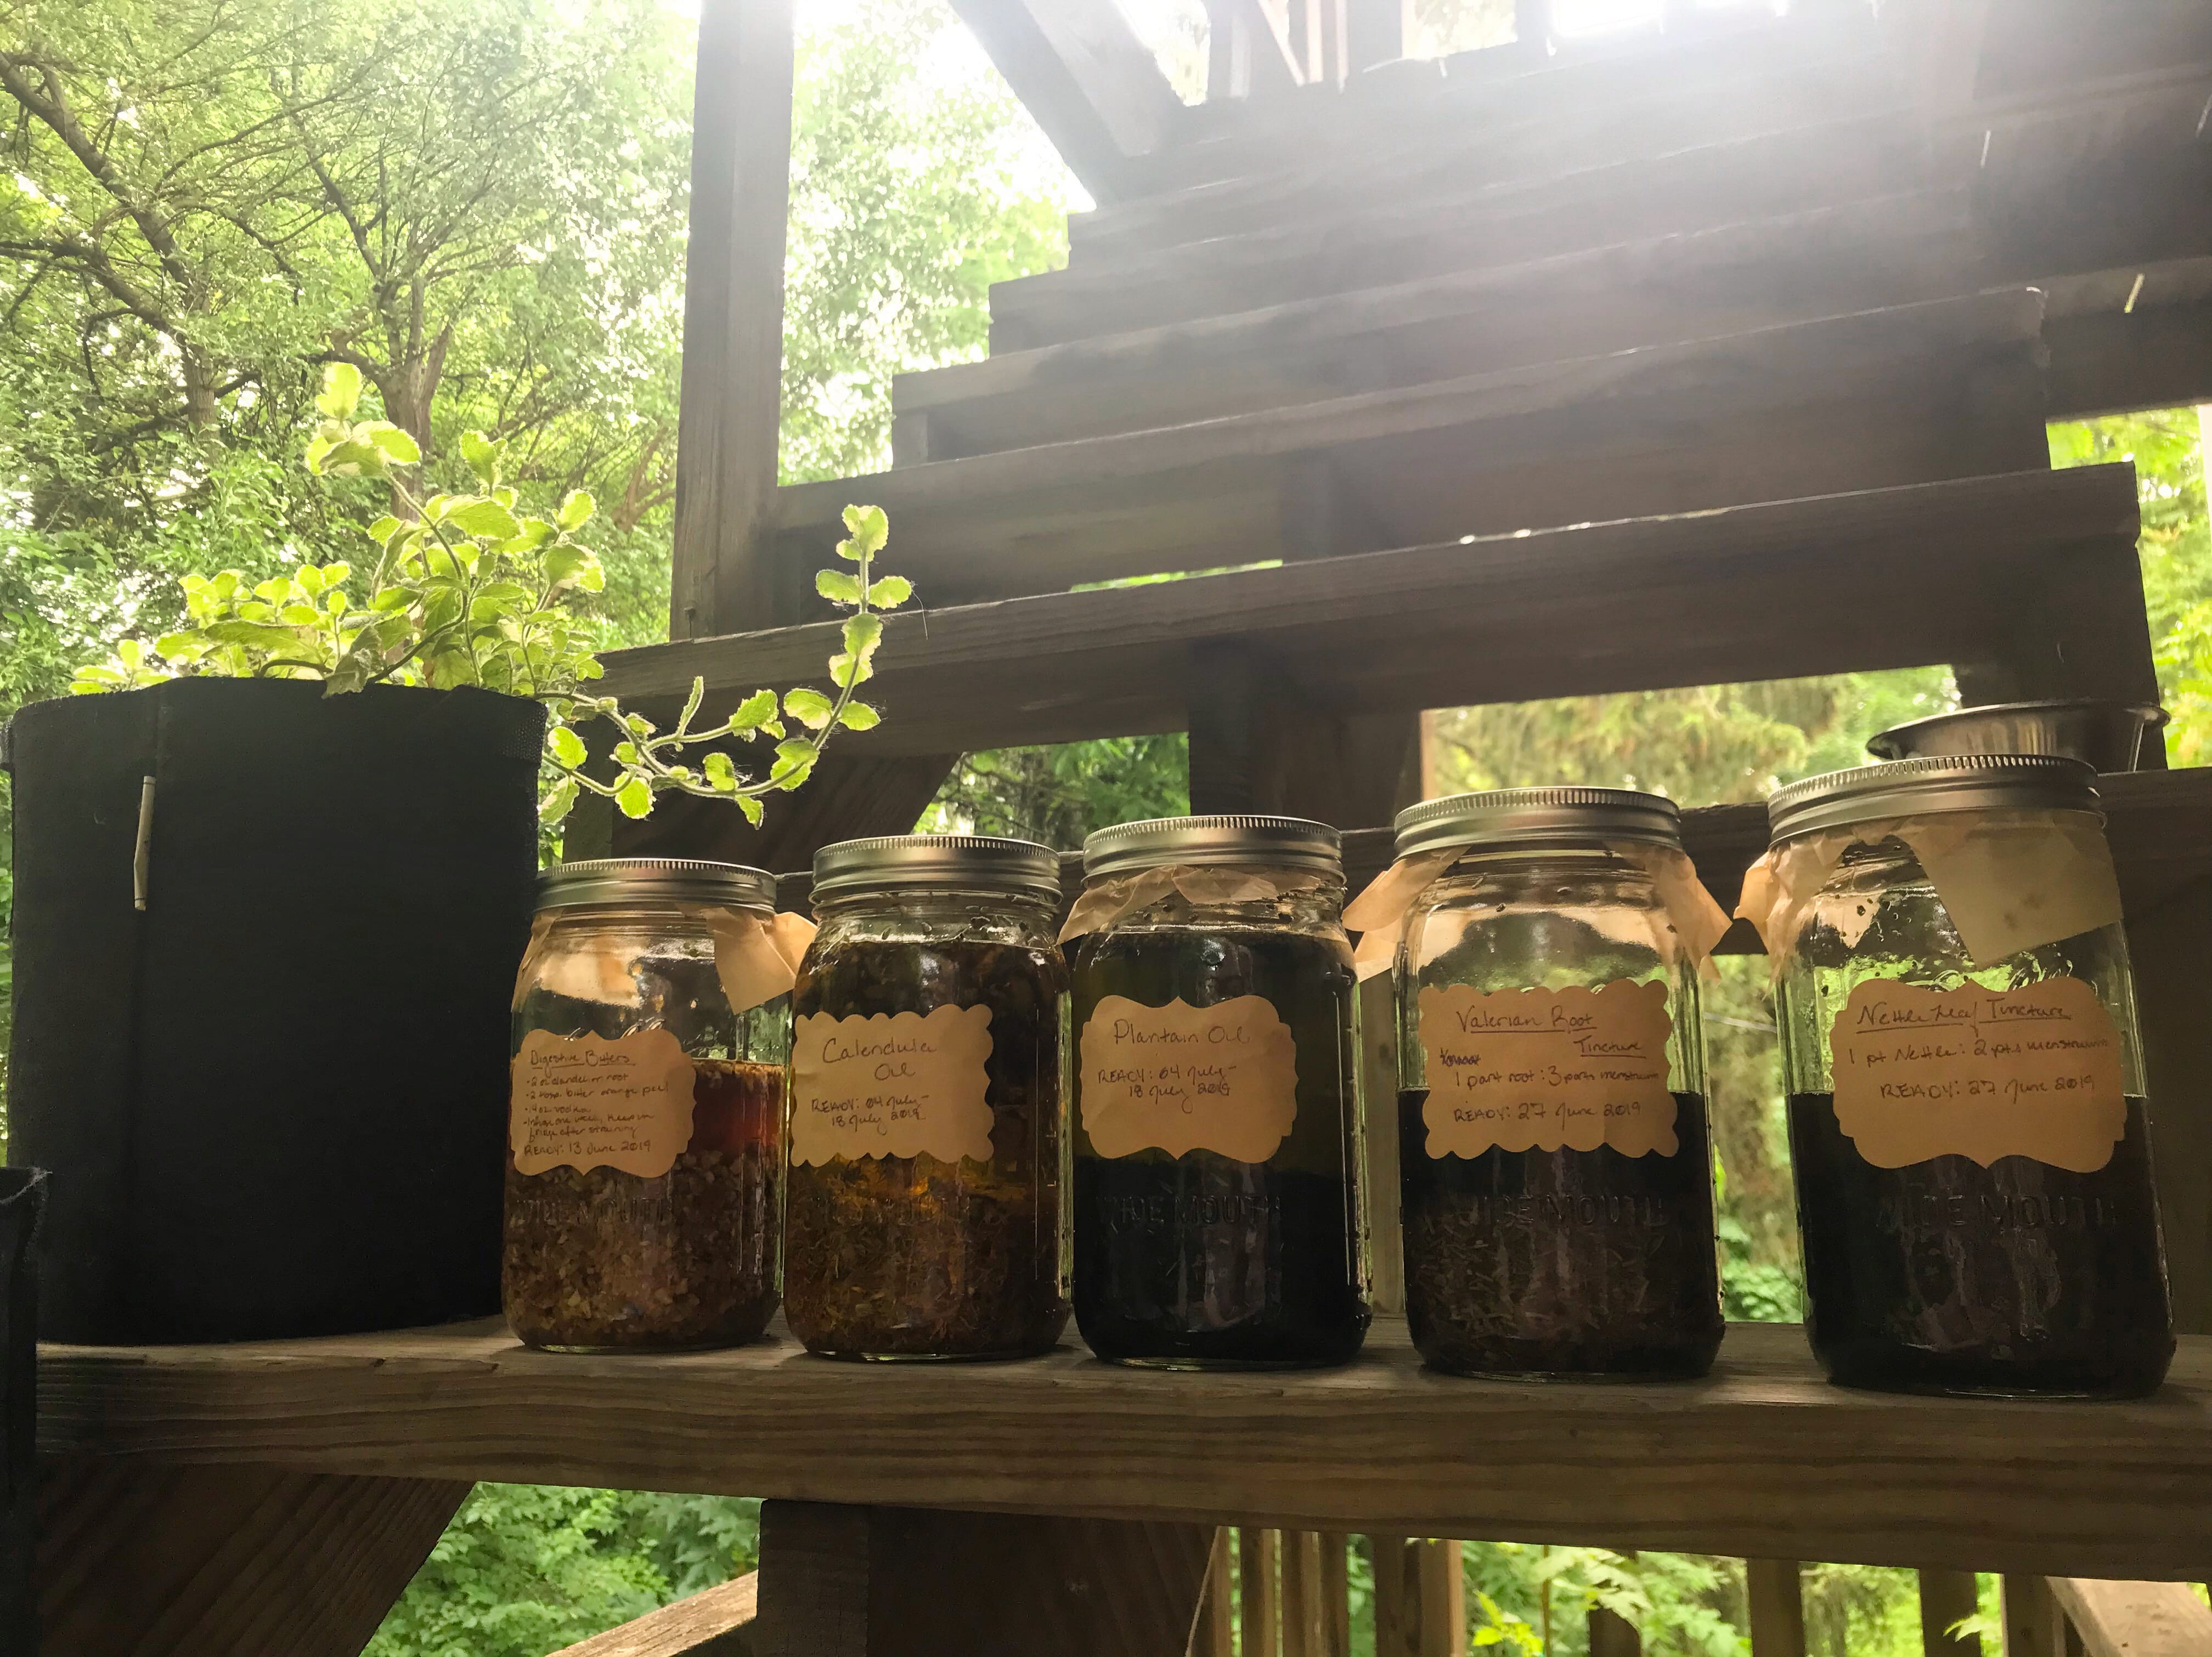
4. Preserve Herbs in Olive Oil (Either Frozen or Kept in the Fridge)
This method has two options. You can just infuse your olive oil so it tastes like the herb of choice. Or, you can freeze herbs in olive oil in small portions for dropping in recipes down the line.
In the case of the former, be sure herbs are clean and dry before putting in a jar and covering with oil. I’d suggest not making huge quantities at once, as the oil can go rancid. It’s also best practice to store in the fridge.
In the case of the latter, prepare the herb for however you’ll want it when you add it to a recipe. So, remove stems and chop to your desired consistency. Then cover in olive oil. A great way to portion this out so you can pull only what you want to use at any one time is to use an ice cube tray. Fill wells with chopped herbs, top with oil until the well is full, then freeze until set. Once set, you can pop them out and store in a jar or bag.
You can certainly use fats other than olive oil – try coconut oil, ghee, or whatever fat you cook with most frequently. Also note that these melt super fast, so only pull out the amount you need right before you need them.
5. Freeze Herbs in Water or Broth
Besides oil, herbs can also be frozen in water or broth. This may be preferable if you’re anticipating addings herbs to soups and stews come fall and winter.
It’s the same method, though: prepare the herb for however you’ll want it when you add it to a recipe. So, remove stems and chop to your desired consistency. Fill an ice cube tray with chopped herb, and cover with water or broth. Freeze until set then pop them out and store in a jar or bag. This is actually how I prepare kale for smoothies!
Any of these methods that involve freezing the herbs (or any veggie, really) will result in herbs that are great for including in a recipe. But they’ll no longer be good for eating fresh or using as garnish. Freezing plant matter causes the expanding water to burst the plant’s cell walls, ruining the texture.
6. Freeze Herbs On Their Own
Of course, you can also just freeze the herbs as they are, without a liquid medium. It will work best to keep them whole and store in a vacuum-sealed bag or container. Keep in mind portion sizes, as once frozen it will be harder to portion out.
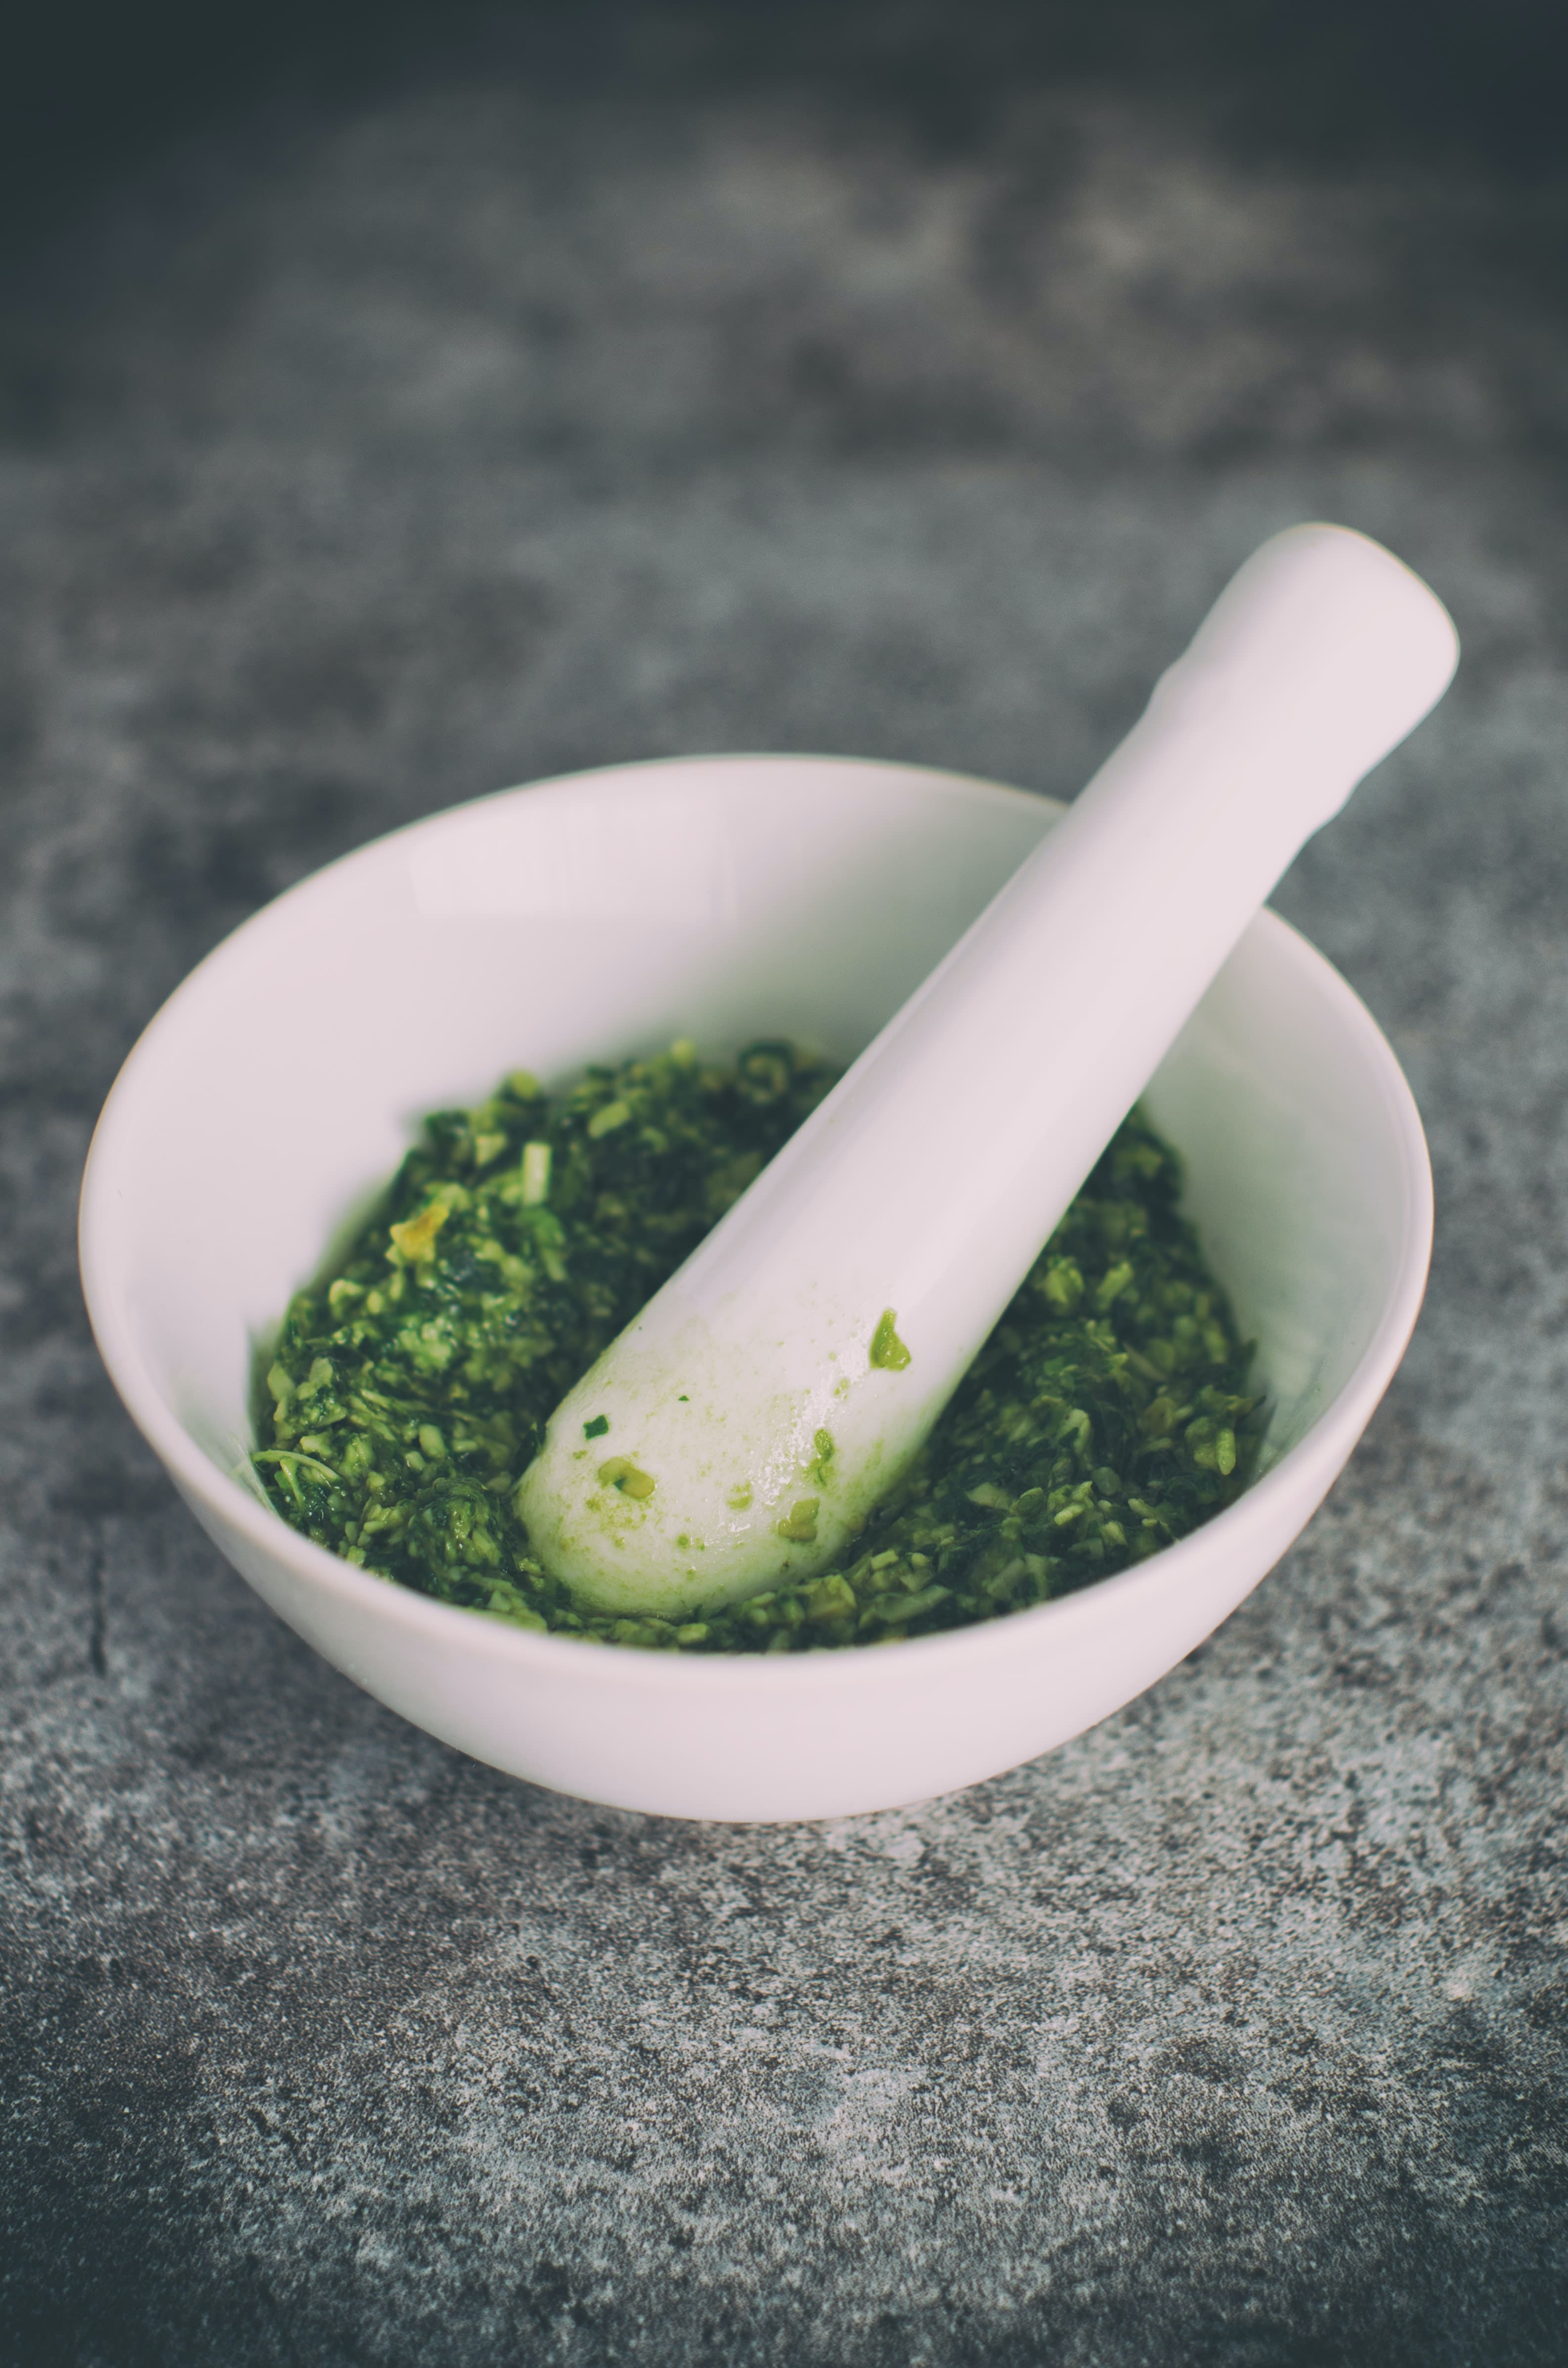
7. Make Herbal Pastes like Pesto
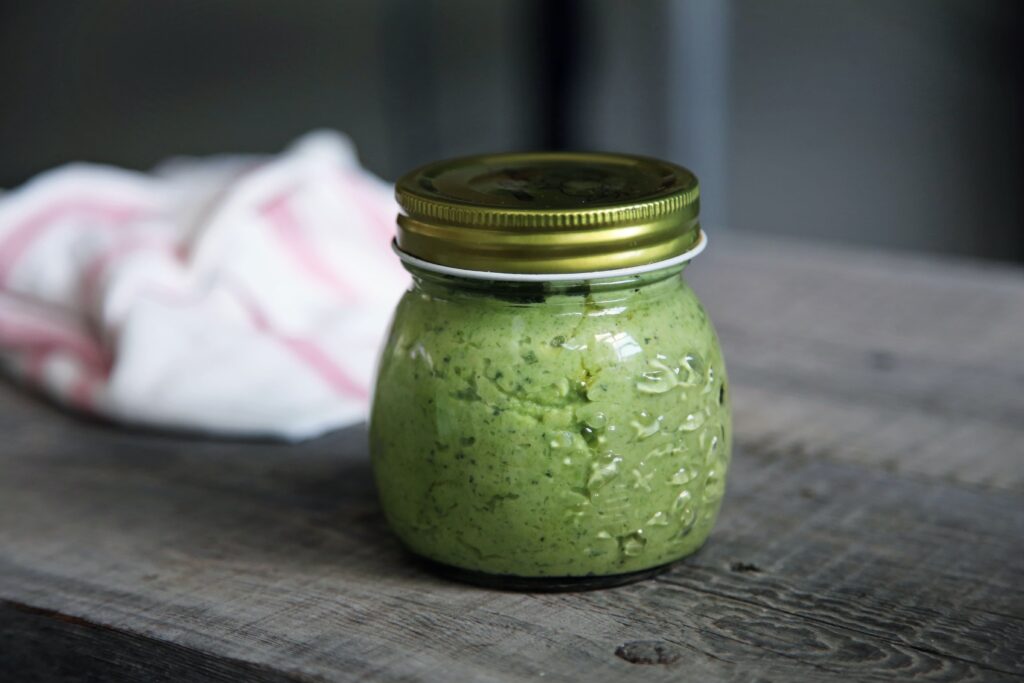
It may not seem like it, but pesto is also how to preserve fresh herbs in olive oil! The higher quantity of plant matter in pesto (not to mention the cheese), means it definitely has to be stored in the fridge (or freezer!) and it won’t last as long. But it’s still a super tasty preservation method!
I don’t yet have a pesto recipe up on this site, but there are loads only a google away. You also don’t really need a recipe – it’s one of those things you do by more by feel/according to personal taste. The traditional Italian method is a combo of fresh basil, parmesan cheese, pine nuts, and olive oil. But feel free to mix up the herbs, cheese, or nuts! In the spring, I made a spinach pesto that was really excellent.
Blitz up the first three ingredients in a food processor and then drizzle in olive oil with the motor running until it reaches your desired consistency. And voila – you’ve got pesto! Use with roasted veggies, pasta, or on my easy sourdough pizza dough!
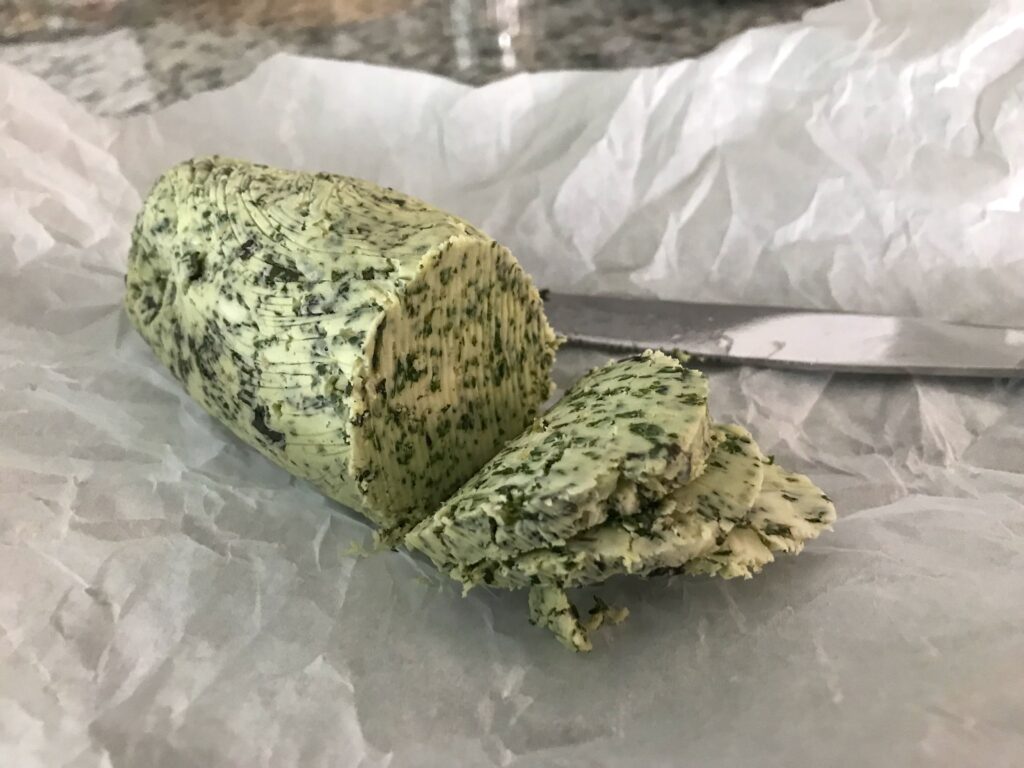
8. Make an Herbal Compound Butter
Following a similar logic to the pesto, you can preserve herbs by making them into a compound butter. It’s so simple you don’t even need a recipe. Mix your chosen herb(s) with softened butter, a pinch of salt, and maybe some garlic. You can do this by hand in a bowl, but a food processor makes it a breeze. The picture above is a garlic basil butter that I’m using to finish roasted veggies.
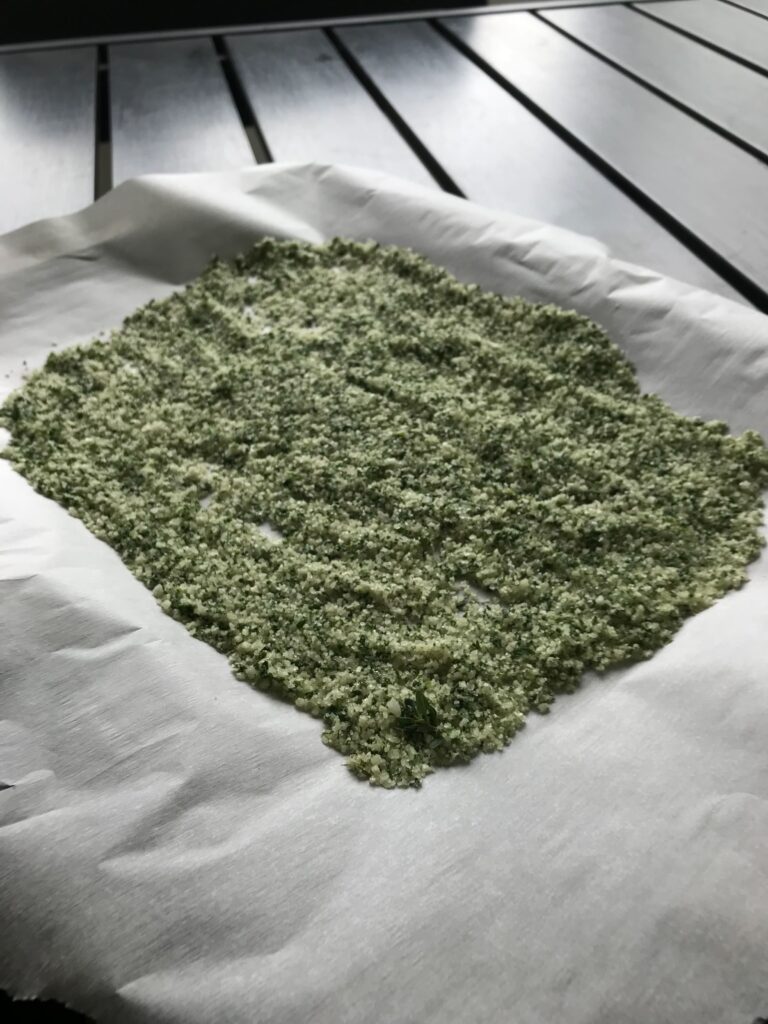
9. Make Herbal Seasoning Salts
Salt is an age-old preservative. When using it for herbs, you blend finely chopped herb with a coarse salt and lay it out to dry for a couple days. When done, you have a fragrant salt for seasoning roasts, vegetables, soups – you name it. It also makes a lovely gift.
The method is simple: aim for a ratio of about 1 cup herb to ½ cup coarse sea salt. You can also add minced garlic if you wish! Chop the herb finely, or blitz with a couple tablespoons of the salt in a food processor. Then mix into the rest of the salt and spread out on a parchment-lined cookie sheet. Leave to dry for a day or two then pour into a jar and enjoy your herbs for months!
Make a Tuscan-inspired herbal salt by using half and half rosemary and sage plus some garlic. Or go French with a Provence-inspired blend of thyme, rosemary, savory, and lavender.
10. Make Herbal Sugars
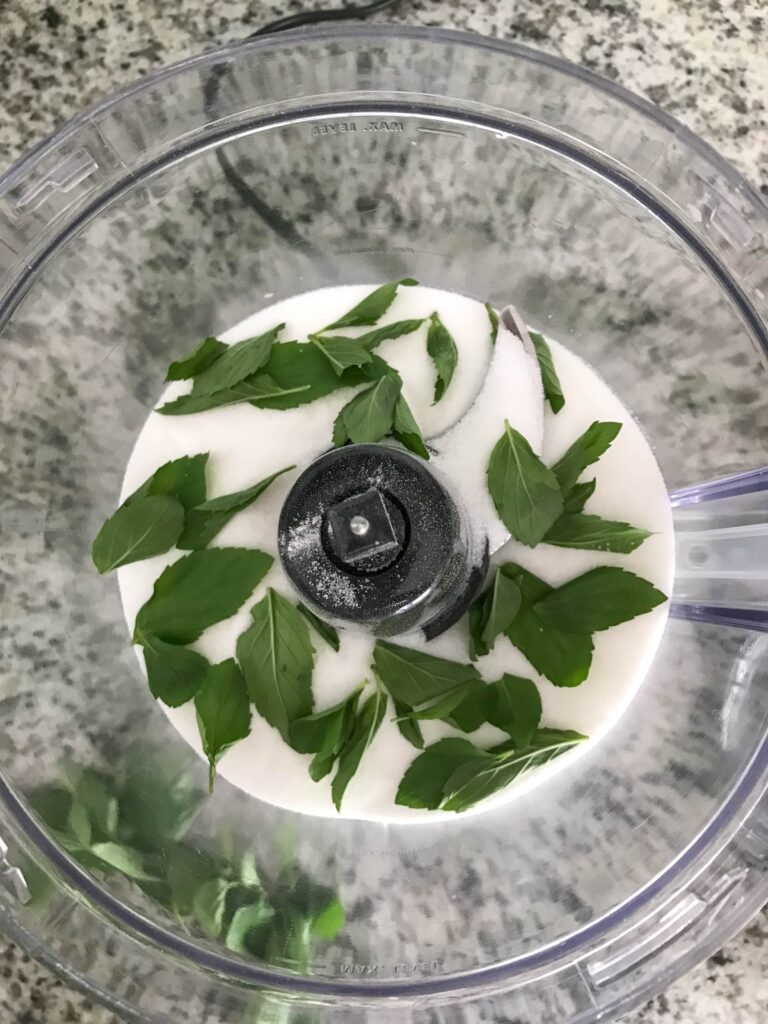
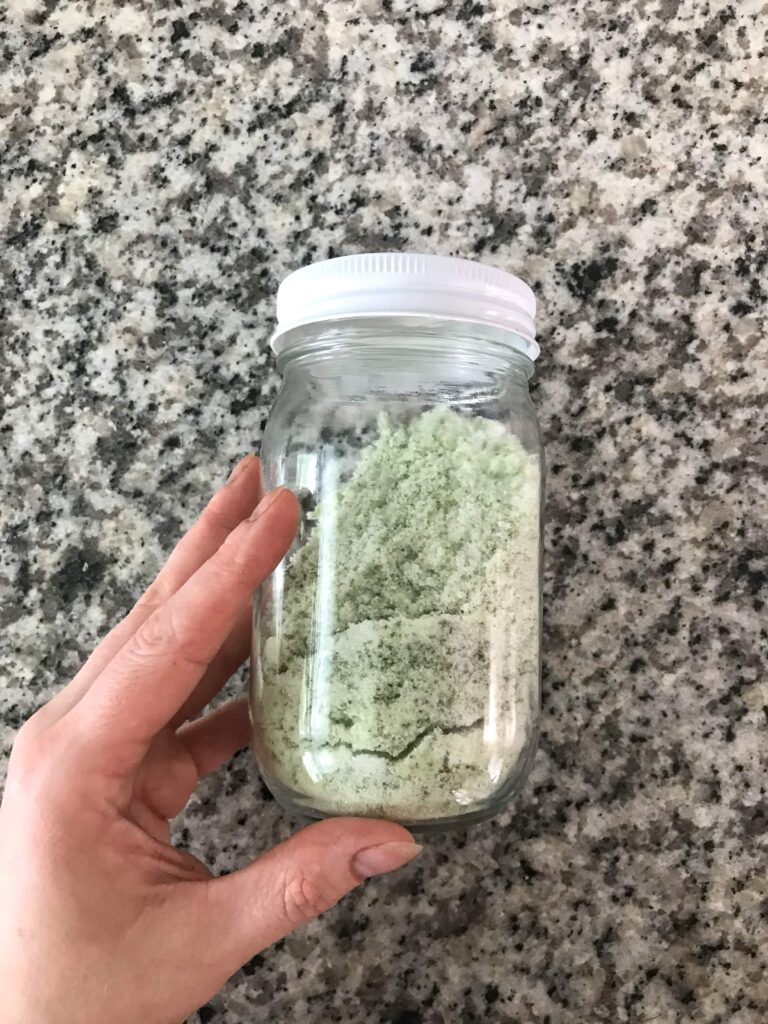
Finally, if you’re more into sweet than savory, you can preserve herbs in an herbal-infused sugar. The method is the same as for salt: use a food processor to finely chop the herb and blend it with sugar. The ratio of herb to sugar will vary based on the herb and sugar used as well as your own personal tastes. I’d suggest sticking to white sugar as it’s drier which will help the sugar last longer. It should last a couple months in an airtight container. If you’re concerned, store the sugar in the fridge or use dried herb to infuse the sugar.
The above is a peppermint sugar that I think will be lovely coating some lemon shortbread.
Are you growing an herb garden? How do you plan to preserve herbs this season?

Pin it for later:


Wow this was super informative! I have never ever thought of infusing sugar! Thanks for the ideas 🙂
I’m glad it was useful! Thank you for reading!
This is great info, thank you so much!
I’m glad it was useful! Thank you for reading!
Beautiful pictures and I have tons of herbs coming on right now so I need to put all these suggestions to use! Love it!
I’m glad it was useful! Thank you for reading!
So much information! I always have way too many herbs left over in my garden and never know what to do with them! Thank you for these ideas!
I’m glad it was useful! Thank you for reading!
So many good ways to preserve garden herbs here! Love the pictures showing how too!
Thank you! I hope it’s helpful!
I love all these herb preservation ideas! Great post!!
This is an awesome guide! I look forward to trying this!
Beautiful pictures and I love all the ideas! I’ve not heard of keeping them in salt, now I want to try that! Thank you
Thank you! I’ve become obsessed with the Tuscan herb salt I made – I’m putting it on just about everything!