Learn 5 questions you need to ask before you fill raised garden beds for the first time. Soil is the foundation of your garden so build a strong one with these important tips!
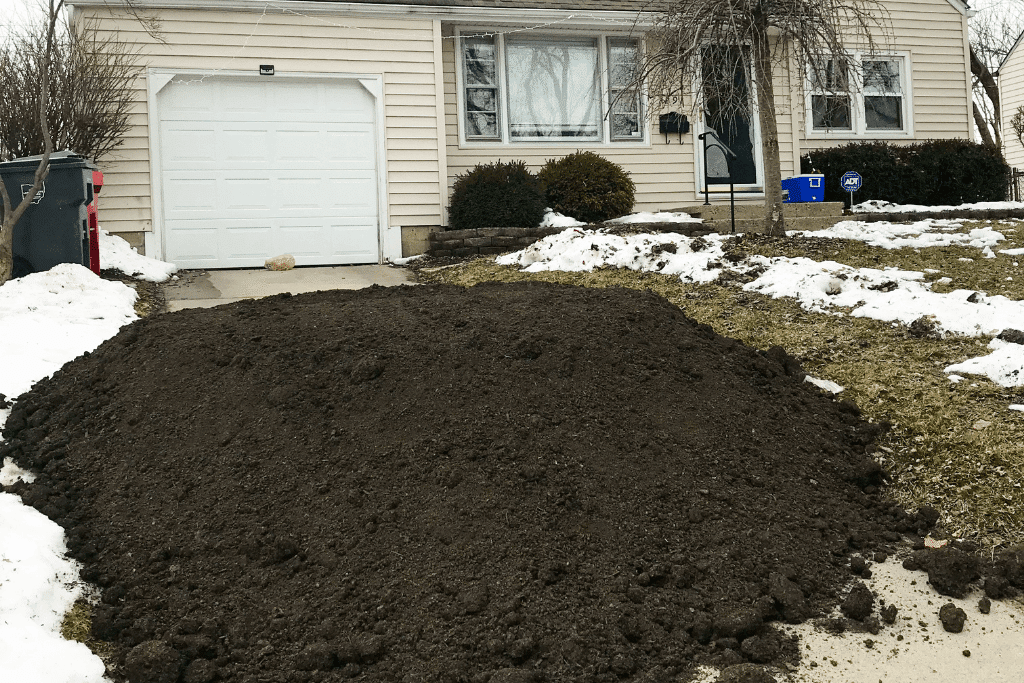
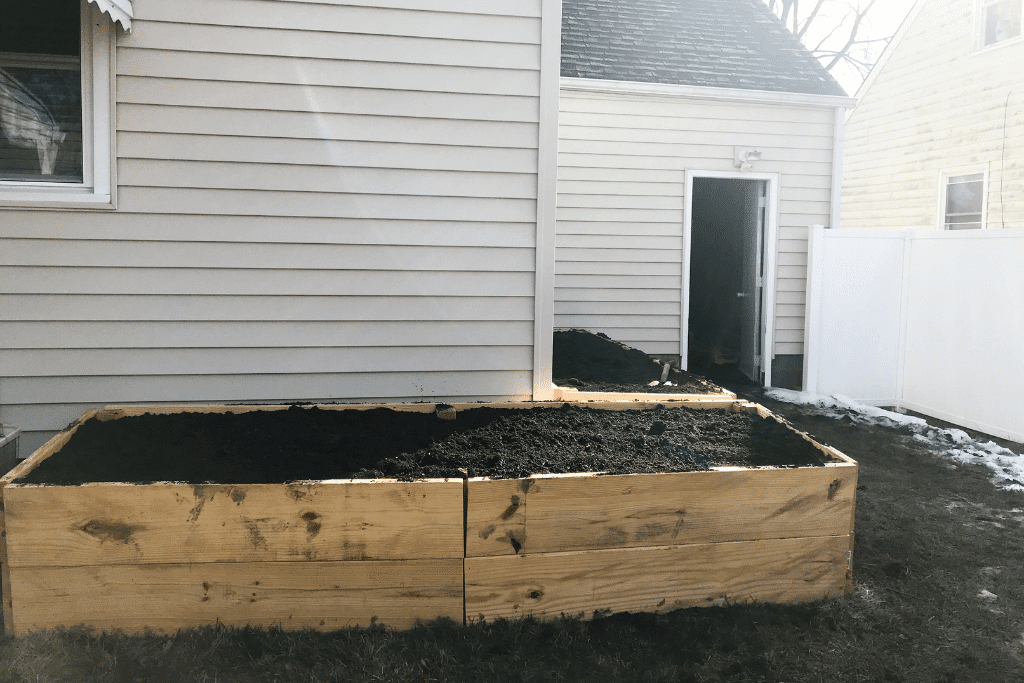
If you’re paying attention, you may have noticed I missed last week’s post. Unfortunately, it was a necessary evil to enable a big accomplishment. Last week, we had three cubic yards of organic super soil delivered to fill our raised garden beds!
Prior to this process, I spent the last several months doing tons of research on all the options for how to fill raised garden beds, so today I want to share some of what I gleaned for those of who may be in a similar position. We’ll walk through some major points to consider before detailing some strong options. I’ll also talk about how I decided on the option I did for filling our two 3 foot x 10 foot x 2 foot beds.
Note: all this info is specifically if you need to fill new raised gardens beds, not if you’re looking to amend existing raised garden beds.
If you’re not feeling introspective today and want to take a shortcut to your options, jump down to the sections entitled, “2. Do I follow a particular gardening method?” and “The Final Soil Breakdown”.
The Importance of Soil
New gardeners often underestimate the significance of the soil in their garden. It’s just dirt, right?
Nope! No, sir, it is not. While soil may not be alive the way your tomato plant is, healthy soil is teeming with life – and that life is what supports your garden. Good soil also improves with age, as you amend it, strengthening the soil food web.
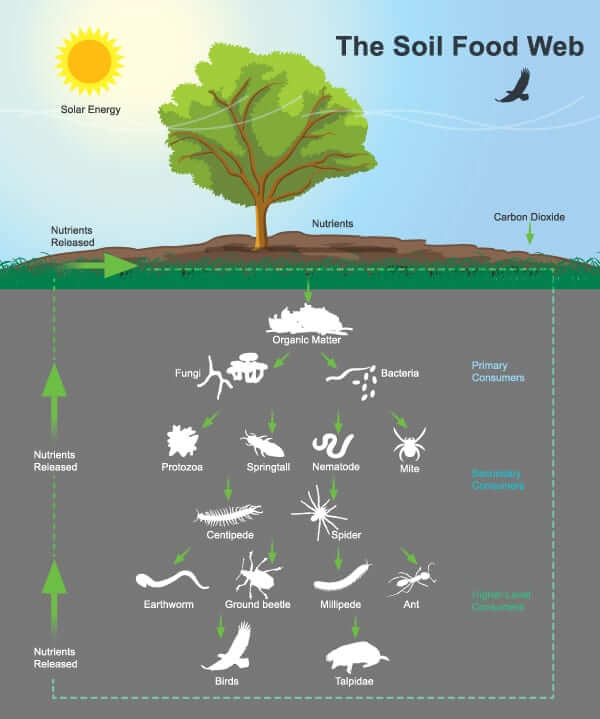
The soil food web is the ecosystem of organisms living in (or interacting with the organisms in) the soil. Think the earthworms and other critters you uncover with your trowel, or the birds that peck them out of the ground. But it goes so much deeper than that! It’s also the nematodes, fungi, protozoa, and bacteria as well as the organic matter you add and your plants themselves.
The stronger your soil food web, the healthier your soil ecosystem, the more your plants flourish.
But if you’re starting from scratch and need to fill raised garden beds, how do you go about establishing that soil food web? Well, before I cover some of the most popular options, let’s talk about some important questions you should be asking yourself.
1. How much soil do I need?
First things first, figure out how much it’s gonna take to fill your raised garden beds. That volume might determine your answer to some of the following questions. To find the magic number, calculate the volume of your bed in cubic yards or cubic feet.
If you were traumatized by your math classes and have blocked that info from your brain, you just multiply the length by the width by the depth. Luckily, you can also just use this calculator from Gardener’s Supply Company.
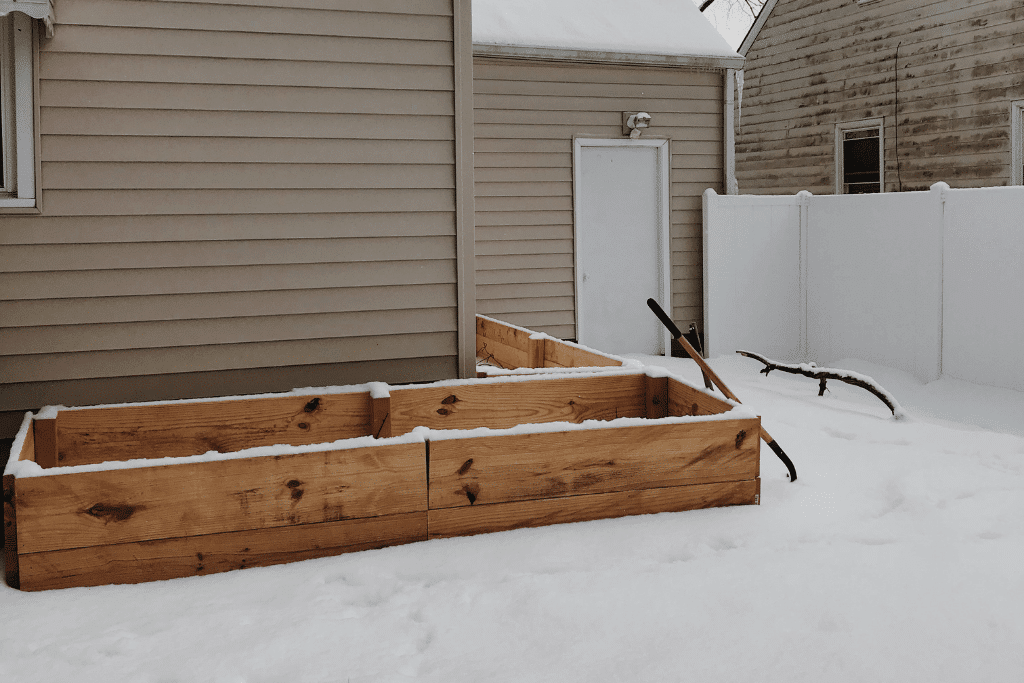
So for my two beds, 3’x10’x2’, and then doubled for two beds, I needed 4.4 cubic yards of soil. That’s a lot. It’s so much that bagged soil, which is generally sold by the cubic foot, just wasn’t a realistic option. For reference, 1 cubic yard is 27 cubic feet.
Most likely, your beds aren’t as deep as mine. So to give you another example, my dad’s garden beds are 4 foot by 8 foot by 6 inches. He, in contrast, only needed 16 cubic feet of soil to fill a bed. He was able to find 2 cubic foot bags, so 8 bags was pretty doable.
Note: if your raised beds are shallower (say, less than 18”), you’ll definitely need to kill or remove the grass they’re sitting on before filling them, One easy way, that comes from the No Dig method, is to cover the area in plain cardboard and wet it down – keeping it wet and smothering the grass beneath.
Alright, so once you know how much soil you need, that might help determine which gardening method you want to follow (if you don’t already follow one in particular).
2. Do I follow a particular gardening method?
If you follow a particular gardening method, like Square Foot gardening or No Dig gardening, those methods have their own suggestions for the ideal way to fill raised garden beds. For the uninitiated, here’s some of those suggestions:
Square Foot Gardening:
Mel’s Mix, a combination of ⅓ peat moss or coco coir, ⅓ coarse vermiculite, and ⅓ a good blended compost – ideally one blended from at least five different sources.
While I’m taking some inspiration from square foot gardening as far as intensive planting, there’s a few reasons I chose not to go this route. 1. I try to avoid using peat moss wherever possible. It’s just bad for the planet. And part of why I garden is to do good for the planet. 2. At least five sources of compost likely means having to buy some which, for the volume I needed, was both financially and practically unsustainable. Plus, I’m always worried bagged compost won’t be aged properly and could wind up burning my plants. Finally, on a non-soil level, I just think a square foot isn’t enough space for some plants, like tomatoes. Those babies need breathing space or you’re looking at blight and fungal disease city.
No Dig Gardening:
This one’s pretty simple – First, with a raised bed, you’re likely already doing no dig gardening. As a formalized method, it’s spearheaded by Charles Dowding, and closely related to Back to Eden gardening, so I’m going to cover them both here. The goal, essentially, is to work with the soil you already have, improving it with time. It’s designed for in-ground beds, but if your raised beds are shallow, it can work for you too. All you do is add a healthy layer of compost and mulch on top of your existing soil. Even if it’s compacted and full of clay, the compost will break it down, creating a healthy growing medium. The catch is it can take 1-3 years for that to happen, and I want healthy soil now.
Ruth Stout Gardening:
The Ruth Stout method is another approach to no-dig, or no-work, gardening but she advocates for keeping a heavy layer of straw or hay mulch on top of your beds year-round. Straw breaks down quickly, giving you the benefits of compost with less work. However, it can be hard to source organic straw, and planting is slightly more work as you have to move the straw aside to do so. While you obviously couldn’t fill a bed entirely with straw, planning for a particularly deep straw mulch layer could save you money as you’re filling less of your bed with soil.
Hugelkultur Gardening:
Hugelkultur is a German style of gardening, again originally developed for in-ground beds, but easily amended for raised beds. In a traditional hugelkultur bed, you bury wood and other organic matter, then mound soil on top of it for planting in. The wood and organic matter decompose, feeding your soil over time and decreasing the need for added compost and amendments. I adapted this method to fill my raised garden beds by laying organic matter to fill the bottom quarter of my beds. I used wood and some decomposing leaves from last fall.
Lasagna Gardening:
The American cousin to the Hugelkultur bed is the lasagna method, specifically developed to fill raised garden beds. It blends the hugelkultur principle of filling part of the bed with decaying organic matter with the compost pile method of alternating browns and greens. You start by smothering the grass in your bed with cardboard or newspaper, and then alternate layers of browns and greens to fill the majority of the bed. Add another layer of newspaper, and then top with soil to plant in. This is a great way to fill your bed with nutrient-rich material that will improve over time while saving money as you need to buy less soil. However, you ideally want to get it started the fall before you want to start planting so materials have time to begin decomposition.
Core Gardening:
Finally, core gardening is an African cousin of Hugelkultur. Here, rather than burying wood, you bury straw or grass in a ditch in the center of your bed. Like previous methods, the decomposing organic matter feeds the soil, improving it over time, and it takes up space, reducing the amount of soil you need to buy.
If you’re a hardcore devotee of one of these methods, awesome – the mental work is already taken of, then. If you’re like me, you’re likely picking and choosing between them. A major factor in that picking and choosing is cost.
3. How much am I willing to spend?
The more beds you have/the deeper they are, the more it’s going to cost to fill them. Don’t be surprised if soil winds up being the most expensive component of setting up your garden. Luckily, it’s only a big ticket item in the first year. Subsequent years you may just be bringing in smaller loads of compost for amending.
As noted above, if your beds are shallow, you may be able to get away with a few bagged raised bed mixes from the local garden center. If they’re deeper or you’re trying to fill many at once, do some research on costs before making your decision. Hopefully the above convinced you that if there’s anywhere to invest for your garden, soil is the place to start.
Once you have an idea of the costs of the various methods as well as what you’re willing to spend, also consider your labor and time costs –
4. Do I want to purchase or go the DIY route?
Filling your beds yourself, either fully with the lasagna method, or partially with many of the other options above, is definitely a money saver. It also, of course, takes more time and work on your end.
You can also take some of the work out of things by getting a bulk soil delivery from a garden center or landscaping company. In that case, look for an organic “super soil” blend that mixes topsoil, compost, and sand. Beyond your preferences among the different methods, DIY-ing it or purchasing is also affected by your timeline.
5. How much time do I have before planting season?
While I personally might have preferred the DIY route if for no other reason than to save money, I ultimately cared more about having good, healthy soil ready to plant in for the spring garden. I didn’t want to wait months for something like the lasagna method to decompose. If you’re reading this in the late winter/spring and want to grow this season, I’d suggest going the super soil or bagged soil route. You can also still mix and match methods and partially fill your beds with organic matter to add nutrients and save money.
If you’re planning ahead for the next gardening year, you ultimately have more choices for how to fill your raised garden beds.
The Final Soil Breakdown:
At this point, we’ve covered the bulk of options to fill raised garden beds: Square Foot, No Dig and Back to Eden, Ruth Stout, Hugelkultur, Lasagna, and Core gardening. But there are some other options:
- As noted, you can get a super soil delivery from a local landscaping company. In this case, don’t be surprised if delivery is the biggest cost. I spent $33/cubic yard on a premium blend and then an additional $110 for delivery. However, I saved money by filling the bottom quarter of my beds with organic matter, so I wound up only needing 3 yards of soil. Once it settles, I’ll have space for a good mulch layer after planting.
- You can also DIY your own blend out of a combo of bagged soils, compost, and aeration ingredients. Deanna at Homestead & Chill has a great homemade recipe that clearly produces awesome results.
Whatever you ultimately choose, be sure to get your soil tested before planting. You don’t want to go through all the work of filling your beds, nurturing your seedlings, and then transplanting them out, only to have them languish or die because your soil had too high a pH or was lacking in some nutrient. Usually you can get a cheap or free soil test kit from your local county extension office. Ours is currently closed because of COVID, but there are online options for running the test yourself as well.
Your soil is the best place to invest your first year of gardening. Hopefully these questions help you decide how you want to fill your raised garden beds. There’s ultimately no one right answer, just what works best for you and your garden. Happy almost spring, friends!

Pin it for later:


Leave a Reply