This post, the first in a series on Gardening 101, will walk you through how to start a garden from scratch – perfect for the complete newbie or someone looking to get back to basics and make sure their bases are covered.
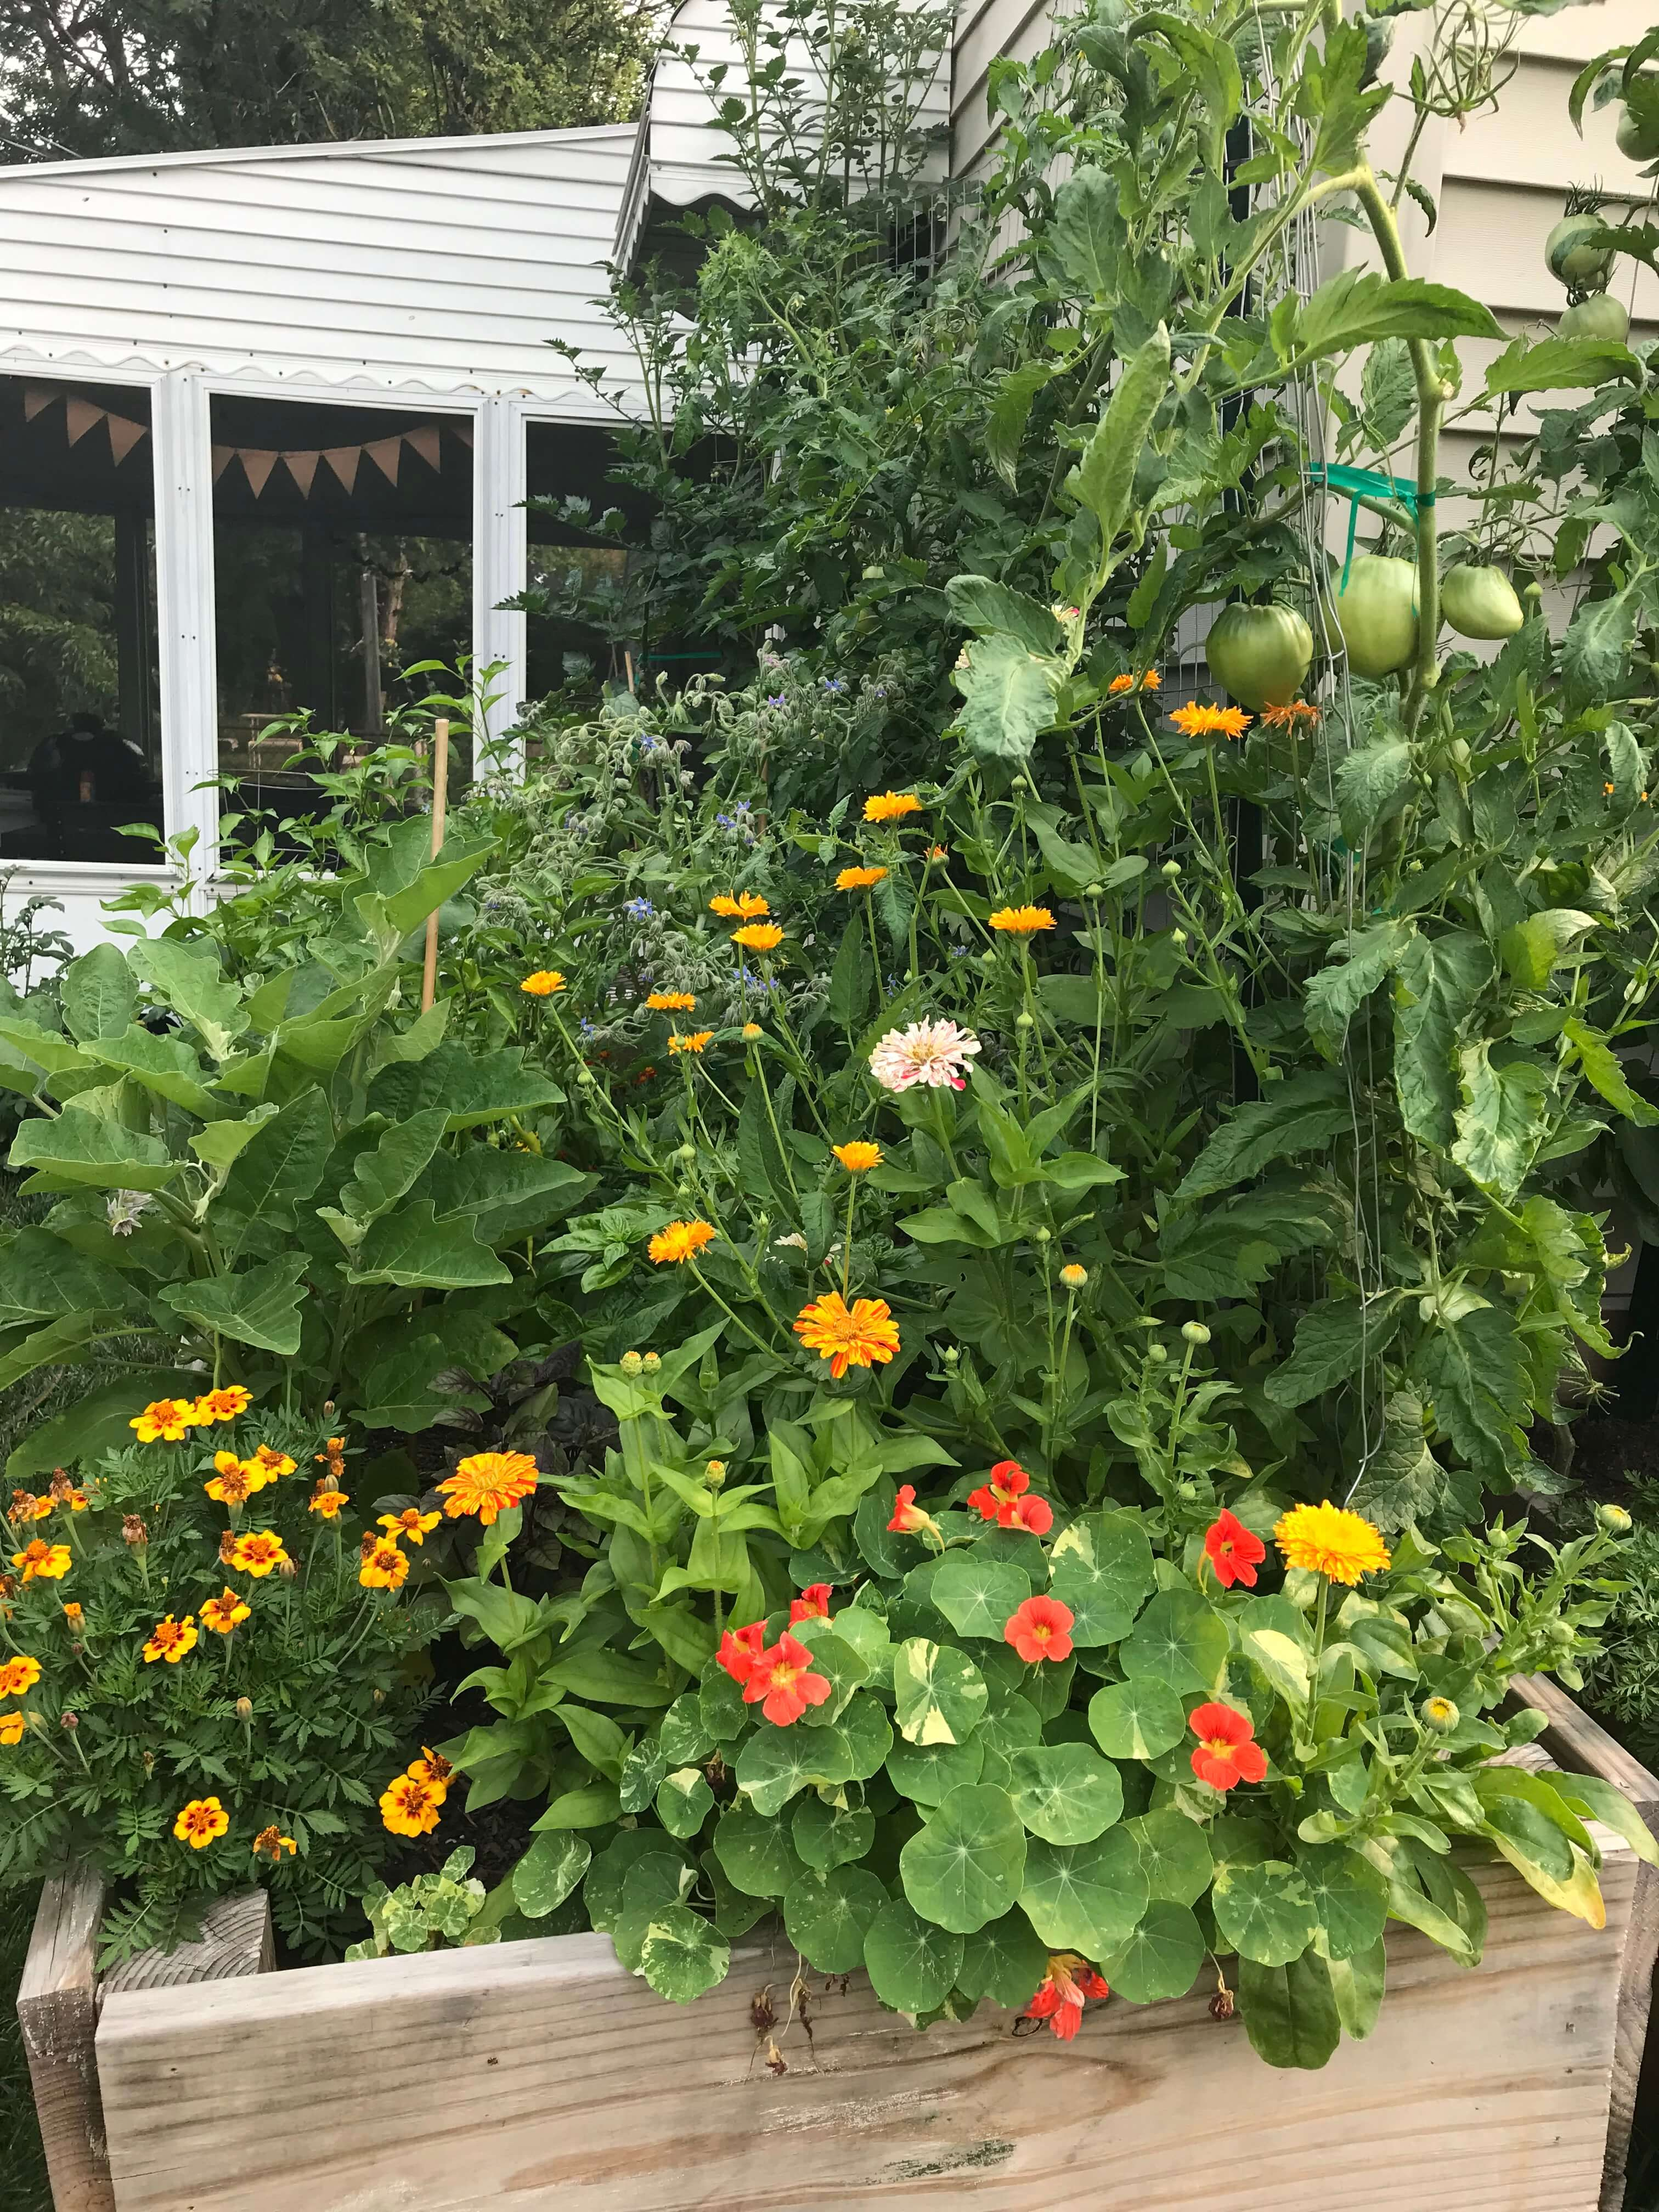
Maybe you’ve been thinking about it for a while or maybe it’s a whim that just popped into your head with the soft breezes of spring. Regardless, you know you want to start a garden, you’re just not sure how to start a garden.
And who could blame you? The internet is chock full of (sometimes bad) advice and a million different methods for achieving the same goal: beautiful thriving plants and a chance to connect with nature.
Whether you’re looking to fill your house with beautiful blooms or just offset the weekly grocery budget, read on for 10 simple steps to kickstart your gardening journey and transform your outdoor space into a flourishing oasis.
Step 1: Get Clear on Your Goals and Develop a Plan
Before you can figure out how to start a garden, you first need to figure out what kind of garden you want.
And the best way to do that is to start with your goals and then work backward.
Maybe you want to be able to pick a homegrown bouquet to keep on your table every week. Maybe you want to grow enough tomatoes to can a year’s worth of sauce or salsa. Or maybe you just want to get your hands in the dirt and have fun and see what happens.
Envision your ideal garden – or at least, what’s ideal given your current circumstances. Do you have pretty good soil and want to dig in-ground beds? Or would raised beds be better? Maybe you’re in an apartment/have no outdoor space beyond a balcony – containers and grow bags are your friend!
Basically, start developing an idea or what you want to grow and how you plan to grow it.
Make sure you consider how much time you’ll have to devote over the next several months. There’s no point in starting out with a ¼-acre garden if you won’t have the time to tend it – and, really, that sounds overwhelming to all but the most seasoned of gardeners.
Then, do some basic research about your local climate so you can figure out when you need to take the next steps. Most people start out with a summer garden. For that, you’ll need to know your last frost date. This is the soonest you can plant tender annuals like tomatoes and peppers (though you should wait a couple weeks beyond that for the nighttime lows to be in the 50s).
Your last frost date is a good finish line to have everything prepped for planting – beds built, soil hauled (if necessary), seedlings hardened off and seeds bought.
Once you have an idea of what you want to do and the timeline for getting started, the next big question is deciding whether you want to grow from seed or purchase seedlings from a local nursery/farmer.
Step 2: Decide How You’ll Acquire Plants (should you start seeds or buy from a nursery?)
Alright, so you have an idea of what plants you want to grow and when you want to plant them, now you have to decide how to acquire said plants.
You really have two choices: grow from seed or purchase already started seedlings. The former is certainly cheaper, but it has a steeper barrier to entry.
Start from Seed:
Pros –
- Seeds are cheaper than starts
- You can choose the exact varieties you want to grow
- Really cool to grow something from seed to fork
Cons –
- More work/time intensive
- You have to factor in the cost of acquiring the supplies in the first year (lights, trays, pots or a soil blocker, seed starting mix)
Purchase Seedlings
Pros –
- Much easier
- Lower risk of plant failure to thrive/germinate
- Support local farmers/businesses
Cons –
- One seedling costs what a whole packet of seeds costs (one plant vs. 10/25/50/etc)
- Limited in variety (most people will plant what they know will sell, so less opportunity to try weird/niche varieties)
- Potential demand issues (my favorite local farm in Columbus sells out of seedlings every year)
As you can see, there are pros and cons to both – and you can do both! In my first container garden, I purchased seedlings because I didn’t have the space or the confidence to grow from seed (side note: If you’re in central Ohio, Foraged & Sown grows incredible seedlings!). But now I love growing from seed because it’s really freaking cool and because I get to choose the exact varieties I want to grow. And there are so many things I would never get to taste or experience if I didn’t grow them from seed.
Even if you choose to go with started seedlings from slow growers like tomatoes and eggplants, there are plenty of things for which you can stick a seed straight in the ground and grow, no indoor set-up required. Consider purchasing seed packets for flowers like zinnias, borage, nasturtium, and sunflowers as well as gourds/squash, greens, peas, carrots, radishes etc.!
I wouldn’t suggest planting anything yet – or at least not until you have a clearer picture of just how much growing space you’ll have.
Step 3: Select a Site and Plan Your Beds (or Containers)
So you know what you’re growing, when you need to plant, and whether you’re growing from seed or starts, now you need to get working on the actual physical space!
For some, the decision on where to put the garden is easy – it’s the only space available! My first garden was just containers on my apartment balcony, and while the sun exposure wasn’t ideal, I still managed to grow tomatoes. We make do with what we have and learn skills to use when we hopefully have a more ideal/larger space!
For others, you may have a decent amount of space to pick from. If you have multiple options, you want to evaluate each for which has the best growing conditions. How’s the soil quality? Where does the water pool in your yard (stay away)? Is the site pretty level? And most importantly: how much sunlight does it get? Most garden plants need full sunlight, which means more than six hours of direct sunlight a day.
In the winter, it can be hard to know exactly how much sun a space gets. If you want a better estimate, try out sun mapping! Also watch out for any large trees – it may seem like a sunny space in winter when the trees are bare, but a fully leafed-out 50-year-old oak will cast a lot of shade. Be sure to keep your garden away from Black Walnut trees as these release juglone into the soil, a chemical which kills many garden plants.
If you live in a warm climate, you may try to select a site that does get some afternoon shade to protect your plants from the hottest part of the afternoon.
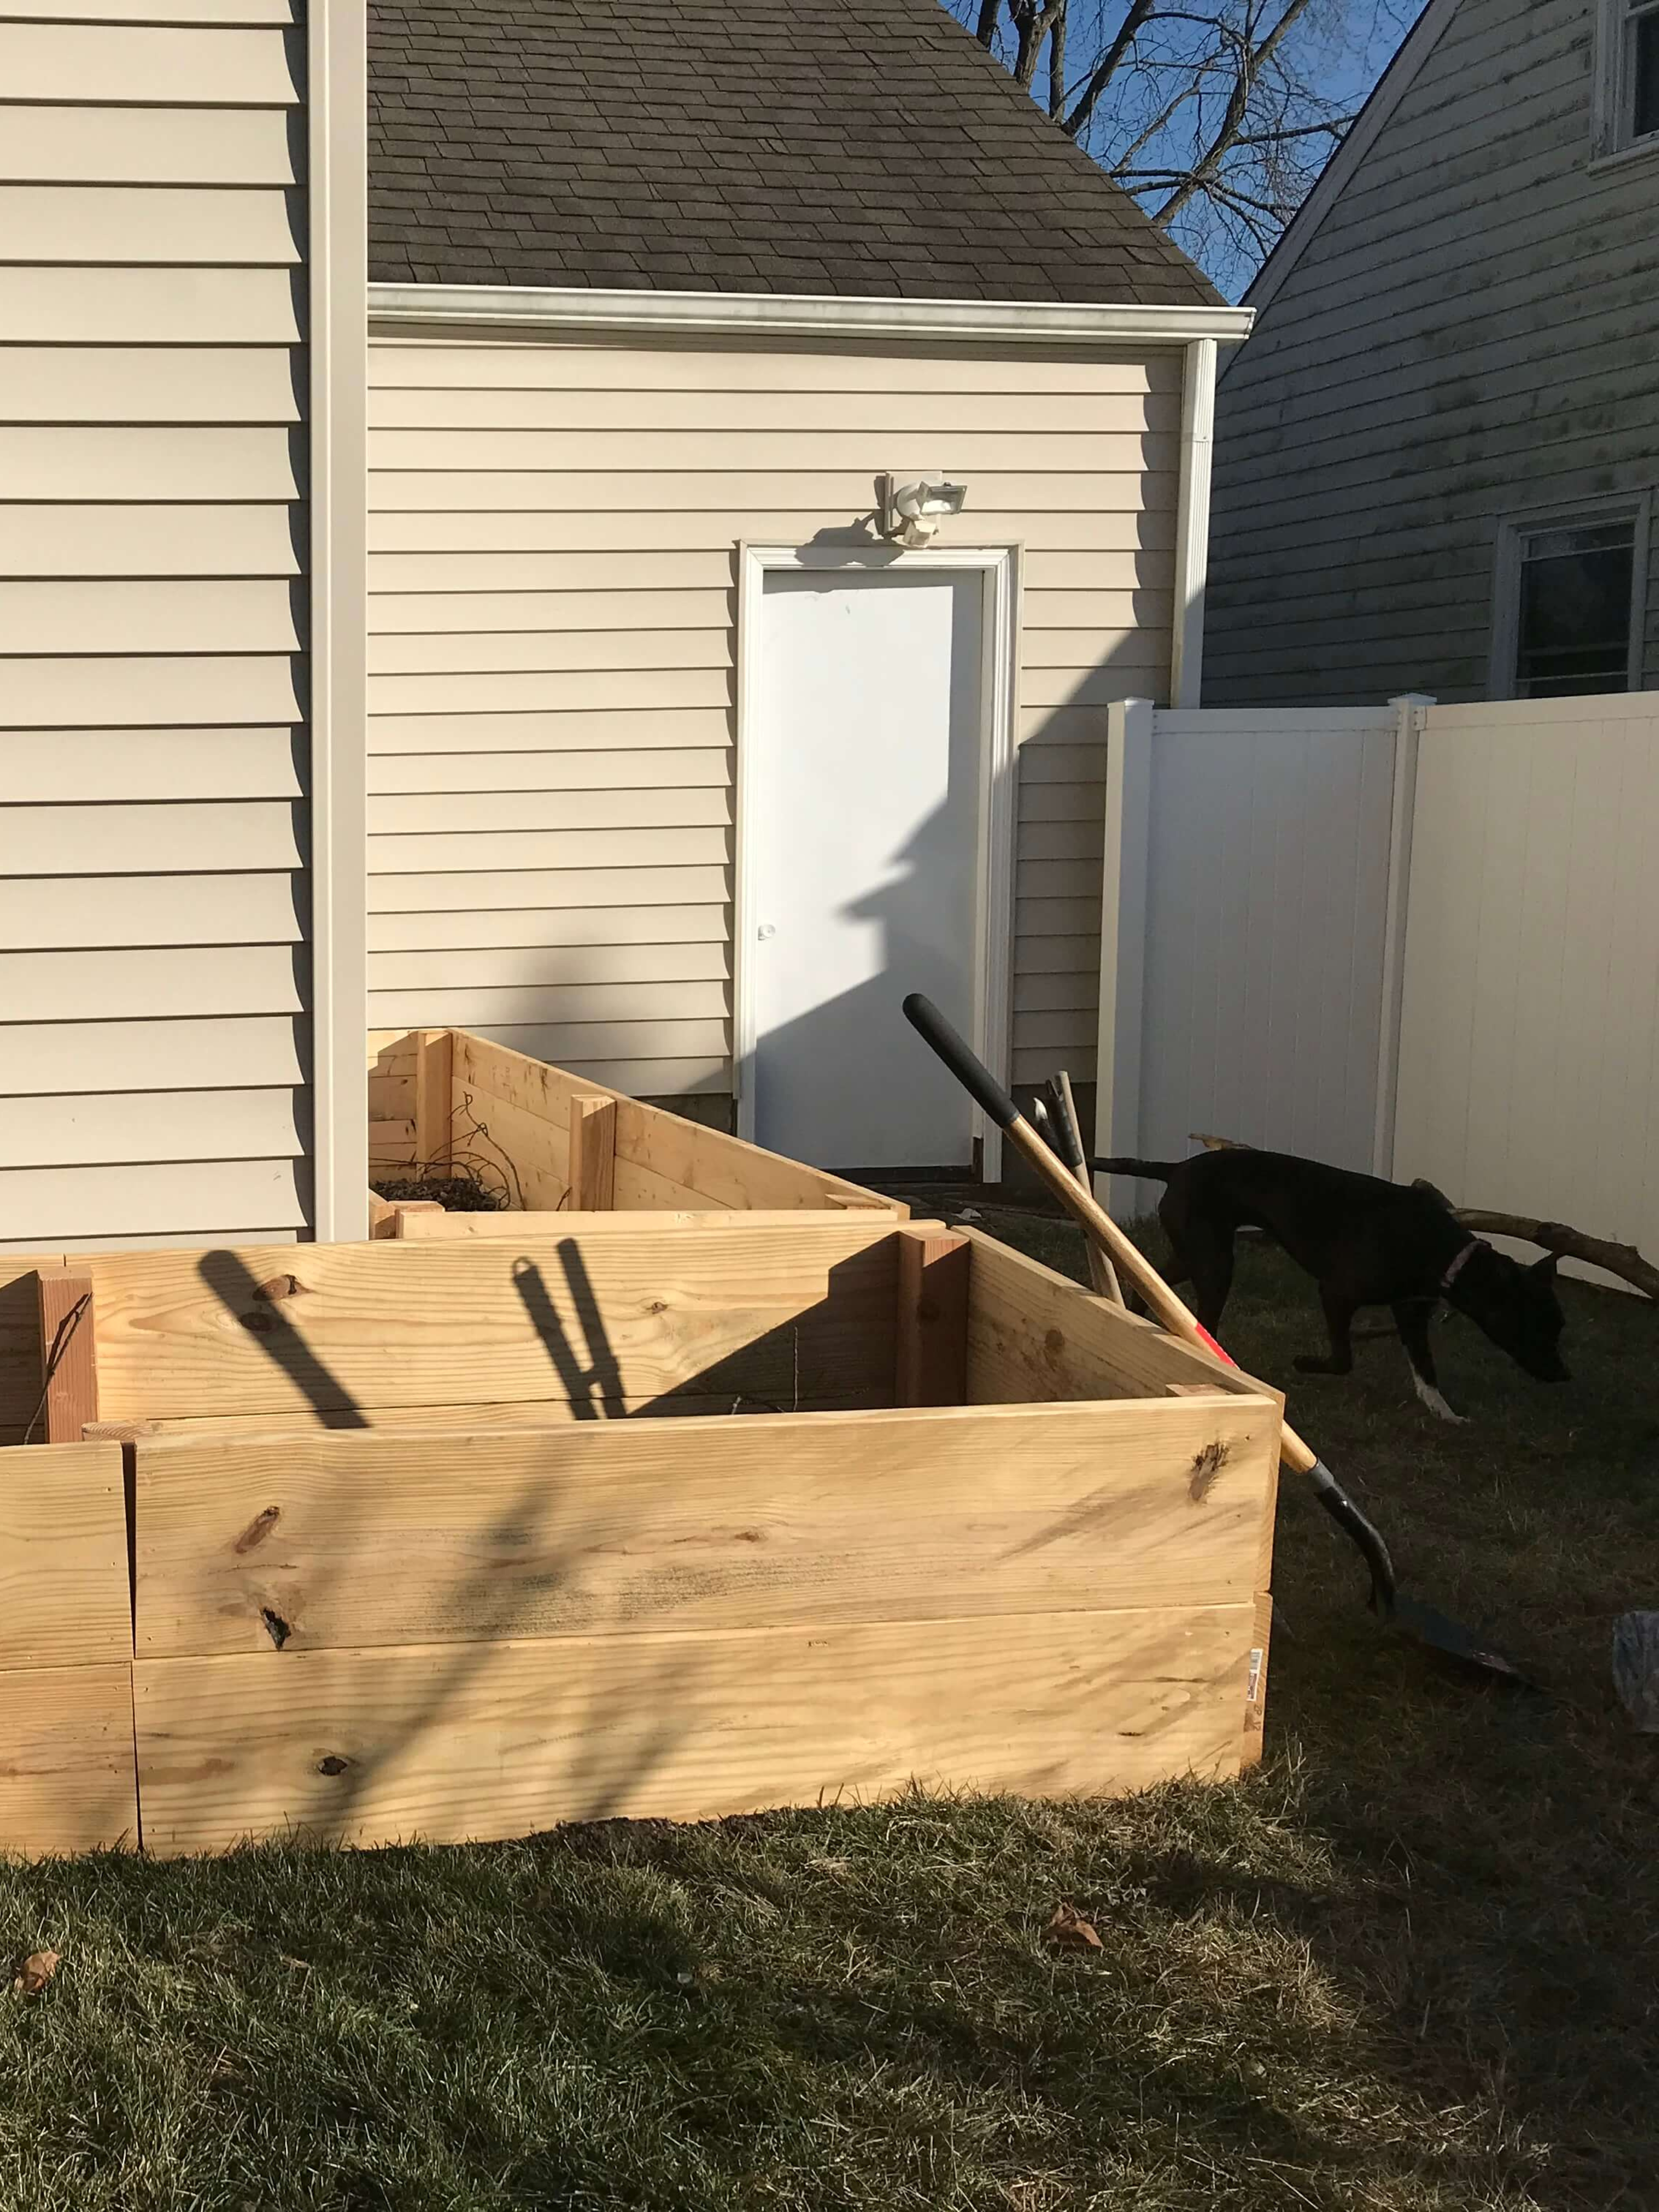
Once you have your site selected, you can begin to map out beds and container placement. Don’t worry about what will go in them yet, but just get a picture of how much space you’ll have. How many beds? What dimensions? Ditto to containers. If you’re growing in beds, trying to orient them so the short sides face east/west. This will ensure the sun travels over them and minimizes the ability of taller plants to shade out smaller ones.
Go ahead and also get started building beds and prepping the soil at this point.
Step 4: Plan Your Garden Layout
Once you know the dimensions/size of your space, you can begin to lay out your intended plants within them. I plan my garden in google sheets every year – doing it virtually makes it easy to tweak, I can keep my layout and all my seed starting info in the same place, and I can easily reference prior year’s plans. But good old paper and pencil are also great options!
Note that these plans don’t have to be concrete. You can always tweak the layout, but getting an idea of what you want will help you plant seed starting/transplant purchasing as well any sort of trellising or supports you may need.
I don’t have room to fully go into principles for how to lay out a garden in this post, but know that will vary depending on how you’re growing – beds vs. containers, etc. To get you started, research companion planting and interplanting, think about how much space a full-grown plant will take up, and remember that you don’t have to plant in rows!
When you have an idea of your plant layout, you’ll also know how many of each thing you’ll need – key info whether you’re starting seeds or buying transplants!
Step 5: Start Your Seeds or Visit Your Local Nursery
Now begins the really fun part!
If you decided you want to grow from seed, it’s time to make a plan for when and how you want to get started. Utilizing that last frost date you looked up earlier, or a tool like the Farmer’s Almanac Planting Calendar to calculate when you’ll need to sow what seeds.
Make sure you’ve got your seed starting area set up before you begin. I strongly encourage you to use lights (even cheap shop lights!) rather than putting your seedlings in a window. They just won’t get enough light from a window, no matter how bright. Strong seedlings make strong plants. I’ve never seen window-grown seedlings that weren’t leggy and spindly.
If you’re planning to purchase starts, you’ve probably got a little more time. But you can scope out what your local options are and get an idea of varieties you want. Most nurseries will have at least a few choices within any specific vegetable or flower variety.
Step 6: Harden Off Your Seedlings
This is such an important step so many newbie gardeners miss!
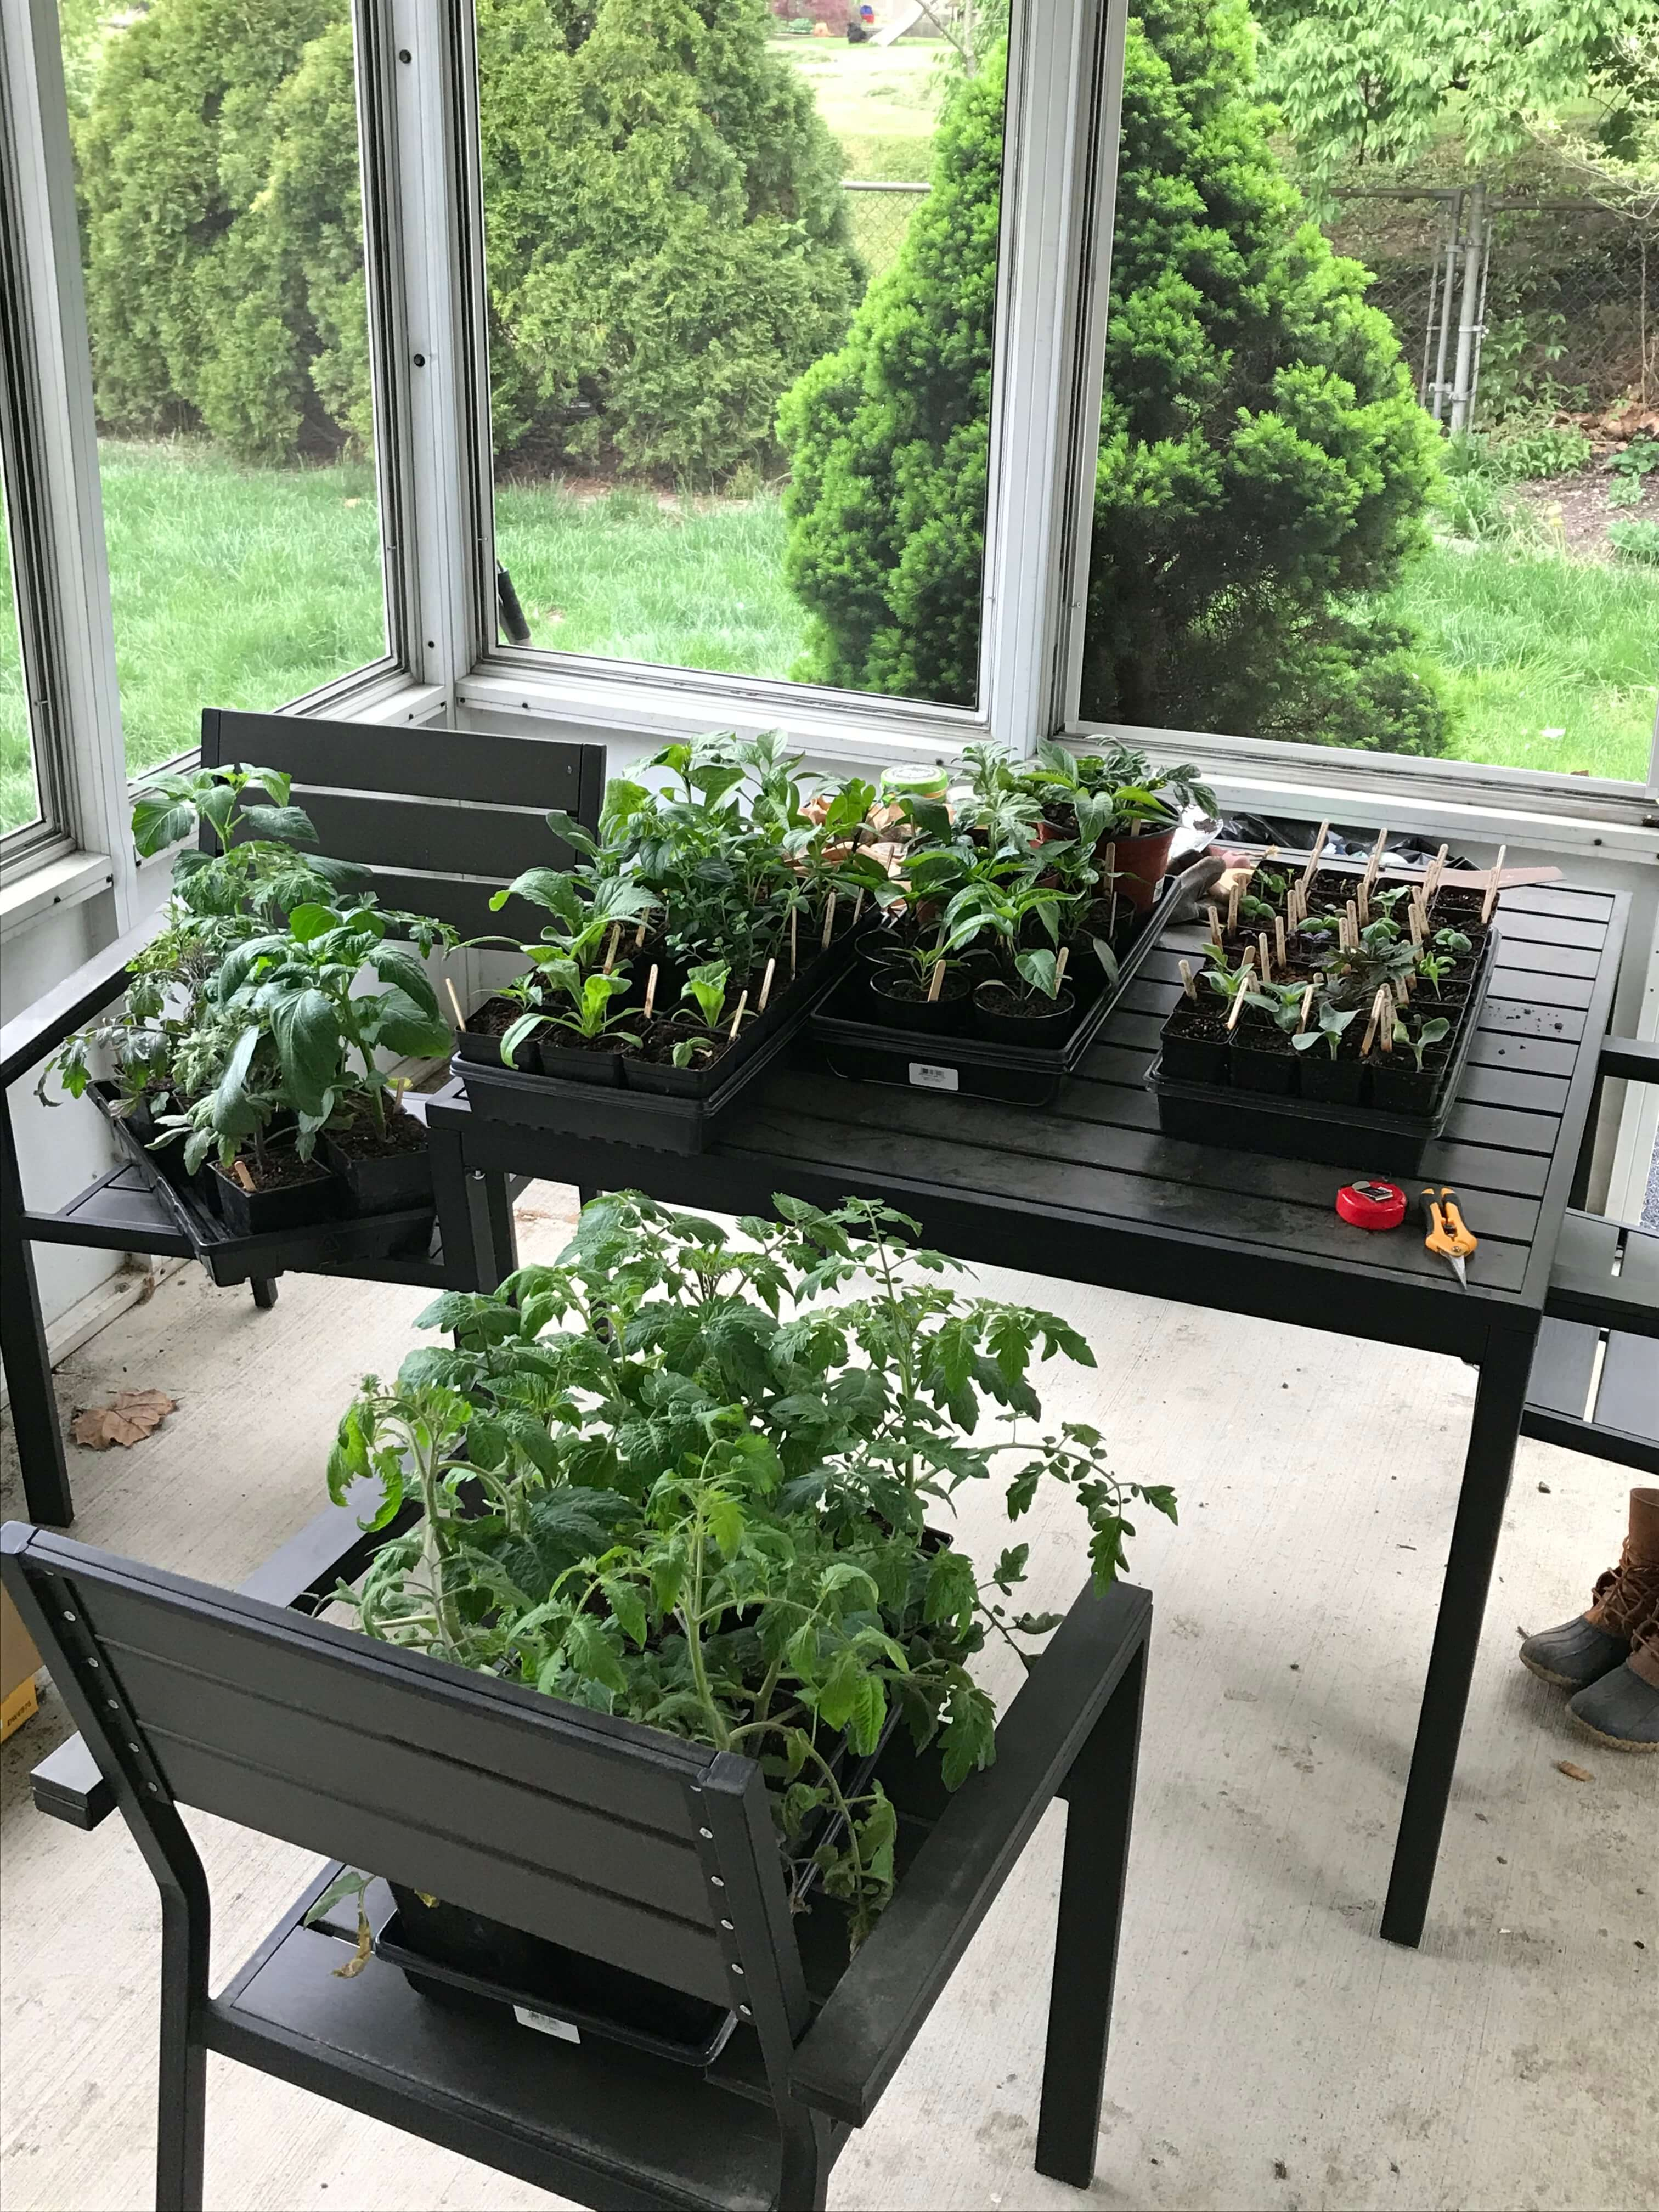
Plants cannot go from living inside 24/7 to outdoors 24/7 in one shot. Just like most of us after a long winter indoors, they’ll get sunburns and go into shock. The process of slowly acclimating plants to living outdoors is called hardening off.
I like to start hardening off on a cloudy afternoon, putting my plants out at about 4 in the afternoon. If I’m lucky and it’s going to be warm overnight, I’ll leave them there til 9 or 10 the next morning. I bring them back in and put them back under lights, then put them out again one hour earlier than the day before.
Each day, I extend their time outdoors by an hour until eventually they’re thriving even under the most direct midday sun.
The idea is to slowly build up their tolerance to wind and sunlight, which is brighter than even the best grow light.
Most purchased seedlings have already been hardened off, but it doesn’t hurt to ask and double check!
Step 7: Planting Day!
If your seedlings have been properly hardened off and the ten-day forecast looks good, you’re ready to plant! Good thing you already have a layout plan – but, again, feel free to get creative! I revise my garden layout right up until planting day.
A few of my top tips for planting:
- I love to sprinkle some mycorrhizae in the planting hole of my seedlings. Mycorrhizae are fungi that develop symbiotic relationships with plant roots, helping to deliver nutrients and oxygen to them.
- I also sprinkle a bit of fertilizer in, either into the planting hole or scratched into the surface when I’m done.
- Always give plants more space than you think they’ll need.
- Plant tomatoes deep – tomatoes develop adventitious roots, which means any part of their stem that’s buried will grow roots from it. At this point, you want your plants focused on developing strong root systems.
- Maximize your space by interplanting quick-growing varieties with slower ones. One of my favorite tricks is to surround seedlings with radish seeds. By the time the seedlings get big enough to need more space, the radishes are ready to harvest!
- After planting, water everything in thoroughly.
- Don’t be worried if seedlings look droopy for the first few hours after planting. This process is stressful for them, and some amount of transplant shock is inevitable. They should perk back up in a few hours!
- Don’t forget sunscreen, especially on your back!
- Use labels – especially for anything you sowed from seed. It’s tempting to think you’ll remember where everything is, but you won’t. Especially if you’re growing multiple types of a given variety. All pepper plants look the same til they grow fruit.
Congratulations, you’re officially a gardener!
Step 8: Maintenance and Care
At this point, your garden will mostly be in maintenance mode. But that doesn’t mean it’s self-sufficient. At least, probably not without several years of ecosystem-balancing work.
Fresh transplants are extra vulnerable to pests as they haven’t developed strong root systems yet. Make sure you’re spending time in the garden every day. It’s also time to get comfortable picking bugs off.
While there are some pest treatments that are considered acceptable in organic gardening, I don’t like to spray anything. Even seemingly innocuous treatments like diatomaceous earth and neem oil hurt the good bugs as well as the bad ones. But if you want to know some options, here’s a post on 12 strategies for fighting pests.
Proper watering, fertilizing, and mulching can help fend off disease. But if you are struck with plant illness or a plague of insects, all is not lost! I accept that I’ll probably lose my zucchini to squash bugs each summer, and just plan for a second succession once the little buggers have backed off come July.
You can often continue to harvest off ill plants for quite a while. You just want to pull them if they’re spreading their disease to others or if you could better utilize that space with a newer, healthier plant.
Step 9: Harvest and Save Seeds
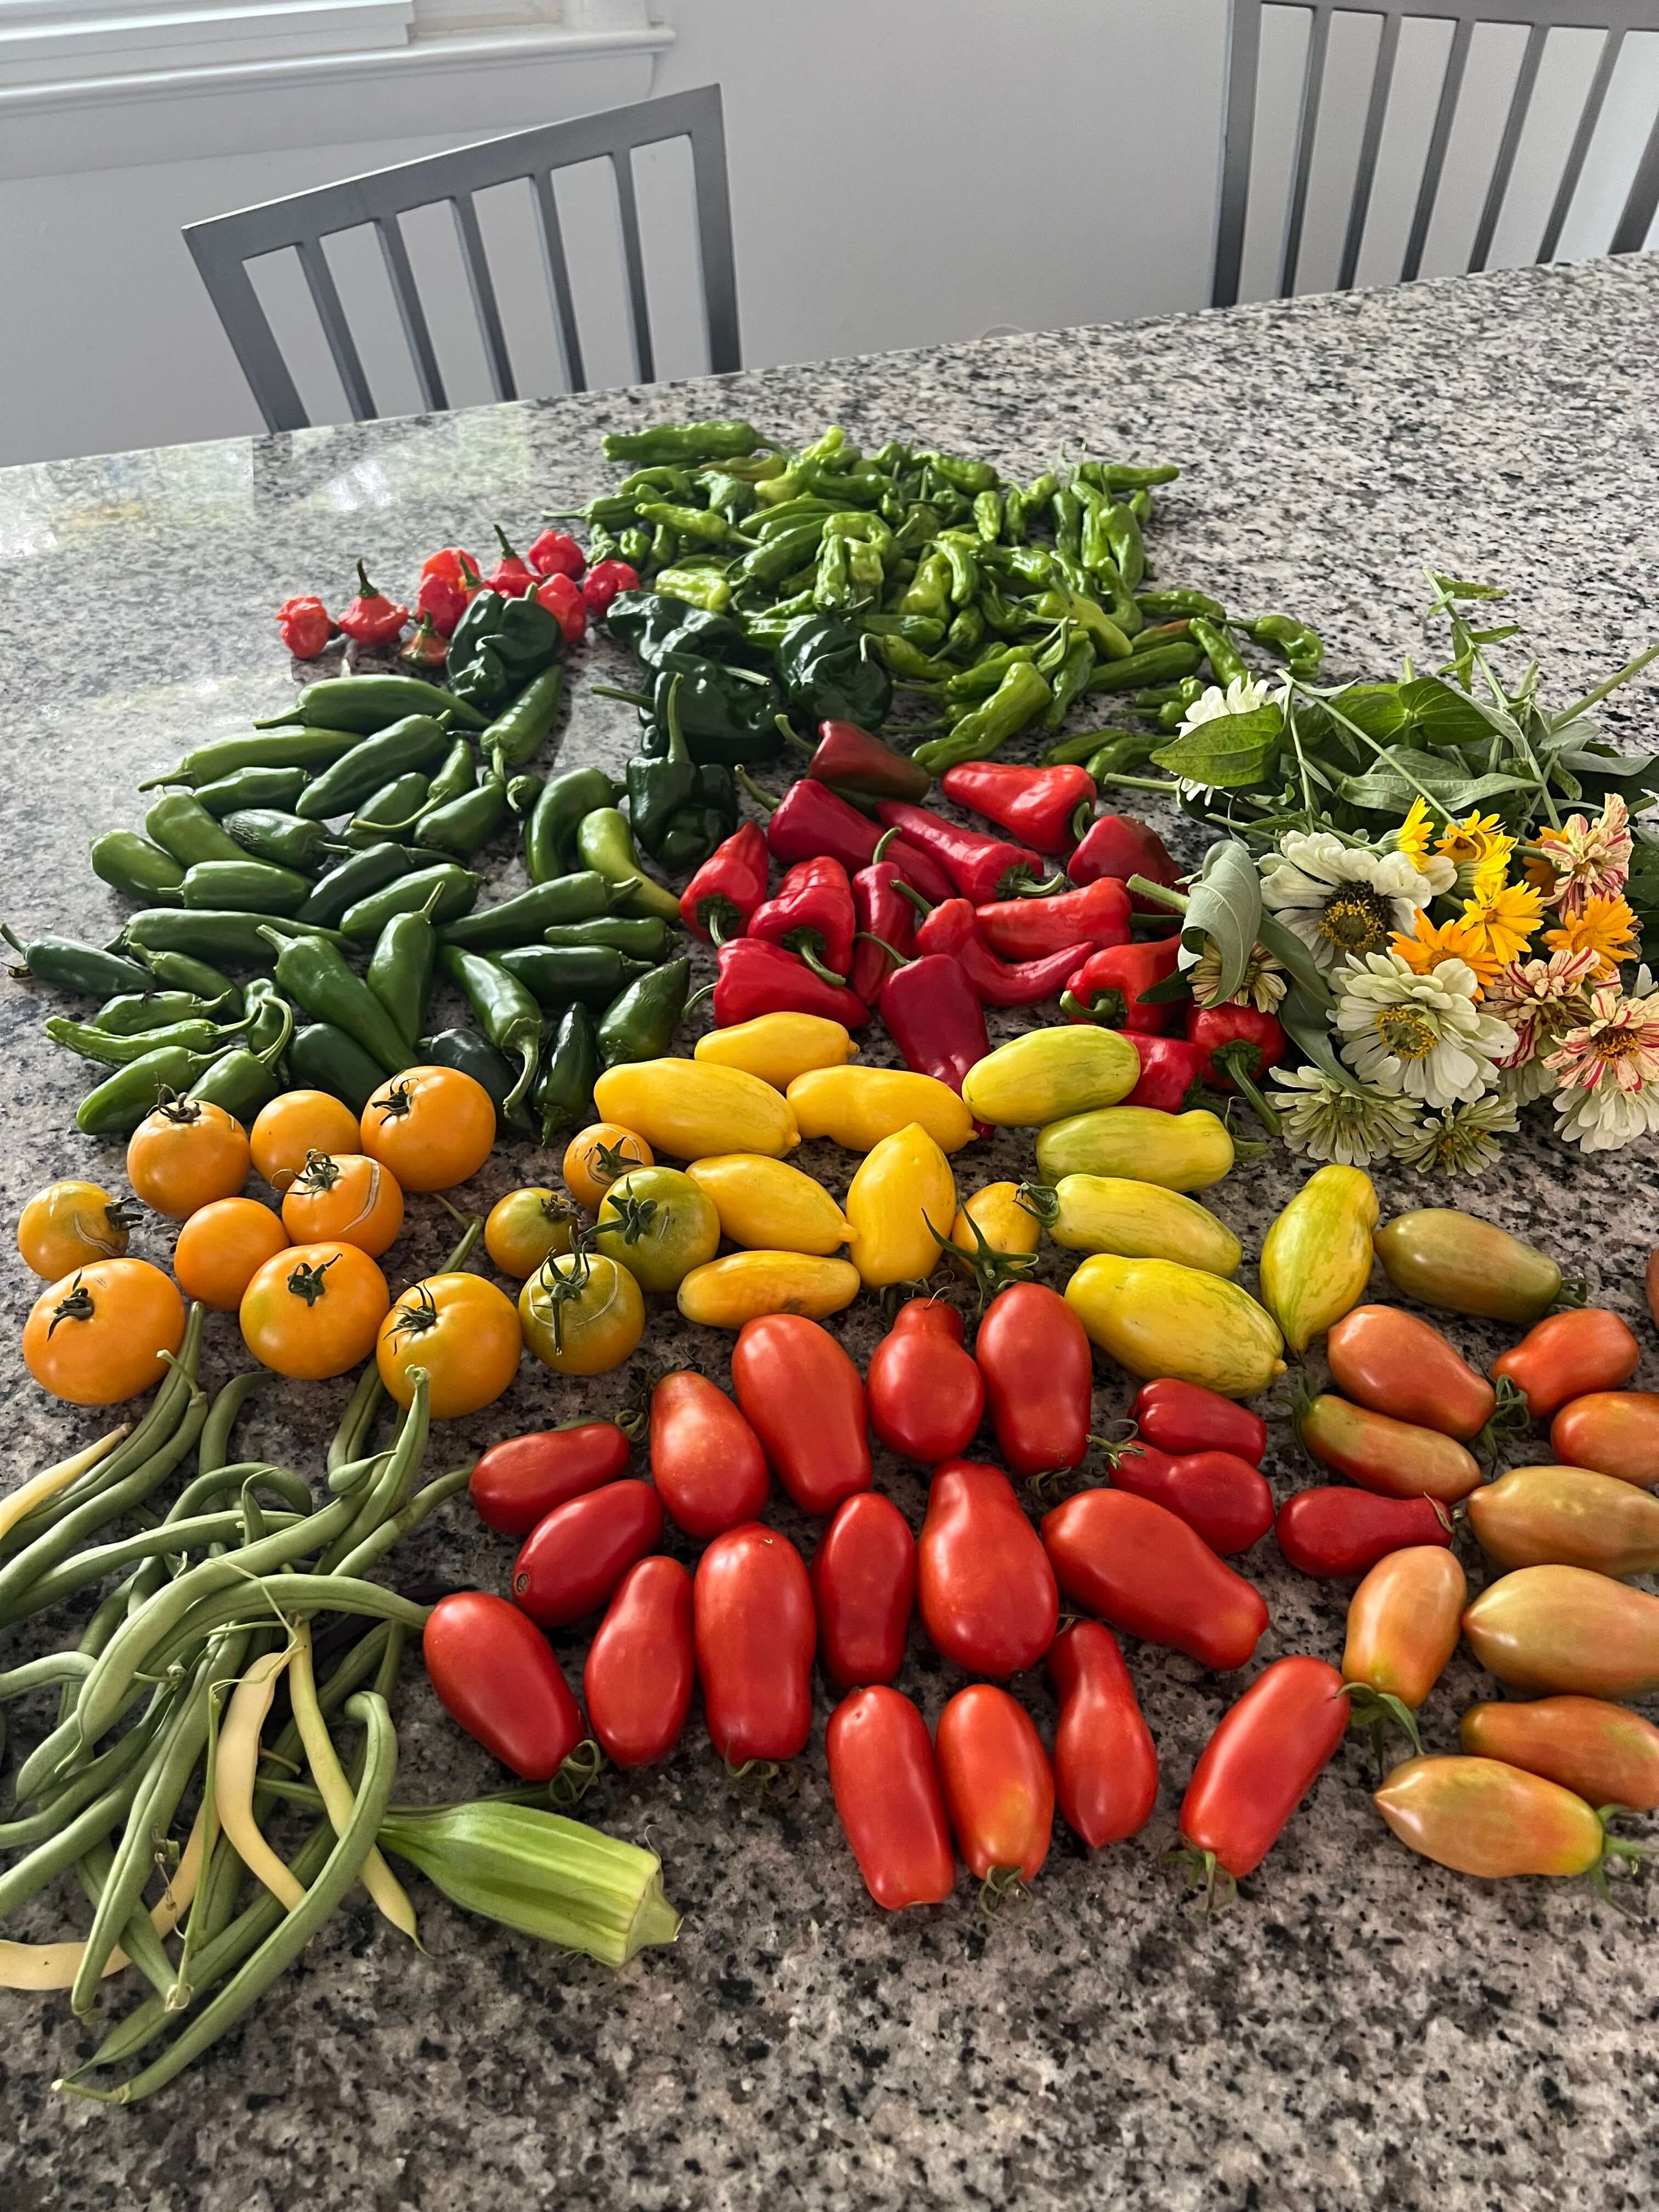
Now for the moment we’ve all been waiting for: harvest! Whether it’s fresh spring peas, sweet summer tomatoes, or a rainbow of flowers, harvest is the moment that makes the work and sweat and the sunburn worth it.
You probably don’t need me to tell you how to pick a tomato, but there are a few things to keep in mind:
- Most things prefer to be harvested in the cool morning before the sun has hit them and they’ve begun to wilt.
- The exception is members of the nightshade family. Tomatoes, peppers, eggplants, and tomatillos will be sweeter if harvested in the heat of the afternoon. The stress of the sun causes their sugars to concentrate.
- Even if you can’t harvest at the ideal time, don’t worry about it. A plunge in ice water will revive even the wiltiest lettuce.
- Make sure you’re checking for ripe fruits just about every day. A zucchini or an okra can go from too small to in-edibly large within a day.
To close the loop on your garden and save money for next year, you can also save seeds from your garden plants. The method varies some from plant to plant, but Seed Savers Exchange has a guide to get you started.
Step 10: Putting the Garden to Sleep for the Year
At some point, the year’s garden will draw to a close. Hopefully, you’ve thoroughly been bit by the gardening bug and plan to continue next year. If so, there are some steps you can take now to best set yourself up for success.
First up: something I recommend you not do. That’s clean up. Minus clearing away and burning diseased plants, I’d suggest leaving spent plants and leaves as shelter for the critters and birds over winter. Wait til it warms up next spring to do so and be rewarded with a wider diversity of pollinators.
You can, however, spread new compost now. You can also take down and sanitize trellises and tools. Be sure to take notes on what went well this year and what you want to change.
And if you’re trying to continue anything into the cold months, be sure to protect plants from the cold!
Almost 3000 words later, I hope this basic primer on how to start a garden gives you the info you need to jump in. It can be as simple or as complicated as you want to make it. Just remember, plants want to grow – it’s literally programmed into their DNA.
Gardening is a wonderful way to spend time in nature, lighten your environmental footprint, and add deliciousness and beauty to your life. Grow a garden, feed your soul!



Leave a Reply