
Today begins a new blog series that will run all summer and into the fall – Using the Harvest, be that eating, drinking, or preserving it. In this post, we’re getting ready to drink the harvest with a homemade organic chamomile tincture + cocktail recipe.
Two major motivations here: 1. A friend gifted me some dried chamomile from her harvest last year, which was perfectly timed for 2. my sister suggesting a cocktail recipe for my upcoming 4th of July cookout that actually calls for chamomile tincture.
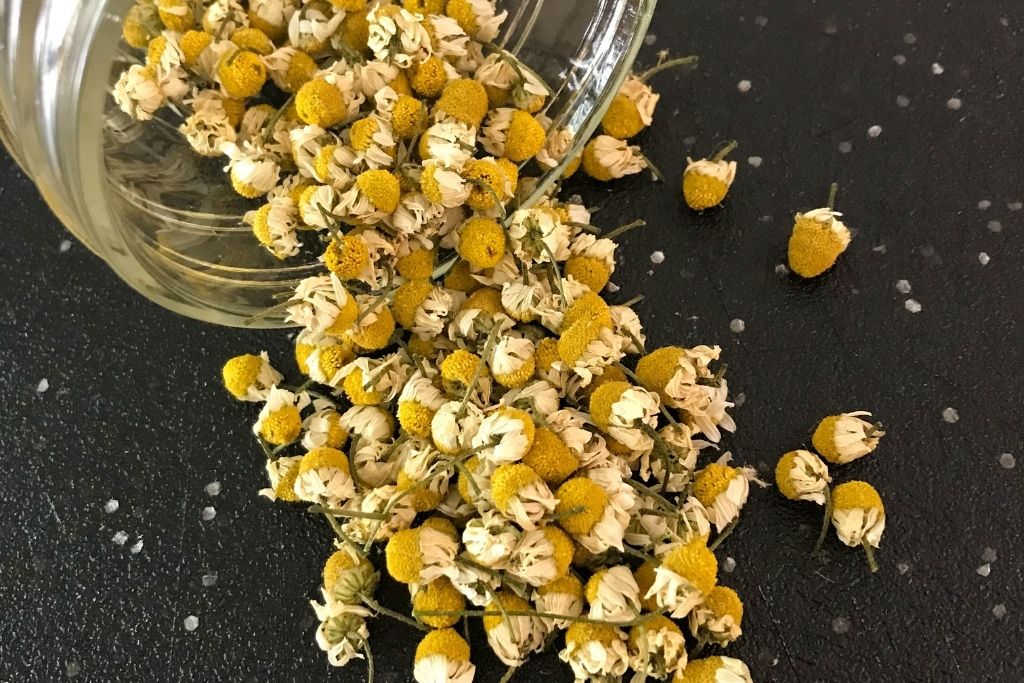
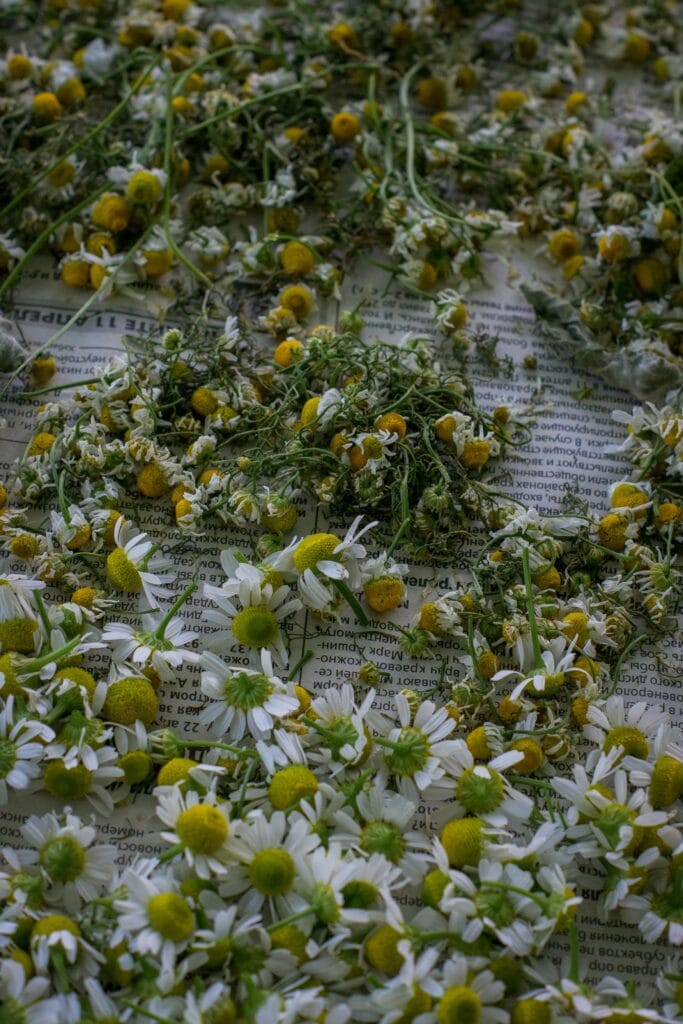
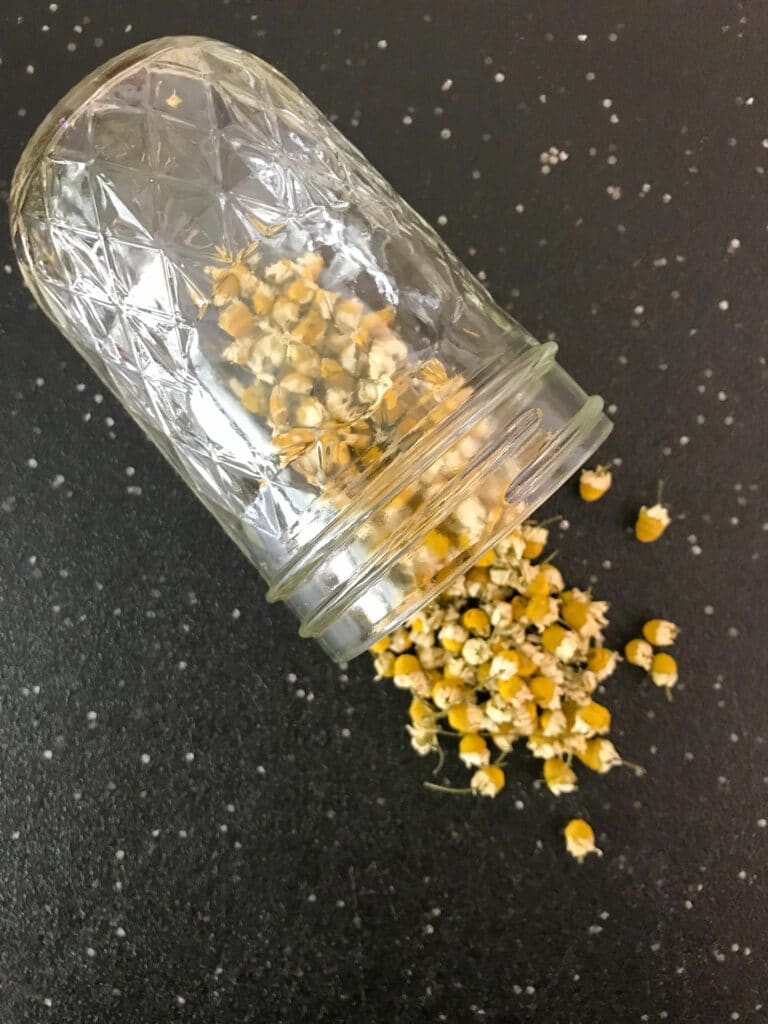
If you’re new to food preserving, chamomile and other herbs are a great way to start as it’s as simple as leaving them out on a clean kitchen towel or tying them in a bundle and hanging for a few days until completely dry.
Here, I’m using dried chamomile to create a chamomile tincture, which I’ll incorporate in the cocktail recipe below. But tinctures are also a great intro to the world of herbal medicine. We’ll cover what a tincture is and how to use it, as well as the differences between preparing a medicinal tincture and one for cocktail use.
And this cocktail, y’all.
My sister, who’s a kickass bartender, whipped it up for a pop-up market earlier this summer. She shared some rough ingredients, and I’ve been honing it down to a precise recipe. I’m planning on making it for my upcoming 4th of July cookout (which I’m both excited and trepidatious for – and feeling a little guilty for the rest of the world that’s not at this point yet. We are so lucky and I’ve just been feeling so grateful for the vaccines and science).
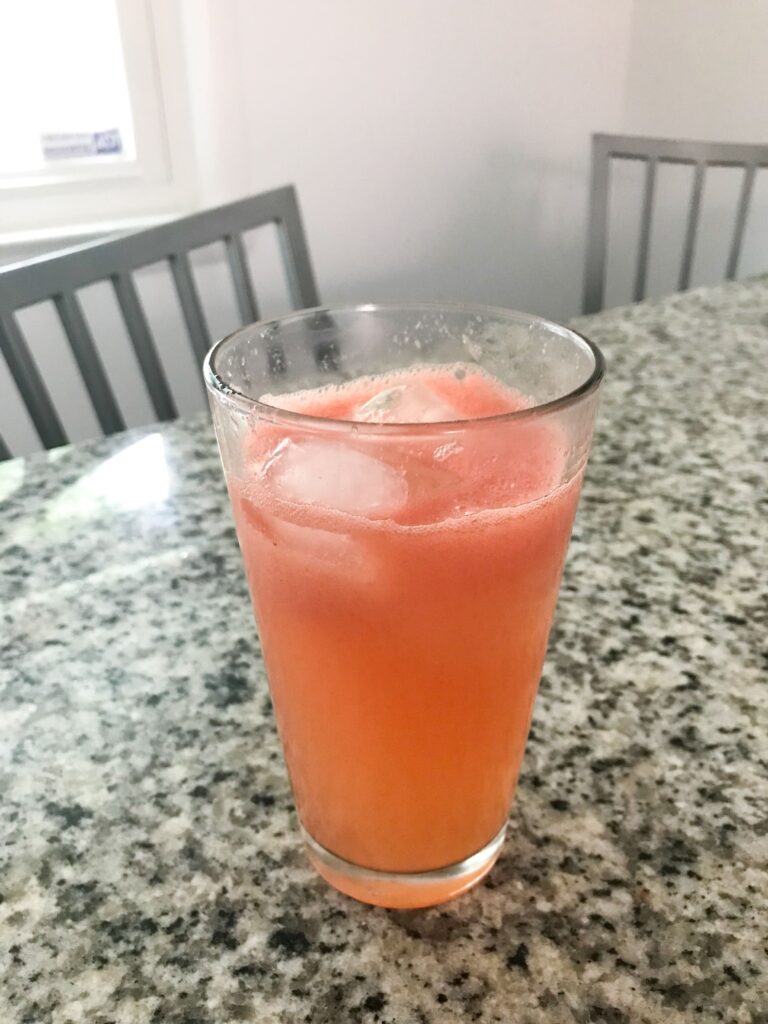
This isn’t just a 4th of July BBQ though – it’s the celebrate-all-the-holidays-we-missed-at-the-same-time party I’ve been planning since March 2020. I’ve invited people to come observe whatever holiday they most missed celebrating with friends this past year with food, drinks, costumes, decor – whatever they want to contribute. And this watermelon sour patch kids-flavored cocktail will be just the over-the-top taste of summer the party needs.
One of the ingredients in said cocktail? Chamomile tincture. So let’s break this thing down. We’re chatting all things chamomile, all things tinctures and herbal medicine, how to use a chamomile tincture, and finally our cocktail recipe and chamomile tincture tutorial.
Read on if you like tasty cocktails, are interested in herbal medicine or are growing chamomile!
All about chamomile
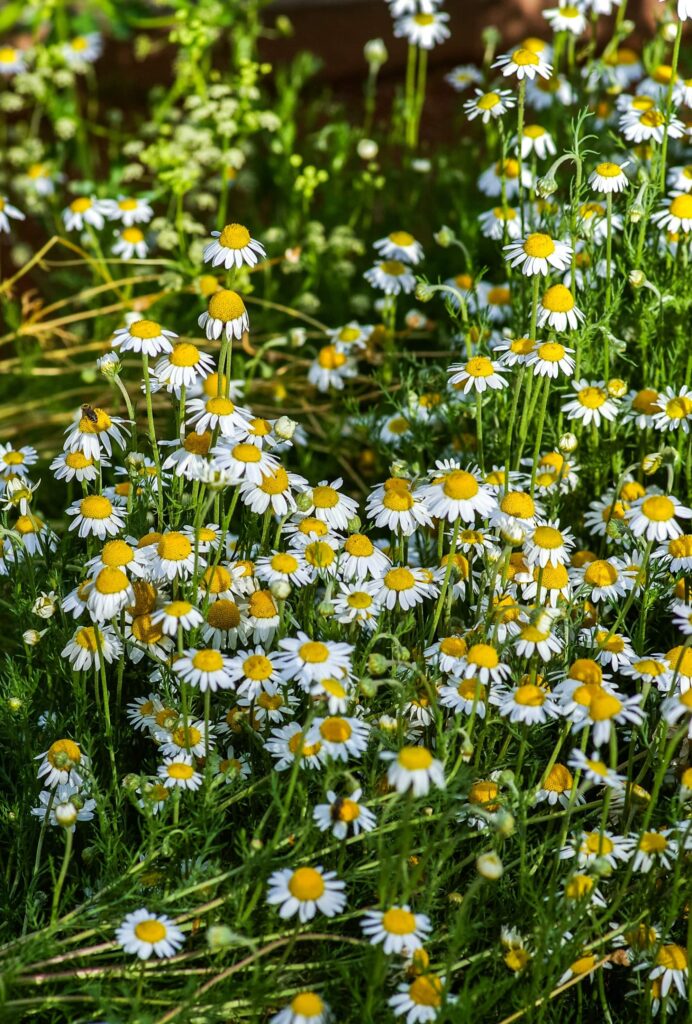
If you’re not growing chamomile and have never had it before, allow this to be my pitch for why you should. Chamomile is actually the common name for a number of daisy-like plants in the Asteraceae family. But usually when we’re talking about growing it in the home garden or consuming it, be that in tea or herbal medicine, we mean German or English/Roman chamomile. Both of these species are high in the medicinal properties that make Chamomile such an excellent sleep aid.
According to this Molecular Medicine Report journal article I found through the National Institutes of Health, chamomile is one of the most ancient medicinal herbs known to mankind. In the US, we often use chamomile tea as a sleep aid and nervine to reduce anxiety. But it’s also used for ailments such as hay fever, inflammation, muscle spasms, menstrual disorders, insomnia, ulcers, wound healing, gastrointestinal disorders, rheumatic pain and hemorrhoids. We drink more than one million cups of chamomile tea per day to help with these various ailments – and just because it’s tasty.
It’s also an adorable, fast-growing flower for the home garden, easily grown from seed. It overwinters in milder regions (like here in central Ohio), and it’s easy to preserve! Just pop off the flower heads and dry them on a clean kitchen towel or tied up in a bundle hanging for a few days.
Okay, that takes care of the first part of our organic chamomile tincture. Now let’s talk about tinctures.
What’s a tincture?
In layman’s terms, a tincture is basically an alcohol extract. All tinctures are extracts, but not all extracts are tinctures. Basically, in a tincture, alcohol is used as the solvent, or menstruum, to extract flavor and medicinal properties from plants and mushrooms. The same process can be done for some herbs with vinegar or glycerine, but alcohol is probably the most common. And it’s one of the easiest ways to dip your toes into herbal medicine at home (after eating your herbs and making tea, of course). Tinctures can be made with fresh or dried flowers (like we’re discussing today), leaves, roots, barks, berries, or mushrooms.
So why make/consume a tincture? It’s a way of making the properties of whatever plant you’re tincturing more concentrated and shelf-stable. For most of us, the fresh growing season doesn’t last all year, and it can be hard to source high quality, organic fresh foods and herbs in the off season. Tinctures also make it more possible to take a more concentrated dose of an herb/herb blend if you’re trying to support a certain health outcome.
You can take a tincture straight sublingually or dilute it in water or tea. Many are also great for adding flavor to cocktail recipes! But more on that later.
An Important Disclaimer
Please note that none of the information in this post has been evaluated by the Food and Drug Administration and is not intended to diagnose, treat, cure or prevent any disease. Consult with a qualified healthcare practitioner before using herbal products, particularly if you are pregnant, nursing or on any medications.
I’m super interested in herbal and functional medicine as ways of supporting health, instead of just managing sickness. But I am by no means a qualified herbalist or medical practitioner. This was just a super zoomed out overview based on my research. I encourage you to do your own and to work with a qualified herbalist/alternative medicine practitioner if that interests you. Many herbs work best in formulation, and that’s hard to get right on your own.
If you’re interested in learning more about herbal medicine/wild food, here are the websites/social handles of some good places to get started: Sage Mountain Botanical Sanctuary (founded by Rosemary Gladstar), Chestnut School of Herbal Medicine, the Herbal Academy, Rowan and Sage, and Black Forager.
And if you’re new to all of this, start with just eating or drinking your herbs! Get to know an herb by making tea with it or incorporating it into your cooking. Food is Medicine.
Uses for chamomile tincture
Now, while tinctures can be great for supporting various health outcomes, they can also just be tasty! As noted above, chamomile is great for supporting sleep, soothing frayed nerves, easing menstrual cramps and much more. Tinctures, not entirely unrelated to bitters, can also add interesting flavor and depth to cocktails and foods.
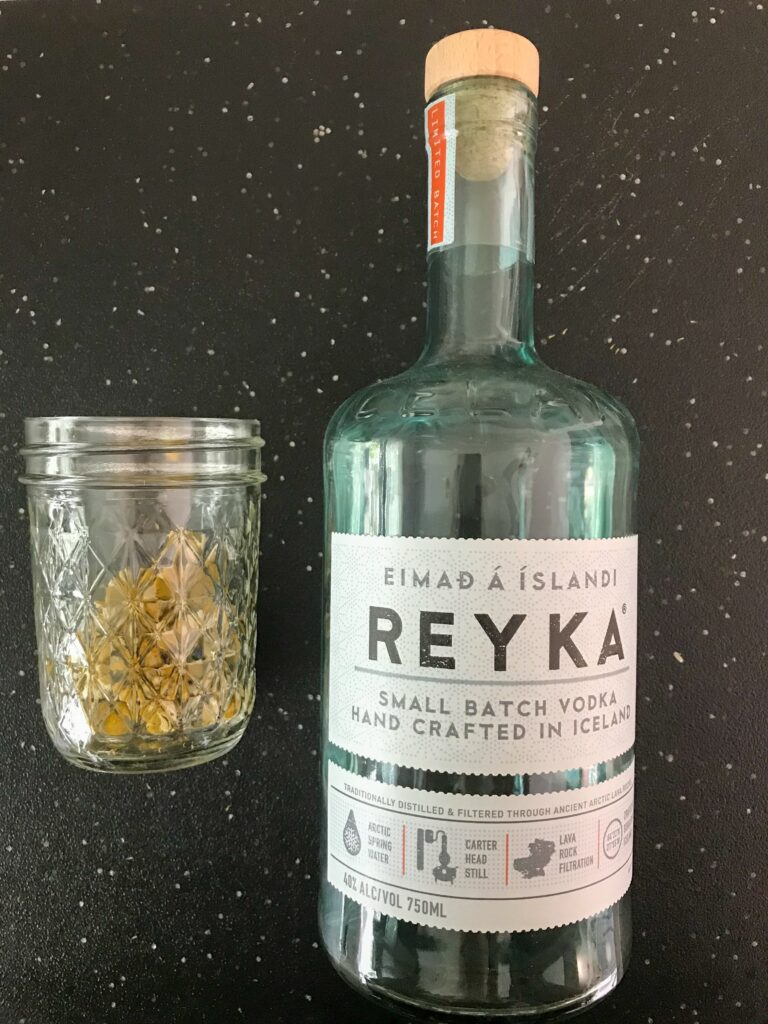
Note that tinctures prepared for use in cocktails versus medicinally are a much easier and quicker process. For both, you’re steeping the herb of your choice in the alcohol of your choice (ideally a neutral spirit like vodka that’s 80-100 proof, depending on the herb you’re tincturing). I’m using Reyka vodka as this is specifically an organic chamomile tincture and Reyka is an organic vodka, but you’re also free to use whatever cheap one you have on hand/can pick up easily.
It’s easier and more foolproof to use dried herb/plant matter, but if you want to use fresh, here’s a tip from my bartender sister: freeze it first to start the cellular breakdown process. Then roughly chop and drop in the alcohol.
For medicinal use, steep your tincture 4-6 weeks and store in a dark place, agitating every couple days. If you’re just interested in taste and planning to use it in a cocktail, it only takes a few days – depending on what you’re infusing.
And now we can move onto the reason you’re really all still here: the cocktail recipe!

Summer Watermelon and Herb Sour Recipe
As mentioned, this is a recipe that comes by way of my sister the bartender – sort of. She made it for a pop-up market and promised it tastes like watermelon sour patch kids. She gave me rough estimates, and I’ve been honing them down for my own use. Here’s a version of the recipe scaled down for one drink:
- 4 oz Watermelon juice
- 2 oz Tequila, gin or other clear liquor
- 1 oz Lemon juice
- 1 oz Simple Syrup
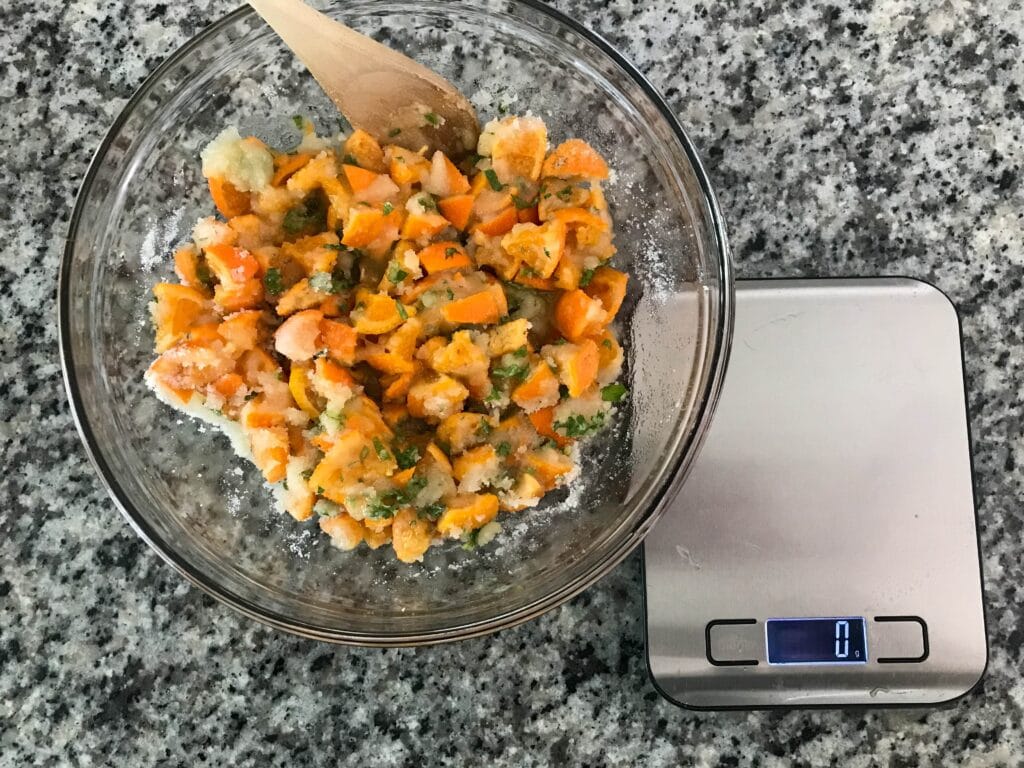
- 1-2 oz Citrus Herb Shrub (More on shrubs here. You can see above mine is a mandarin-lemon balm-pineapple mint-sage shrub).
- A few drops Chamomile tincture (optional+to taste)
Yes, this makes a large glass. Yes, you’re going to want it that big. You can also top with sparkling water if you want it a little fizzy/not quite so strong. Thinking about making this on the scale of a party punch, we’re looking at a ratio of 2 parts watermelon juice :: 1 part liquor :: ½ part lemon juice :: ½ part simple syrup :: ½-1 part shrub :: chamomile tincture, still to taste because it will depend on how long you infused it.
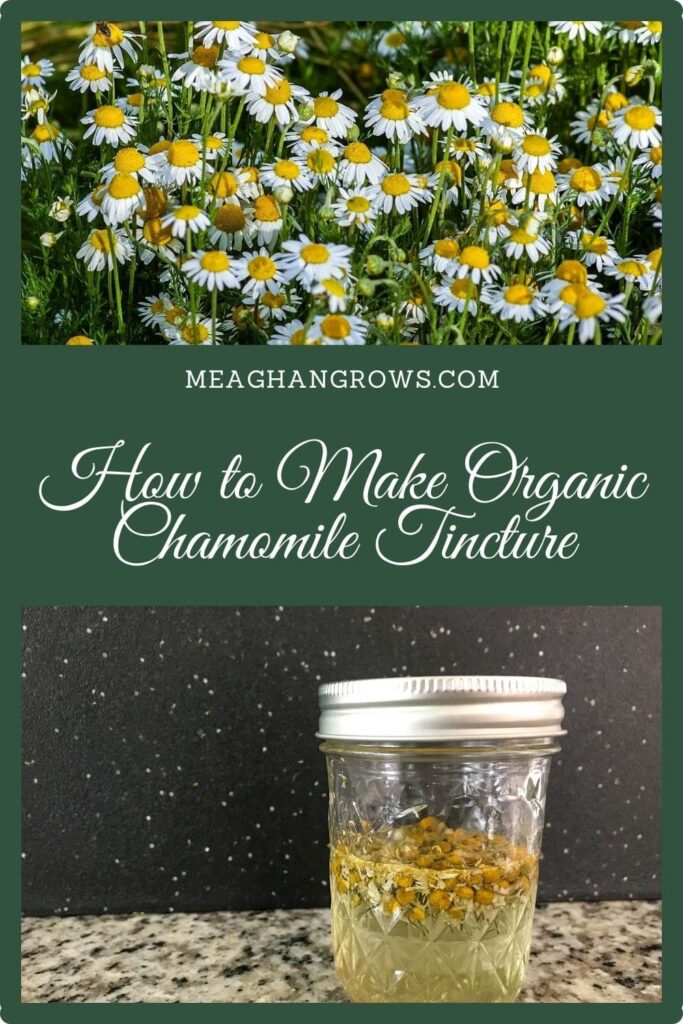
How to Make a Chamomile Tincture
And finally, for the main event. This organic chamomile tincture is actually really easy to make. You’ll see in the photos that I made a super small batch as I’m focused on this 4th of July party, but feel free to scale up for your needs.
The basic process for making a tincture of a dried herb is just to fill your chosen jar halfway with herb and then fill the jar with your spirit. (For fresh herbs, it’s ⅔ to ¾ of the jar.)
- Clean and dry your chosen jar. An amber- or dark-tinted jar is best, but a mason jar is just fine as long as you keep it in a dark cabinet.
- Fill jar halfway with dried chamomile.
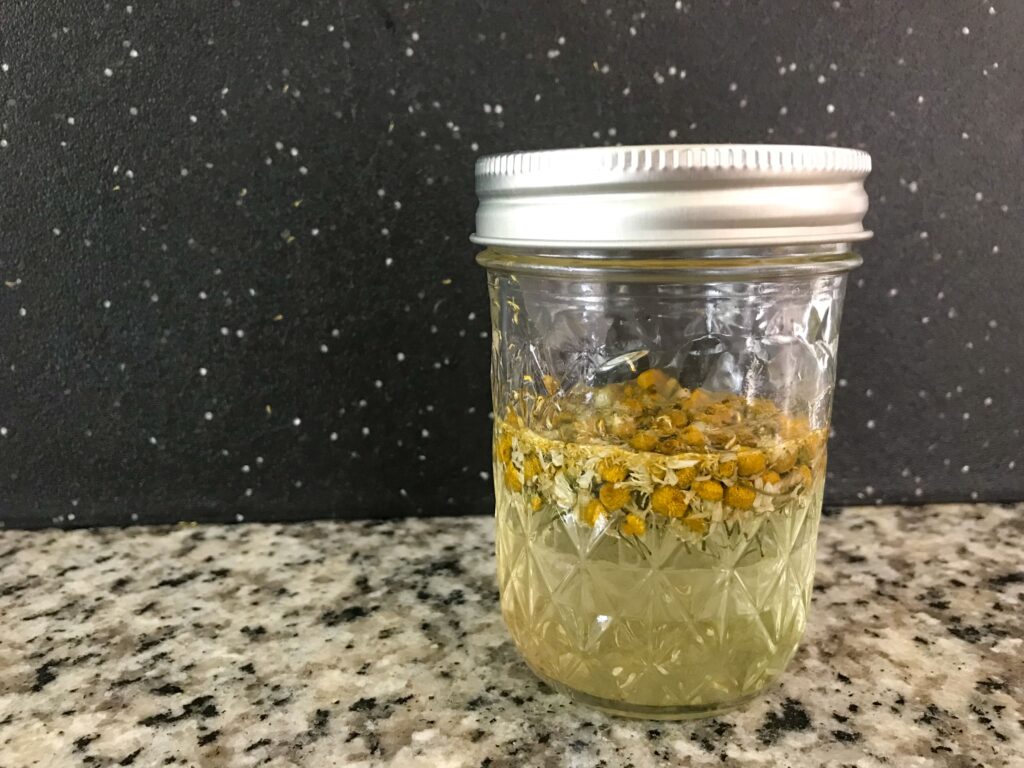
- Cover completely with vodka, or chosen spirit – fill to the top. (If you’re not doing a full jar, as I’m not, fill so it’s twice as deep as the chamomile was when dry).
- Cap the jar. It should appear full, but the the chamomile should move freely when shaken.
- Store in a dark cabinet, agitating every few days.
- Steep 4-6 weeks for a medicinal tincture, or only a few days for cocktail flavoring.
- Once done steeping, strain through a fine mesh sieve lined with cheesecloth.
And voila, you have an organic chamomile tincture for all your chamomile-related needs! If you try this tincture tutorial and/or the cocktail recipe, I’d love to know how it works for you!
Check back in next week, when we’ll be talking about how to plan a fall garden! (I know, I can’t believe it’s already that time either.)
Pin it for later:

thanks, very interesting 🙂
You’re welcome! Thanks for reading!