
I know, I know – you’re thinking, “it’s barely the 4th of July, Meaghan. I’ve just begun to harvest my summer garden. It can’t be time to think about the fall garden.”
But guess what? If you live in zone 6 or colder, it’s probably past time to get started!
Let’s set a common misconception straight: the fall garden isn’t necessarily veggies you plant in the fall, but ones you plan to harvest in the fall. Often, they’re the crops that enjoy cool weather (some can even survive a frost!), and those that tend to store better long-term. We’ll cover more on what veggies thrive in a fall garden in a bit.
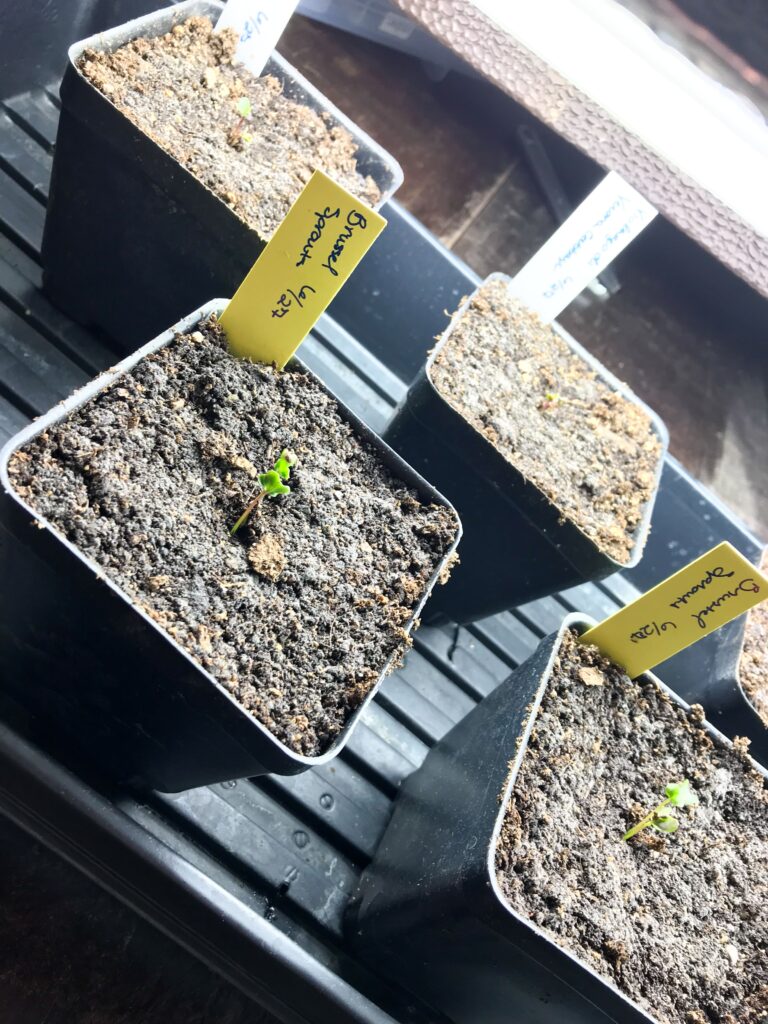
I actually started my first seeds for the fall a couple weeks ago, a few cabbages and brussel sprouts that all take 100+ days to come to maturity. I’ll start more this coming weekend and the week after that.
I found that prepping and planning the fall garden was a lot more confusing than the spring garden. If you’re in the same boat, read on for tips on how to plan your fall garden, when to start your seedlings, and what to grow!
How to Plan the Fall Garden
To me, the first step to a successful fall garden is understanding what’s in your summer garden. When will various crops be coming to fruition? How much space do you expect to have to plant new veggies come late July (timing dependent on your growing zone)?
Essentially, knowing how much space you will have is key to deciding what to grow and when to start it.
In a bit, we’ll walk through some good crops to consider, but for now, let’s tackle some more basic planning tips.
Once you’ve figured out how much space you have and what you want to grow in it, the next step is figuring out when to start seeds/direct sow. Unlike the spring garden, where you basically just need to know your last frost date, the fall garden requires slightly more complicated math.
The standard suggestion is to check your first frost date and your desired crops’ days to maturity. Days to maturity should be listed on the back of your seed packet or in the supplier’s catalog/website. Count backwards the number of days from your first frost and voila, you have your planting date! You might also factor in fall’s shorter day lengths, which will delay maturity. Plan to add a couple of weeks for insurance.
However, for some cold hardy brassicas, you don’t need to go by your first frost date, but rather your ideal harvest date.
Want homegrown brussel sprouts for Thanksgiving dinner? Count backward from then! Want to plant multiple stalks of brussel sprouts or heads of cabbage and stagger when you harvest them? Factor that into your counting and stagger your sowing dates!
As a head’s up for anyone who doesn’t know, this handy date duration calculator will do all of this counting for you!
For any plants you’ll want to sow indoors under grow lights, the next step is of course to sow seeds! See below for a chart on how early to start many fall crops! While you theoretically could direct sow everything as conditions outside would support it, many fall crops prefer cool weather and will do better in the controlled conditions of your house while getting established.
Otherwise, the next step in planning ahead for the fall garden is prepping the garden itself!
Note that this step may fall several weeks after you’ve sown seeds, as you’ll need to wait for summer crops to come out before you can prep the beds for the fall garden.
Because you’re likely planting your fall garden crops in soil that’s already fed the spring and summer gardens – and summer crops tend to be heavy feeders – you want to be sure to replenish the soil before putting in the fall garden. This can mean adding organic fertilizer, compost, worm castings, or any amendments to remedy specific deficiencies.
After feeding the soil, it’s also a good idea to add a new layer of mulch where you plan to plant fall garden crops. Again, fall crops tend to like it cool and moist, so mulching will help shade the roots and keep moisture in the soil. When it’s time to plant, just brush the mulch away and then recover afterward.
Alternately, for direct-sown fall crops, you can wait and mulch after they’ve germinated. Note: it’s especially important to water regularly for direct-sown crops, as you’re likely sowing them in the hottest part of summer, and they don’t yet have the deep root systems to reach water that your spring and summer crops have.
What to Grow in a Fall Garden
As, remember, these are the crops you’ll plant in the second half of summer and will go into the fall, fall gardens tend to be full of cool-weather lovers. Think brassicas, greens, root veggies.
Depending on the length of your season and the amount of space you have, you can also sow another succession of some quickly maturing (or more hardy) summer crops. Plan to have these harvested before the frost hits, but most places can easily support another round of potatoes, summer squash, peas, etc.
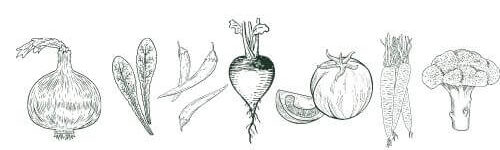
Here’s a more detailed list of your options:
Greens:
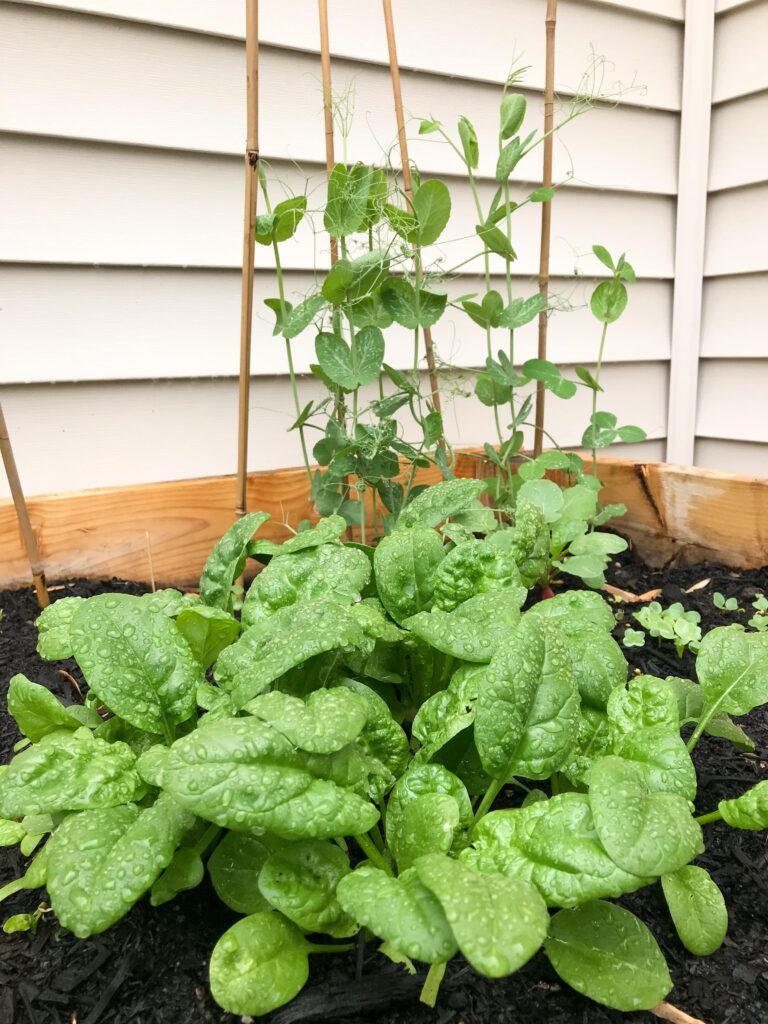
- Spinach
- Asian greens
- Arugula
- Lettuces
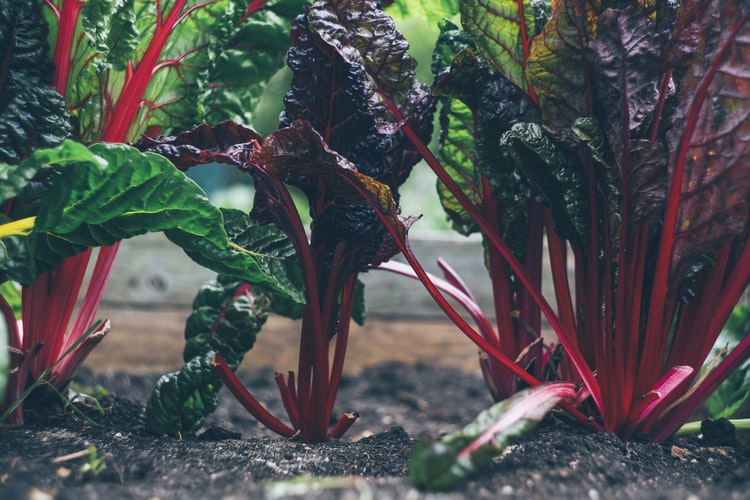
- Swiss Chard
- Collards
- Mustard greens
Brassicas:
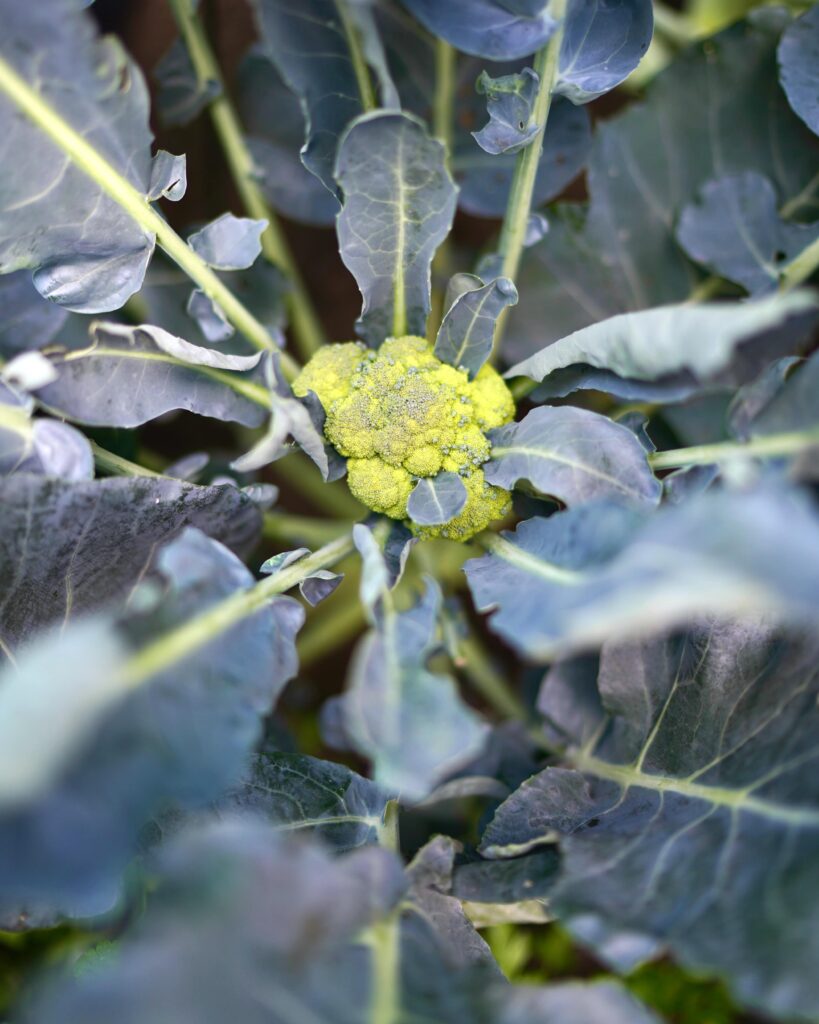
- Broccoli
- Cauliflower
- Brussel Sprouts
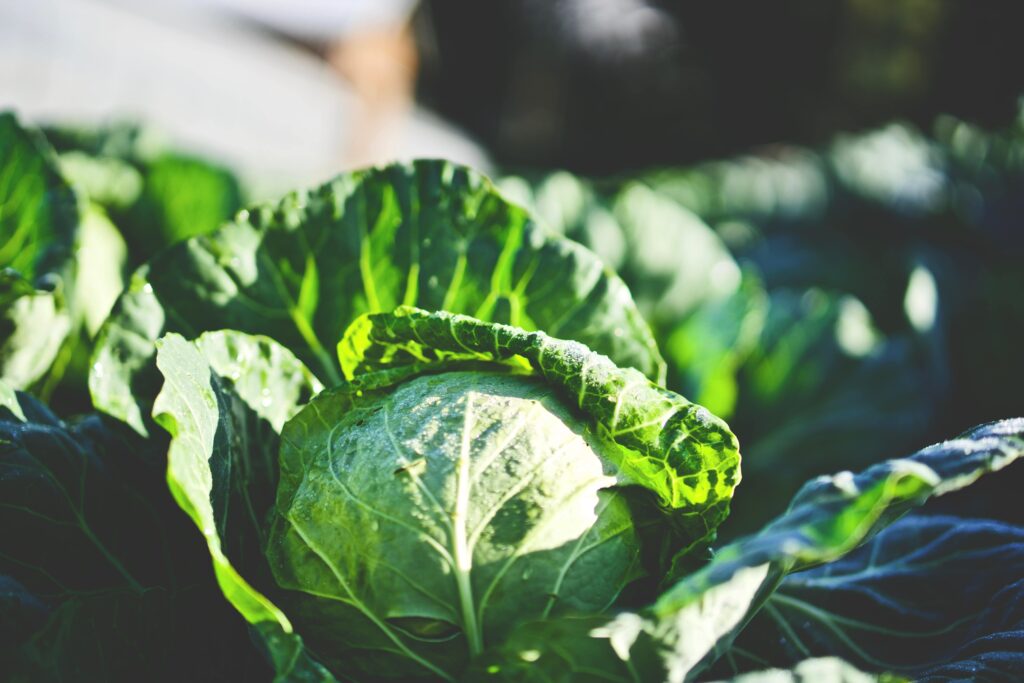
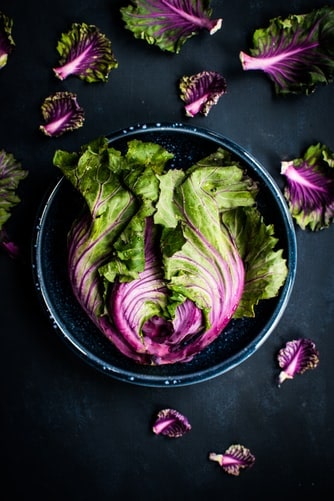
- Cabbage
- Kale (technically a brassica, even though we think of it as a green)
- Kohlrabi
Root Vegetables:
- Radishes
- Carrots
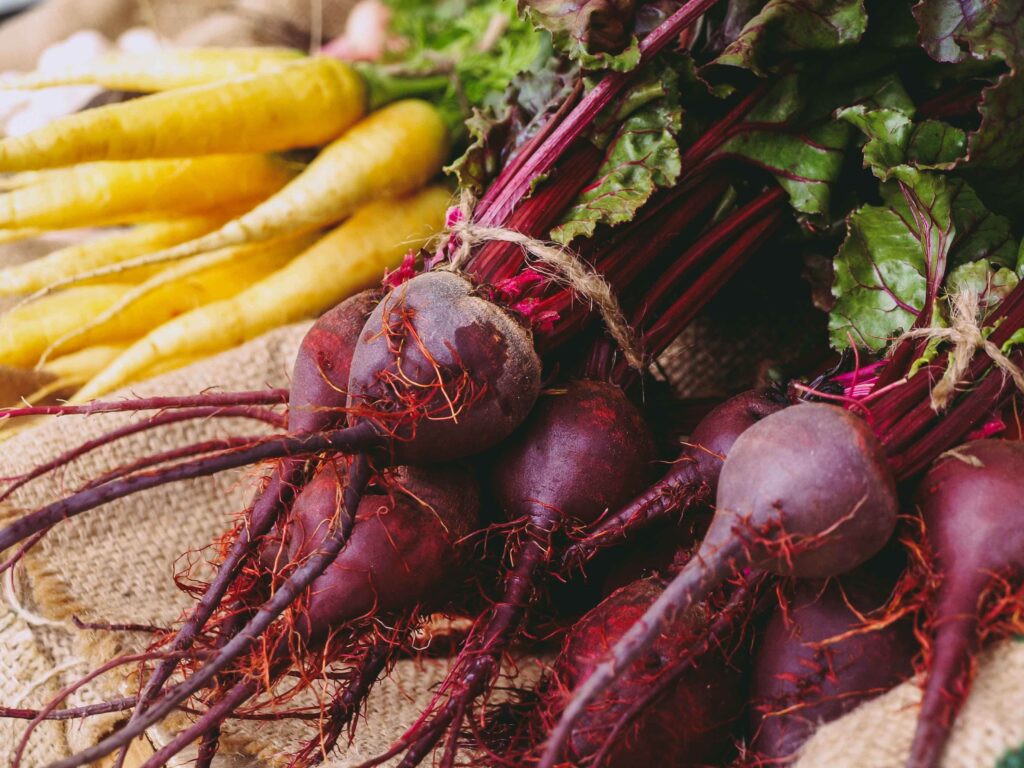
- Beets
- Parsnips
- Turnips
- Rutabaga
- Celeriac
- Potatoes
For the longer growing of these crops, like potatoes, make sure you plant them in enough time. Also note that many can overwinter for a while in the ground. For example, you should pull your potatoes before a hard frost, but they’ll probably be okay chilling in the ground in the early fall. Then just harvest when you want to eat! Most of these can also be stored long term in a cool place like a basement, packed in sawdust or sand.
Alliums
- Onions
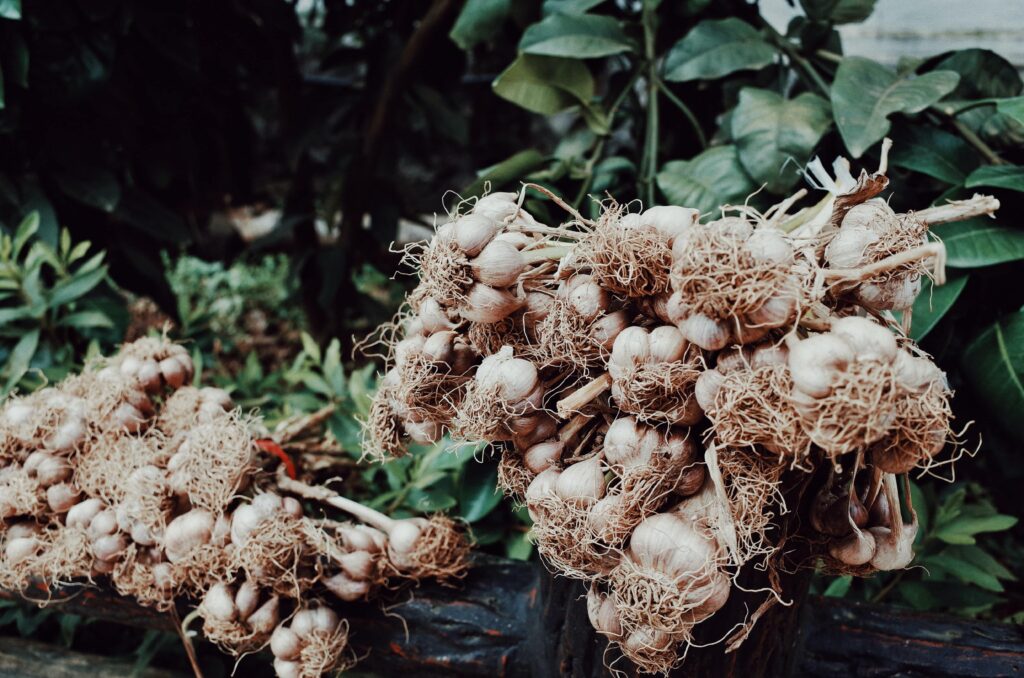
- Garlic
- Shallots
- Leeks
These will likely be the last crops you sow for the year, but the allium family depend on cold stratification. Meaning, you plant in the late fall, they go dormant in the winter, then grow in the spring for you to harvest by summer! Just make sure you don’t plant alliums in space you’ll want for next year’s spring or early summer garden, which is why I don’t grow them in the limited space I currently have.
Quick-Maturing Spring/Summer Crops:
- Zucchini and other summer squashes
- Cucumbers
- Peas
- Bush beans
For this category in particular, make sure you can harvest before the first frost – and definitely account for the lessening sunlight in the second half of summer. I know many of us are sick of super prolific growers like zucchini come late summer. However, if you can fit it, it’s great to grow a succession of these crops specifically to preserve for when you’re craving green in the dead of winter!
I know all the marketing we see around gardening by the big box stores focuses on summer, but there’s so much food you can grow beyond what’s planted in May and June. Heck, if you live in a warm region, there’re probably things you can grow all year round!
And many of these crops, like greens, roots, and brassicas, taste their best in the fall once they’ve been kissed by frost.
If you’ve struggled with bitter or bolting greens or brassicas in spring, try them now!
When to Sow the Fall Garden
12-14 weeks before first frost:
- Start brassica seedlings indoors – plan to plant out in 3-4 weeks.
- Begin direct sowing beans, root veggies, and lettuces/greens.
10-12 weeks before first frost:
- Sow onion seeds indoors if growing from seed
- Plant out brassicas
- Continue direct sowing roots and greens
- Direct sow potatoes, peas, cucumbers
8-10 weeks before first frost:
- Continue direct sowing greens
- Direct sow zucchini and other fast-maturing summer squashes
- Last call for root veggies
6-8 weeks before first frost:
- Sow any final sowings of spinach and lettuces – ideally in places you can set up hoops and row cover to extend the season.
4-6 weeks before first frost:
- Sow onion sets
Around the date of your killing frost:
(Side Note: it frosts at 32°F, and that’s cold enough to at least damage most summer crops. A killing frost is 28°F, which, as the name suggests, is the point at which you will lose any remaining frost-tender plants.)
- Direct sow your other alliums (you can start these from seed indoors, but most gardeners get starts in the form of garlic and onion sets).
If you don’t want to have to figure out all of these dates yourself, Farmer’s Almanac has a handy planting calendar for various cities. Of course, it just contains guidelines and dates will vary for individual plant varieties.
As I mentioned, many fall crops can be left in the ground beyond your first frost date and harvested when you want to eat them. These include the brassicas and root veggies. However, the trick is to know how much cold is too much for them. While carrots, for example, taste sweeter with a light frost, a killing frost will ruin them.
One way around the killing frost in a cold region is to use season extenders like hoops and row cover or cold frames. Row cover comes in different thicknesses with differing degrees of protection, but a standard row cover will often give you that 4° needed to survive the killing frost. Even a good, thick layer of mulch can provide a couple degrees of protection. Cold frames and row cover are also a great way to begin warming the soil in the spring so you can plant earlier!
My Fall Garden Plan:
At this point, you know everything you need to set about creating your own fall garden plan. However, here’s mine as an example if you learn best by demonstration.
So, as a reminder, or if you’re new here, my main garden is two 10ft x 3ft raised beds. I have other planters and whatnot, but I won’t be sowing new things in them for fall.
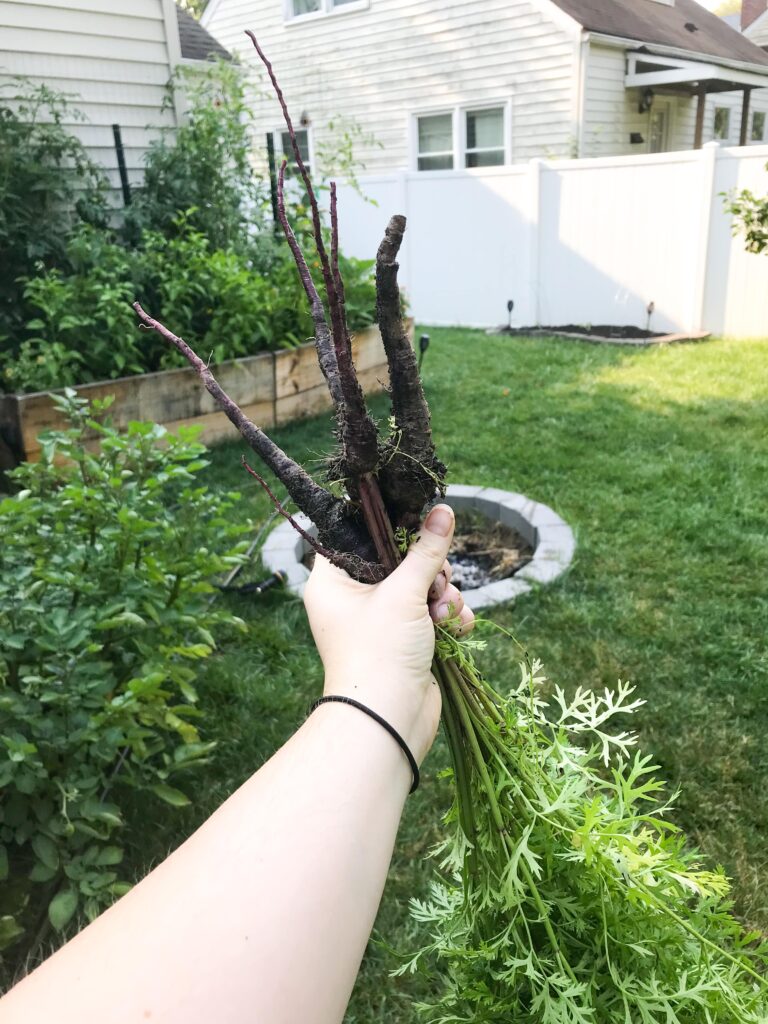
One bed currently has a fair bit of empty space as it’s what held the majority of my spring planting. It’s also where I lost all my cucumbers to cucumber beetles ?. And it contains crops that are ready to come out now (spring carrots) or will be ready before I sow the fall garden (bush beans).
As you don’t sow the fall garden all at once, you can finagle things so, say, a late lettuce planting replaces something that doesn’t finish up until late August/early September.
If you really want to maximize your yield over the year, you can pull summer crops that may still be producing, but have passed their peak, in order to create more room. Now, my tomatoes and peppers are my babies, so I won’t be doing that. But it is an option!
In total, in that first bed, I have about 16 square feet of space to fill with the fall garden.
In my other bed, which houses all my tomatoes and peppers, space is more limited. But I have a row of flowers as trap crops/pest repellents between the tomatoes and peppers, as well as flowers on three sides of my basil garden at one end of the bed. I’m currently planning to rip all these out at the end of July and into August to clear up space for fall garden crops. My exact layout may switch as I see when other things finish and what space becomes available when. But I know how much space total I have and that’s what I’ve used to plan.
The second bed adds 11 square feet to my total, yielding 27 square feet in which to sow the fall garden.
With that in mind, I decided what I wanted to grow. Note: I plant very intensively, in a modified version of square foot gardening. So some of these plants, especially the brassicas, would benefit from more space than I’m allotting them. However, my logic is I’d rather have smaller harvests of a wider variety than fewer, larger crops. I’m also only feeding my partner and myself, so it’s okay if I don’t grow the largest cabbage possible as we’d get sick of it before we could eat it all anyway.
Here’s what I ultimately decided on:
- 2 plants Sativa Brussel Sprouts
- 2 plants Violaceo di Verona Cabbages
- 1 plant Kalibos Cabbage
- 4 plants Nero di Toscana Kale
- 4 plants Calabrese Broccoli
- 4-10 gal grow bags of Potatoes (planning to use seed from my current cops, so two of Yukon Gold and two of Magic Molly)
- 3 feet of Snap Peas (Magnolia Blossom Tendril and Sugar Magnolia Tendril)
- 4 feet of Carrots (one foot each of Black Nebula. Longue Rouge Sang, Muscade, and Oxheart)
- 2 feet of Beets (one foot each of Chioggia and Touchstone Gold)
- 3 feet of Cut-and-come-again Lettuces (varieties yet to be determined, but will include arugula)
- 2 feet of Bloomsdale Longstanding Spinach
- 2 feet of Radishes (French Breakfast and De 18 Jours)
And here’s my sowing schedule:
- June 27th: Sowed my brussel sprouts and cabbages indoors under grow lights
- July 10th: Sow broccoli indoors
- July 17th: Sow kale indoors
- July 24th: Transplant brussel sprouts and cabbages. Sow potatoes in grow bags.
- July 31st: Direct sow peas
- August 7th: Transplant broccoli
- August 14th: Transplant kale. Direct sow carrots and beets.
- August 28th: Direct sow lettuces
- September 3rd: Direct sow radishes
- Estimated first frost date: October 8th (though in all but one year of the last decade it’s been later, sometimes as late as mid-November).
I’d love to hear what you’re thinking for your fall garden and what planning challenges you may have encountered!
Pin it for later:

This is such fantastic information! I’m often enthusiastic about gardening in the spring, and then I get busy and distracted or take a summer vacation and forget about it. Then as an afterthought I realize I could have made better use of replanting things as space became available. But I had never made a plan and it was always too late. I’m not sure I’ll get organized for this summer, but I’m going to bookmark this for next year! You’ve given us lots of assistance with these tips.
I’m glad it’s helpful! Honestly, the fall garden might be my favorite garden. Once you get over the hump of planting it in summer’s worst heat, the rest of the seasonable, it’s much more comfortable to be in the garden, the pest pressure is lower, etc!
I have never had a fall garden, but I missed the spring one this year so I need all this information lol. This post is thorough! Thanks!
I hope you give it a try! I find it’s less work and more fun in the Fall!
I really loved this post! I just got into gardening this year and will take all the tips! Thank you!
You’re welcome! Thank you for reading!
I have been wanting to start a fall garden and this post is so helpful!! Looking forward to plants some garlic late fall!
I’m so glad! Such a great choice!
This is such a helpful post! And a great reminder for me to get my fall harvest into the soil asap! Thank you!
You’re welcome! Thank you for reading!