
Y’all, I’m almost embarrassed at how long it took us to complete this compost bin project. It’s been at the top of the homestead project to-do list since we moved in last August…and somehow it still took 10 months.
At first, I wasn’t sure what kind of compost bin setup I wanted. I initially thought vermicompost – seemed like a good fit for a small city yard. And then, as the semester wore on and I lacked time and motivation, I looked into just buying a compost bin. Turns out they’re pretty expensive. And none I looked at had particularly good reviews.
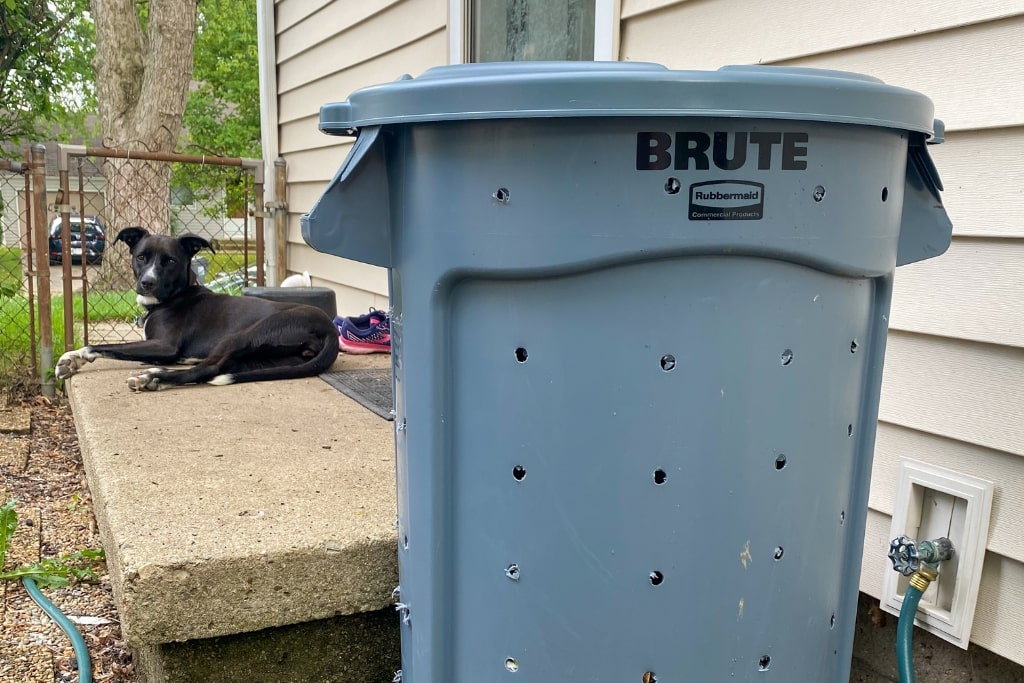
But then I saw a few mentions of turning an outdoor trash can into a compost bin tumbler and that reinvigorated my energy for this project.
Literally, we got it done within a week – the project itself taking only 15 minutes. And filling and emptying the scrap bowl into the compost bin each day has brought me ridiculous amounts of joy. Just need to source a small pail for the kitchen now, preferably with a charcoal filter.
Today I’m sharing a DIY tutorial on how to build yourself this compost bin. Quite possibly one of the easiest compost bin set ups I’ve found, and definitely one of the most city-friendly. No unsightly piles or putrid smells wafting over to your neighbor’s yard! If you want to take a step toward sustainability, read on for a how-to!
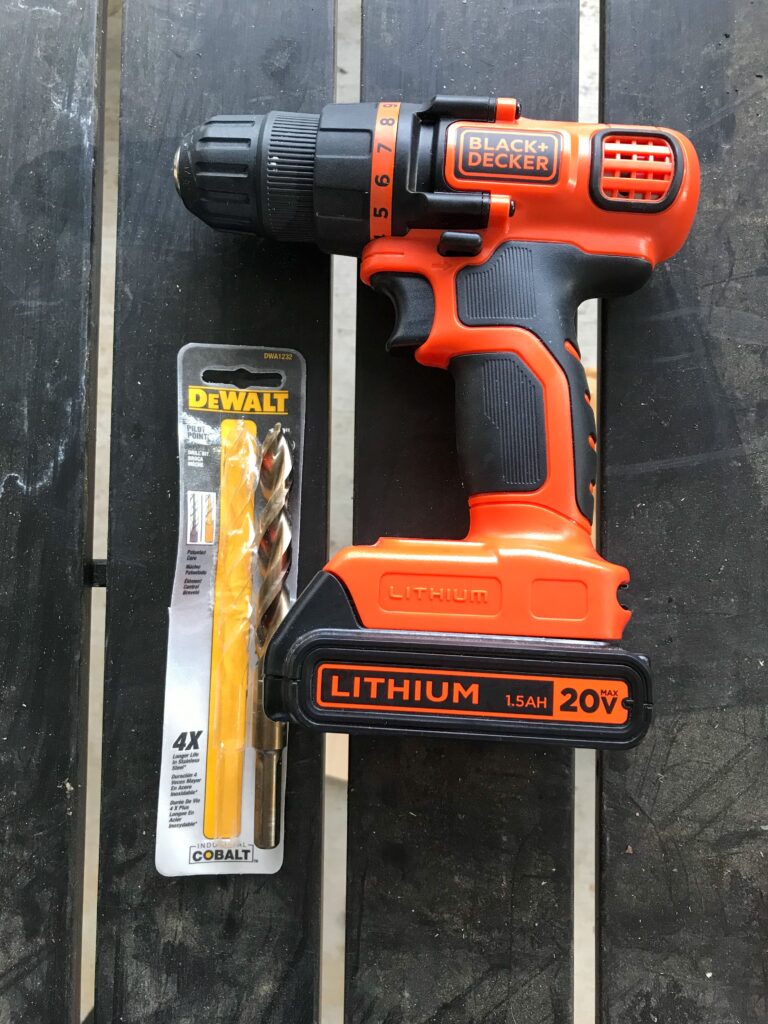
It’s really couldn’t be simpler. All you need is a large exterior trash can, a drill, and a large bit. But first things first, before we get into how to make a compost bin, let’s chat about what composting is and how and why you should do it!
What is compost?
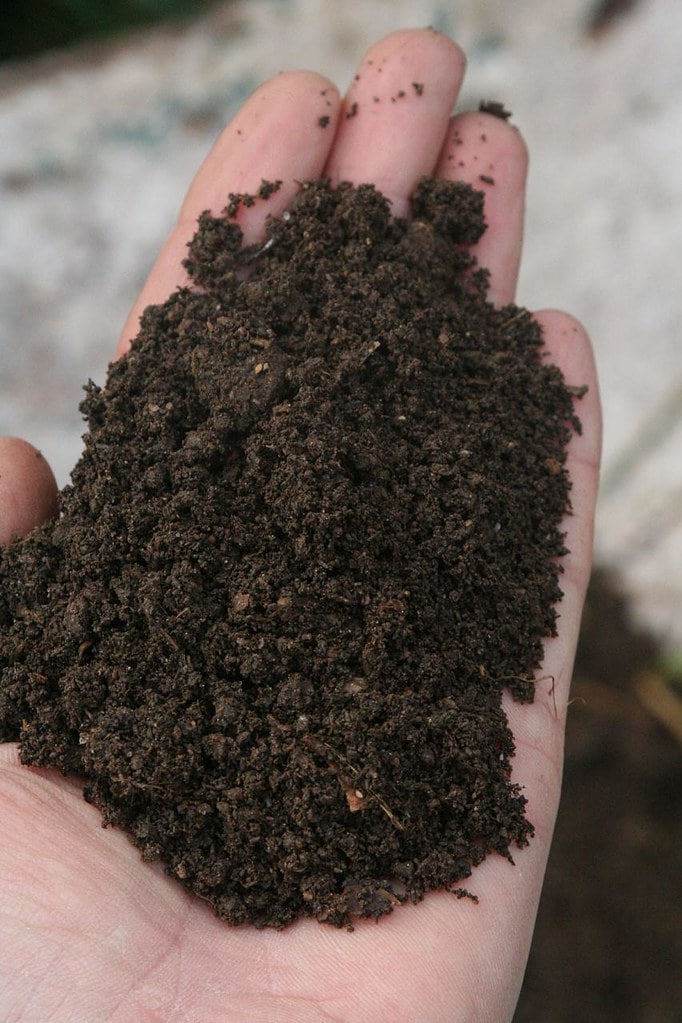
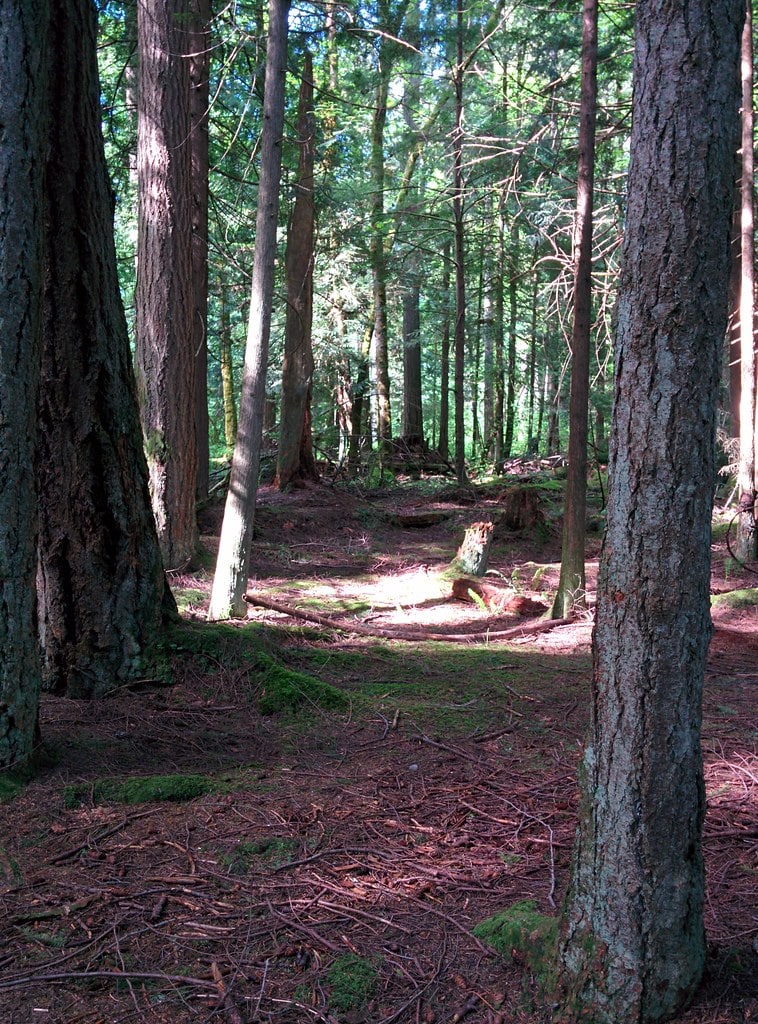
At its most basic, compost is decomposed organic matter. It’s the end result of the natural cycle of death and decay. And it happens naturally all the time! Think of the forest floor or leaf mold in your yard in the fall and winter.
When we refer to compost in the context of a home compost bin, we’re talking about deliberately combining biodegradable materials and microorganisms or other decoming agents (e.g. worms) to facilitate the production of compost.
Why should you compost?
Composting is great for the environment in a number of ways. For one, it can drastically reduce the amount of waste a household produces. For two, fully decomposed compost is a nutrient powerhouse for soil – and a total score for home gardeners.
While it can take a few months to get to the stage it’s no longer “hot” (and thus garden-safe), adding a layer of compost to the garden each season is a great way to feed the soil. In fact, it does more than add nutrients back into the soil. Because composting helps good bacteria and microorganisms thrive, it can help reduce disease in your garden.
How do you compost?
At its most basic, throw your biodegradable waste into the compost bin/pile and wait for it to decompose.
If you have unlimited space and patience, and can locate said pile far from the house, it can be this simple. But for those of us with neighbors and a hungry garden, we generally want something a little more controlled.
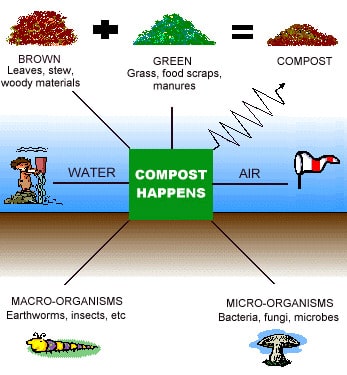
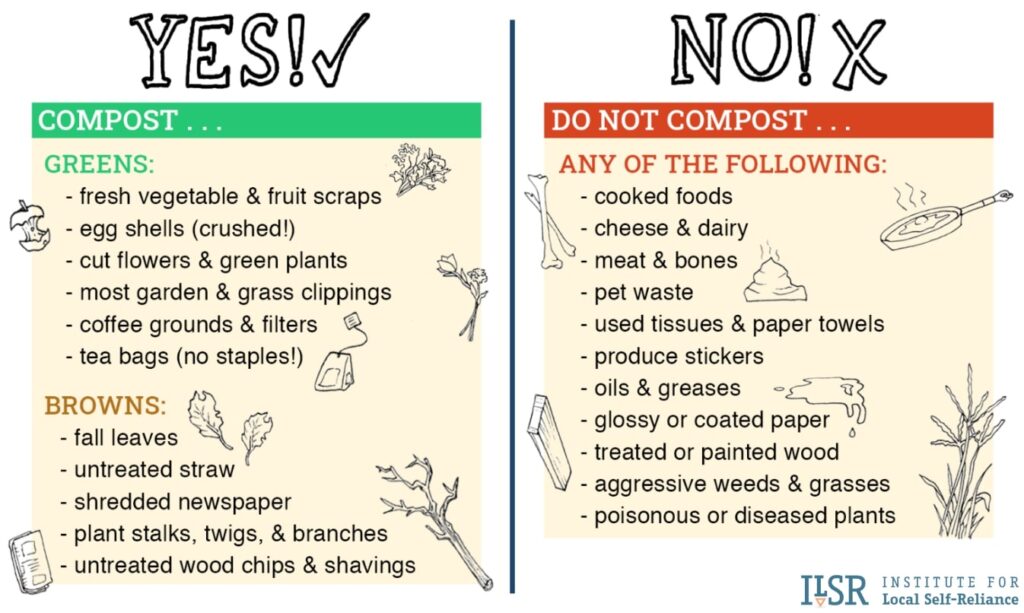
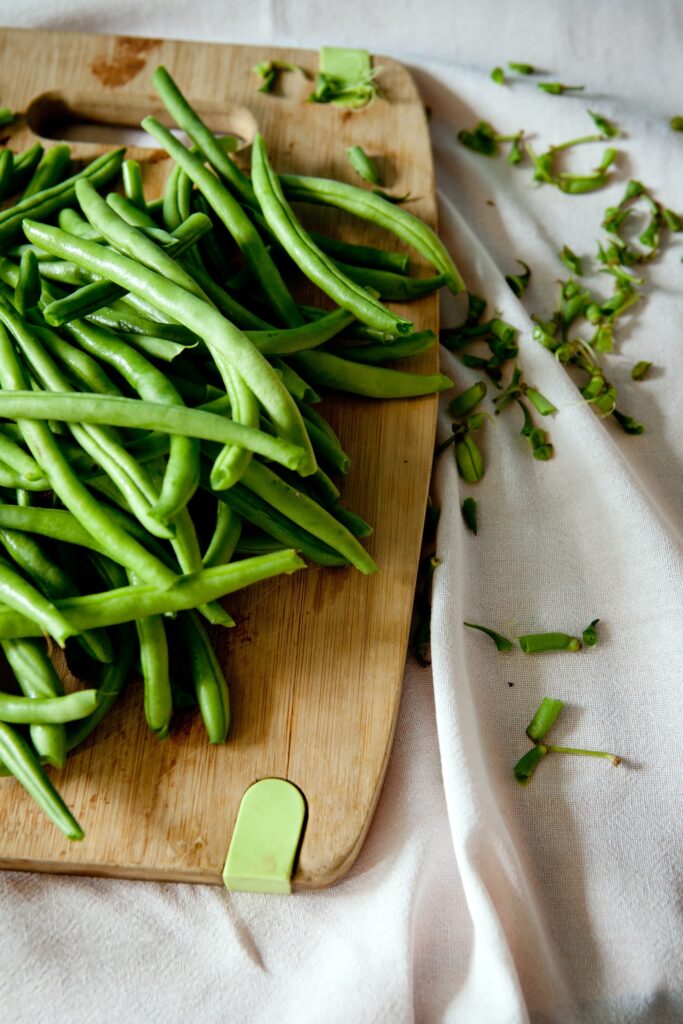
If you want to produce compost relatively quickly and painlessly, you need a mix of “greens” and “browns.” “Greens” are nitrogen-rich waste, like produce scraps, grass and plant trimmings or coffee grounds. “Browns” are carbon-rich waste. Think used dried leaves, ash or sawdust (from natural charcoal/untreated wood) and cardboard or paper (without a waxy/shiny coating).
I’ve seen suggestions for everything from a 30 parts to 1 part ratio of browns to greens to a 3-4:1 to a 1:1 ratio. The exact carbon to nitrogen ratio can be hard to calculate as you don’t know the exact mass of what you’re throwing in, but aim for ⅔ browns to ⅓ greens. The big things to know are that without enough browns, your compost bin will start to smell and without enough greens, it won’t heat up and begin decomposing.
Note that you should never leave exposed food scraps on the top of your bin. Always finish with carbon-rich materials like leaves or wood chips, or even soil.
Certain biodegradable products, most importantly animal products and human/pet feces, should not be added to your compost pile. You should also avoid any diseased plants or weeds that have gone to seed.
Beyond the greens and browns as the material to be composted, you need the critters that will do the decomposing, water and air. Adding a scoop of garden soil occasionally can help introduce “decomposers” to your compost bin. These are earthworms, microorganisms and bacteria, part of the soil food web, that eat your compostables, facilitating their decomposition.
Air also helps with decomposition, and this is why many composting systems necessitate “turning” the pile. In the method outlined below, you can just lock the lid onto the bin and roll it around the yard to mix your compost up. Finally, your compost bin needs water to decompose the pile. Without it, decomposition will happen very slowly. More on watering your compost below!
Compost Bin Setup Options:
I’m planning on a future post where I go into detail on the pros and cons of different methods. But here’s a quick run down of some popular options in case you’re new to the concept.
Vermicompost
Aka worm composting. This is another great option for those with limited space, though slightly more high maintenance than the tutorial I’m sharing here today. Requirements for what and how to add materials are more stringent as you’re trying to keep specialized compost worms thriving. (Basically, don’t try to re-purpose earthworms from your garden for this particular method. If you’re interested, I’ve heard great things about Uncle Jim’s Worm Farm. No direct personal experience though!) But a vermi-compost bin can be as small as a plastic storage tub. And worm castings, aka the compost produced through this system, are basically gold for your garden.
Bokashi
This system is actually anaerobic, and thus not the same composting process as all the other methods discussed here. You use a special bokashi bucket and sandwich food scraps of all kinds (including meat and dairy!) between layers of a special inoculated bran. When the bucket is full, it’s sealed for a couple of weeks which creates a sort of “pre-compost.” When unsealed, the bucket contents will be noticeably different but not full compost. The contents can then be buried outside, though they’re still very acidic.
Hot Pile
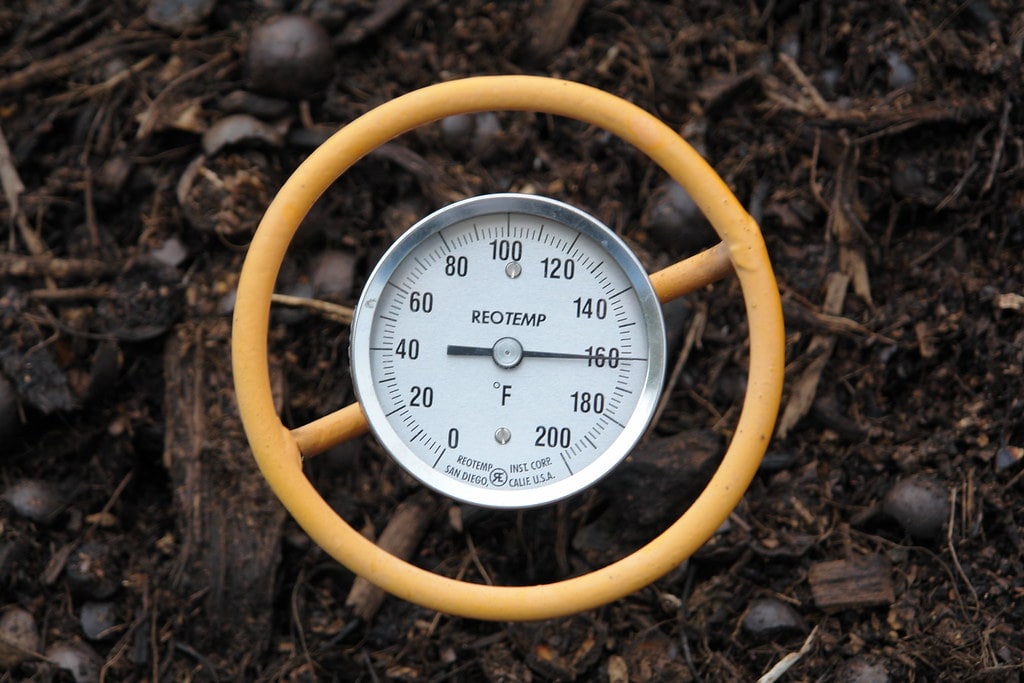
If you have the space, a hot compost pile is probably ideal as it accelerates the composting process. A hot compost pile must be at least 4 feet by 4 feet and contain the right carbon to nitrogen ratio and moisture balance. If it does, the pile can heat up to around 130°F (as high as 160°F!), creating the perfect environment for microbial decomposers. In these ideal conditions, compost can be ready to use in a number of weeks, instead of months.
Note, though, that adding “hot” compost, which hasn’t finished decomposing, to your garden is a great way to burn and kill your plants.
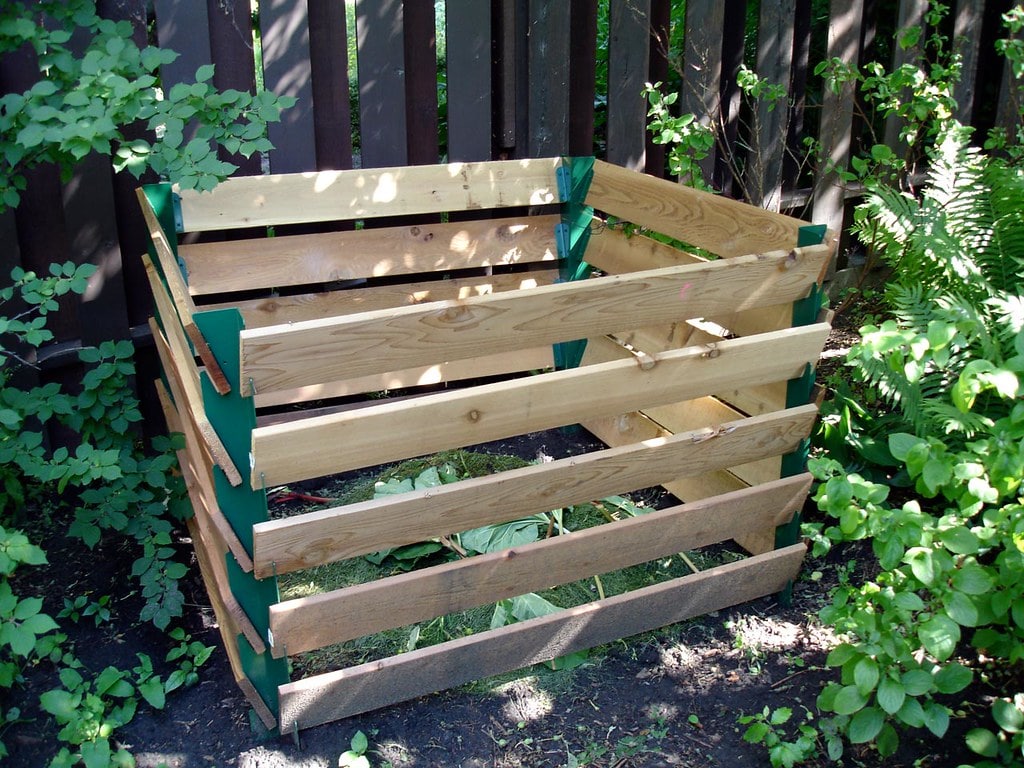
Passive Pile
As mentioned earlier, this is basically just piling up biodegradable materials and letting them decompose over time. One popular setup for a passive composting system is to build three large wooden and wire bins, transferring compost from one bin to the next as it breaks down. This is a great, low-maintenance way to compost your waste! However, it does not heat up, and thus takes longer than a hot pile.
Compost Tumbler
The compost bin tutorial I’m sharing today is for a kind of homemade compost tumbler. This is a specialized kind of passive composting in which the bin is made to easily “tumble” or turn. These are great for those with limited space as they’re usually compact and enclosed. Most commercial compost tumblers are a big plastic drum (sometimes with two chambers) that you use a crank to turn.
Composting-in-Place
You likely already practice composting-in-place without knowing it. Similar to a passive compost pile, this refers to biodegradable material left alone to decompose over time. Only in this system, you don’t even toss it into a pile. As the name says, you leave it in place. Think of some fallen leaves in the fall, or mulching grass clippings as you mow the lawn when you’re out of yard waste bags. It’s also nature’s method of composting!
Why We Chose This Method:
Long story short, it was easy and cheap to execute quickly.
Slightly longer story, it seemed the best fit for our current space and the level of maintenance we’re willing to put in. In a tiny city yard, our best bets were a compost bin tumbler or vermicompost. As I dragged my feet for 10 months on setting up the latter, it was clear I wasn’t invested enough to put in the maintenance the worms require and deserve.
I’d love to have a big enough pile to hot compost, but our space just can’t account for that as it’s laid out. So that left a passive pile, and a tumbler seemed the most city-friendly option. I did spend a good amount of time researching tumblers to buy, but those with good reviews were often upwards of $150.
Thus, enter the tutorial for this compost bin system. It’s basically a homemade tumbler, though with a bit more labor required to agitate. It’s cheaper than buying a tumbler and super easy to “build.” I put “build” in quotation marks because you’re basically just drilling holes. Yup, that’s really it.
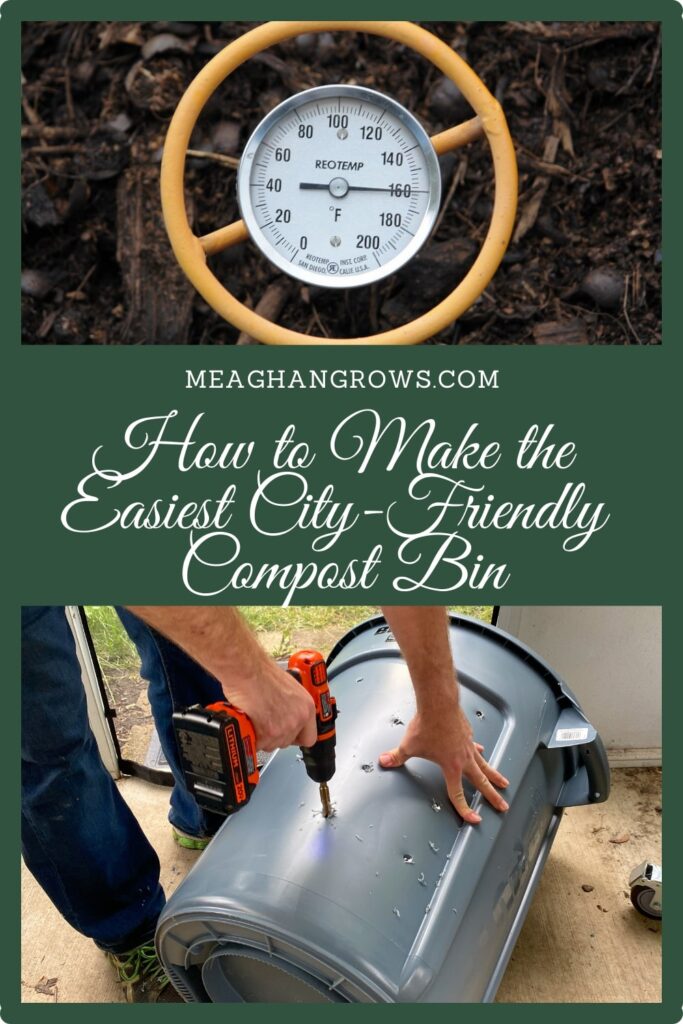
How to Make the Easiest City-Friendly Compost Bin:
Skill level: Beginner
Estimated Cost: $40-50 USD (assuming you have a drill!)
Compost Bin Supplies:
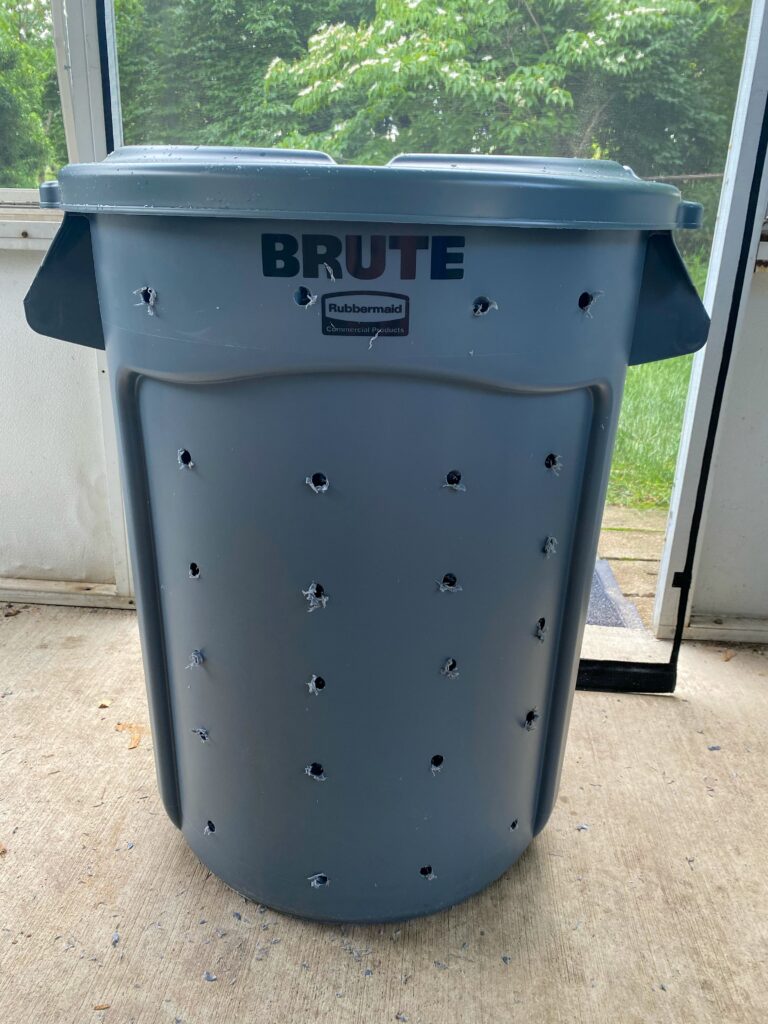
- A large outdoor trash bin with locking lid (Looks like the standard box store size is 32 gallons. Make sure it’s a size you’ll be able to pick up and roll around the yard to agitate it.)
- A drill
- A ½ inch twist bit or hole saw bit
- Optional: bricks or pavers to elevate your compost bin and facilitate air flow
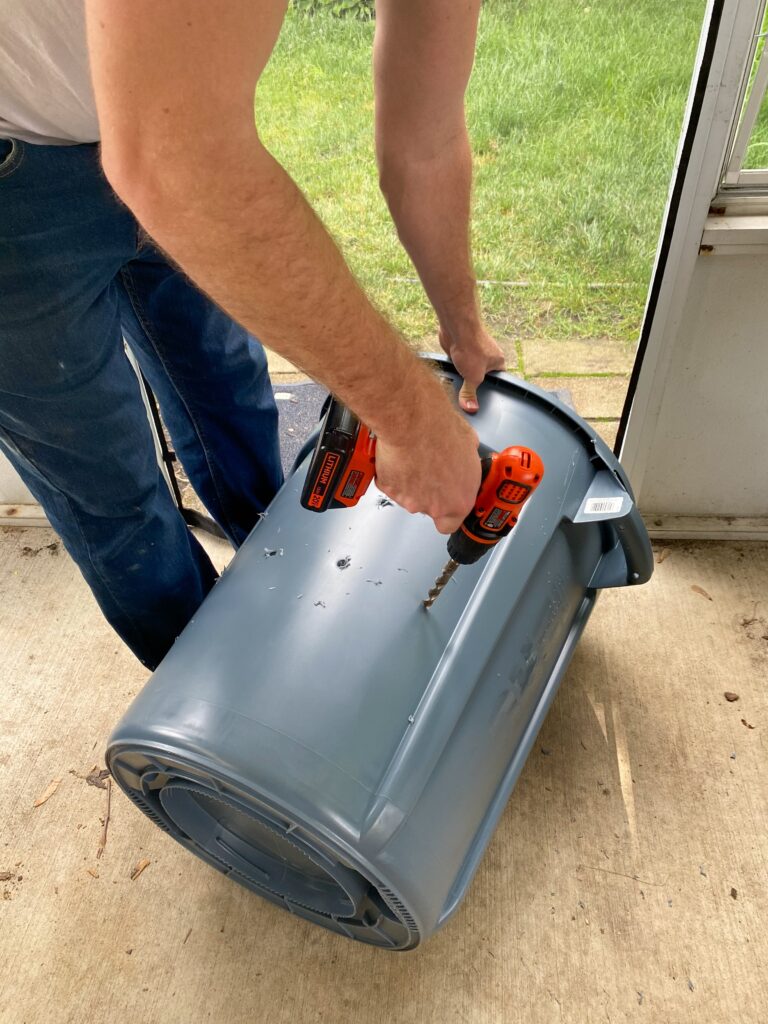
Compost Bin Instructions:
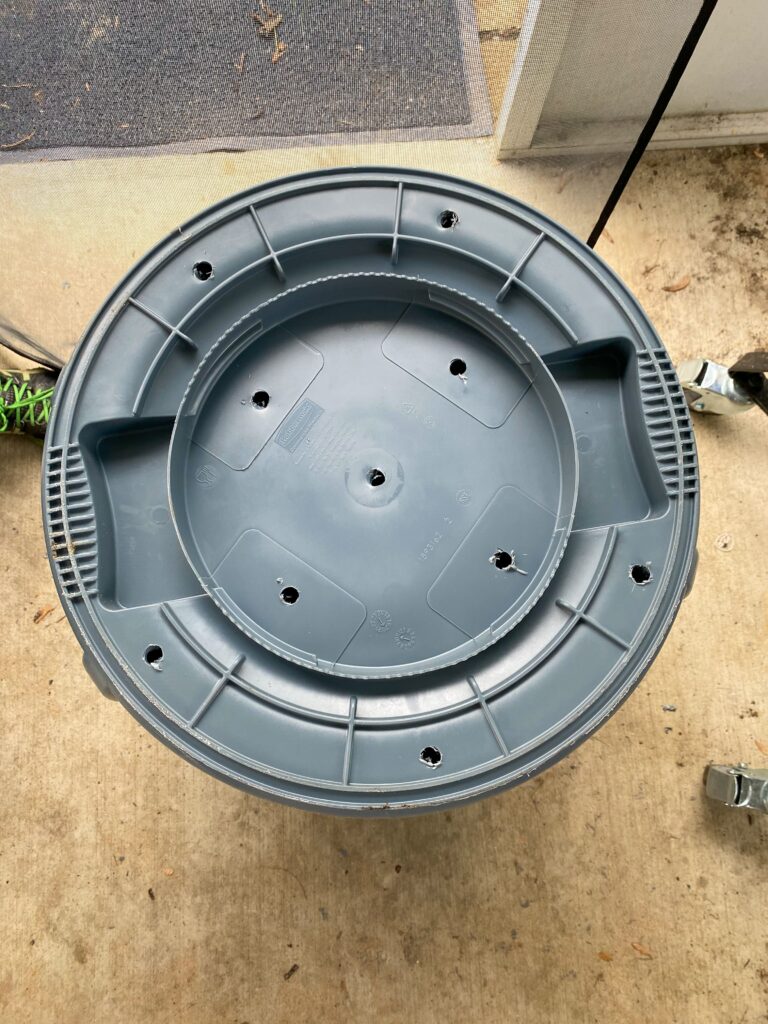
- Drill holes evenly spaced all around the sides and bottom of the bin. Ours are about 4-5” apart.
- Place bin in an accessible spot, ideally elevated on bricks or pavers to help with airflow.
- Add compostable materials (the smaller the pieces, the faster they’ll decompose) and some garden soil to help get decomposition started (you can do this every time you add materials).
- Add water – you want your materials damp but not soaking. Aim for the consistency of a rung-out sponge.
- Every week or so, roll your bin around the yard to agitate the materials inside.
- That’s it!
A couple more explanatory notes:
- I’d suggest avoiding drilling into the lid, as you don’t want your compost too wet and that will be hard to control with rainwater.
- The hole saw is probably preferable to the twist bit. It will punch clean holes without leaving the plastic curlicue residue that you have to file off. We just couldn’t find one!
- If you’re worried about material coming out of the holes as it breaks down, you can add window screening around the inside to trap it in. I’m planning on turning this into a three-bin system as we fill them, and will probably line future bins for the more finely broken down stuff.
- FYI you can also buy compost starter or inoculant online or at farming supply stores if you really want a head start!
And if this all still seems like a bit much to take on right now, no worries. Most cities have composting programs you can opt into for a small monthly fee. In fact, when I lived in Montréal, they were just starting to roll out city-wide composting services alongside trash and recycling. Here, I know of at least two options: one where you pick up and return a bucket of food scraps at the farmer’s market and another that picks up your filled bucket weekly at your house and replaces it with an empty one. Real talk, climate change is real and the race is on to avoid a 2°C increase. Composting is a great way to reduce waste and pollution.
Pin it for later:

Leave a Reply